
|
|||||||
| 700/900 Series General Forum for the Volvo 740, 760, 780, 940, 960 & S/V90 cars |
 Information
|
|
Chris1Roll's return to 700 ownershipViews : 11046 Replies : 137Users Viewing This Thread : |
 |
|
|
Thread Tools | Display Modes |
 Sep 4th, 2023, 21:53
|
#91 |
|
Premier Member
Last Online: Today 18:35
Join Date: May 2012
Location: Lakenheath
|
Did you retension the timing belt after 600 miles Chris?
 Other than that, good to hear it's running well and loking good in Darzits leafy lanes. 
__________________
Cheers Dave Next Door to Top-Gun with a Honda CR-V & S Type Jag  Volvo gone but not forgotten........ Volvo gone but not forgotten........
|

|

|
| The Following User Says Thank You to Laird Scooby For This Useful Post: |
|
Sep 5th, 2023, 08:47
|
#92 |
|
Senior Member
Last Online: Today 10:58
Join Date: Aug 2006
Location: Cannington
|
 I have now!! Thanks for the reminder. I kept on thinking about it and then forgetting again so I just went and spent the 30 seconds it took to do it before I left for work this morning. |
|
|
|
| The Following User Says Thank You to Chris1Roll For This Useful Post: |
|
Sep 10th, 2023, 11:55
|
#93 |
|
Senior Member
Last Online: Today 10:58
Join Date: Aug 2006
Location: Cannington
|
Since the car had been parked up for almost 24 hours I decided to do another D+F on the gearbox before I started on the XC's service.
The flow is starting to get a red tinge to it now, but it is still very dark when in a container: 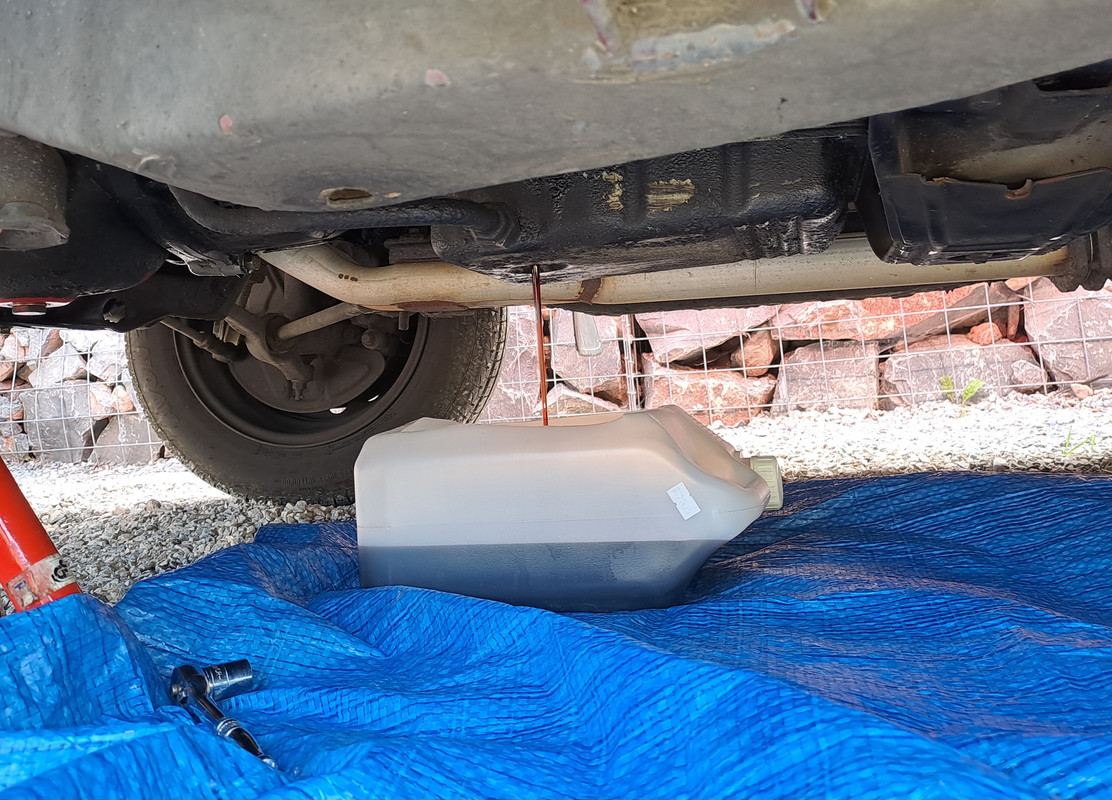 (I don't know exactly what the black tarry stuff is all over the pan, engine sump etc. There is also some on one side of the prop but not the other so it was obviously sprayed on It's almost like someone had a half-hearted attempt at undersealing the car, but only along the line of the transmission tunnel which isn't where they tend to rust anyway! It seems to dissolve fairly easily so at some point I'll clean it off.) Still managing to resist the temptaion to take the pan off with the attendant risk of disaster, I created this contraption with a short length of copper brake tubing. Once I had started the syphon action with the syringe I could remove it and allow the fluid that sits below the drain plug opening to syphon out.  Due to the bore of the pipe this was quite slow so I'm not sure I would bother again unless I can make some way of holding it in place that doesn't involve me lying there with my hand in the air. 2.8 litres came out altogether so I'm up to ~84% new fluid in there now. After a 10 mile drive the level sits about 3/4 of the way towards max on the hot markings. I think this is OK without being able to measure the temperature - its neither under nor over-filled like that. |
|
|
|
| The Following 3 Users Say Thank You to Chris1Roll For This Useful Post: |
|
Sep 30th, 2023, 22:25
|
#94 |
|
Senior Member
Last Online: Today 10:58
Join Date: Aug 2006
Location: Cannington
|
I had a days holiday to use up on Friday, so spent some time tinkering.
There is still an intermittent vibration through the steering wheel that sets up at certain speeds, but can be 'driven through', and last time I had it in the air I noticed some play isn the NS wheel so I thought I would investigate that first. Having removed the boots on the inner track rods and given everything a good wiggle - the play is in the rack. The inner rack can be moved up and down slightly in the housing. Since it is fine to pass the MOT and just irritating, it can stay like that until I have money to burn. While it was up in the air I dropped the ATF again. Getting redder, I think we're probably passing the cleaning stage of the new fluid, a couple more and that'll be fine, then I'll just do a single drain and fill at service time:  Having not yet actually had the wheels off, and already being aware of a reasonable lip on the discs, I thought I would check the condition of the front brakes to make sure I wasn't going to be metal to metal anytime soon. I have Bendix calipers: 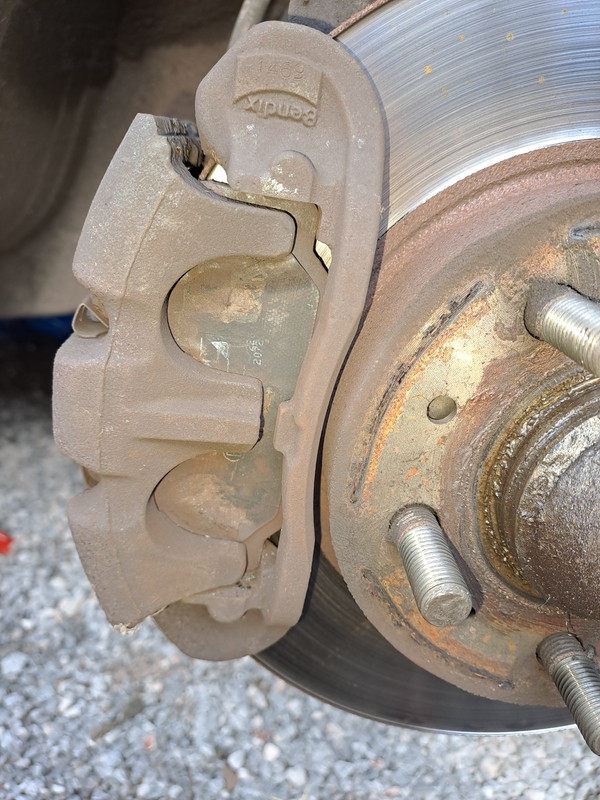 There is enough pad to get through to the spring at the miles I'm doing without going below 3mm:  All four dust boots are perished in the same place, it looks like for quite some time. The pistons although corroded all move easily so I think it's probably worth my while getting a rebuild kit and having a go at doing that when I come to replace the discs+pads.  Comfortable that the brakes are safe for the time being I buttoned it all back up again and dropped the car back on the ground. I got a cheap trim removal set from Amazon in order to stand the best chance of getting at the panel lights without snapping ancient plastic: 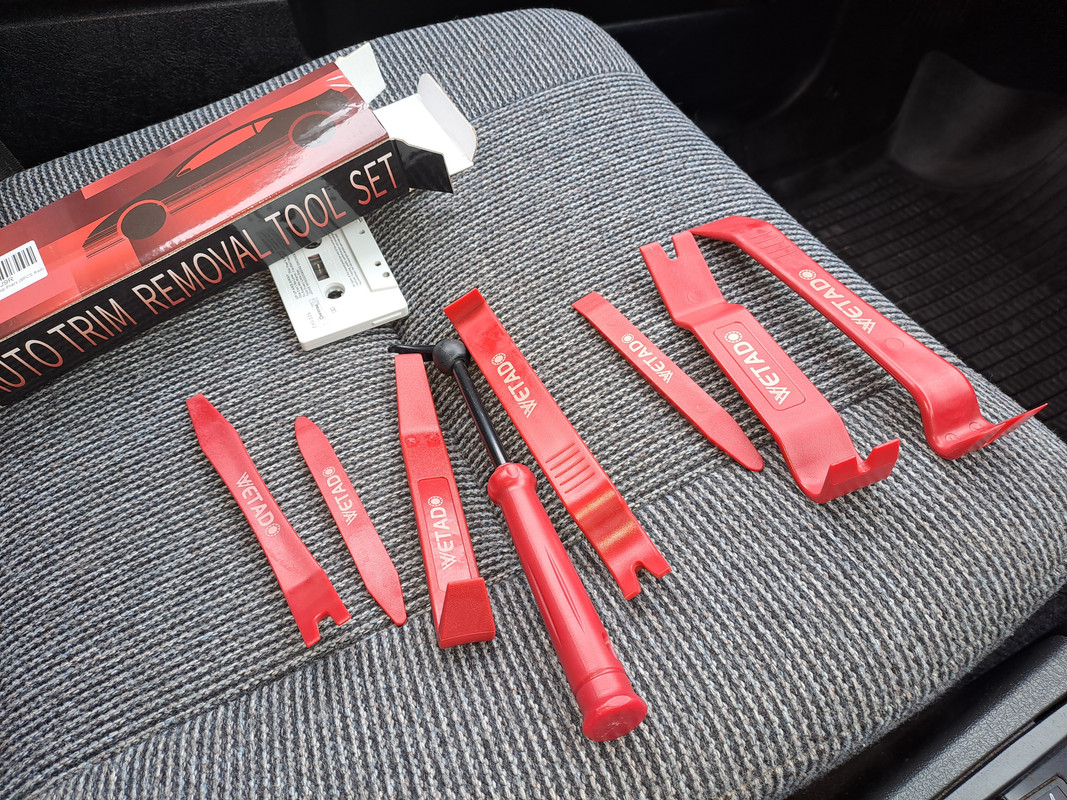 With it all apart, I checked each bulb to ensure it was actually blown, and each socket to check it was getting power.  Sadly someone had been in there before me and snapped one of the mounts of on the heater control panel. I put some small (copper, because they were what I had in the right size..) washers over all four when I refitted. 8 bulbs, all blown: 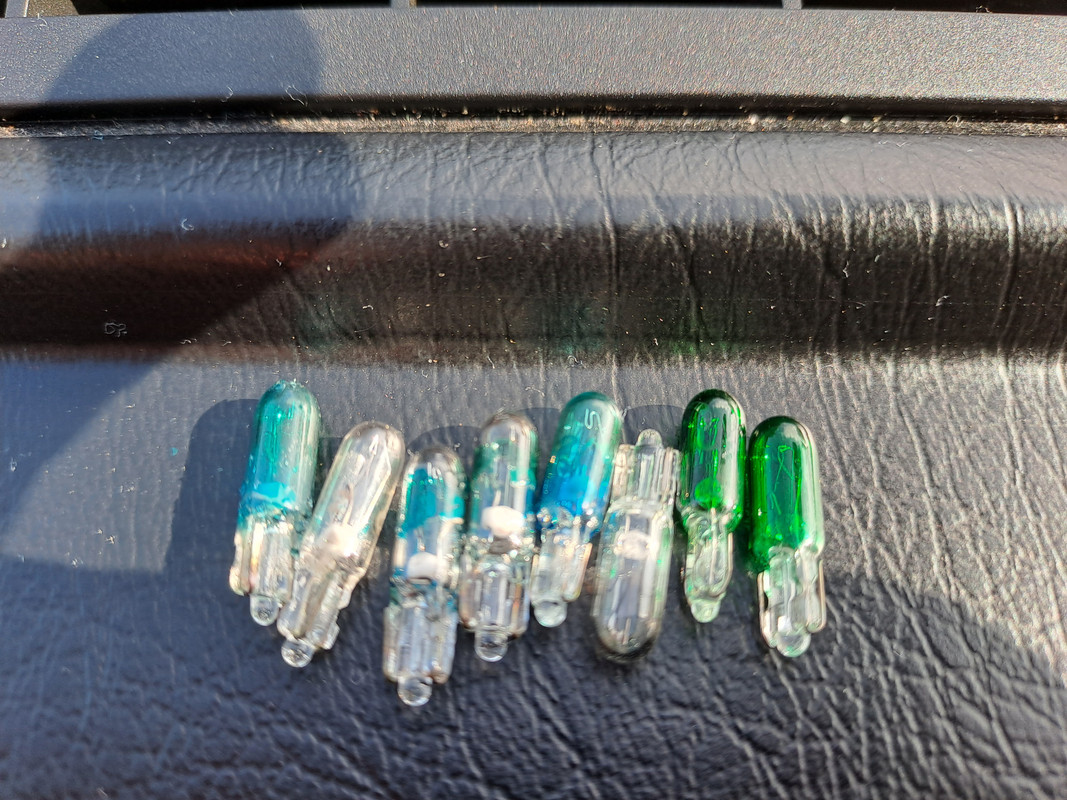 A bit of a mix, as they've obviously been replaced piecemeal over the years. A pack of new ones in green: 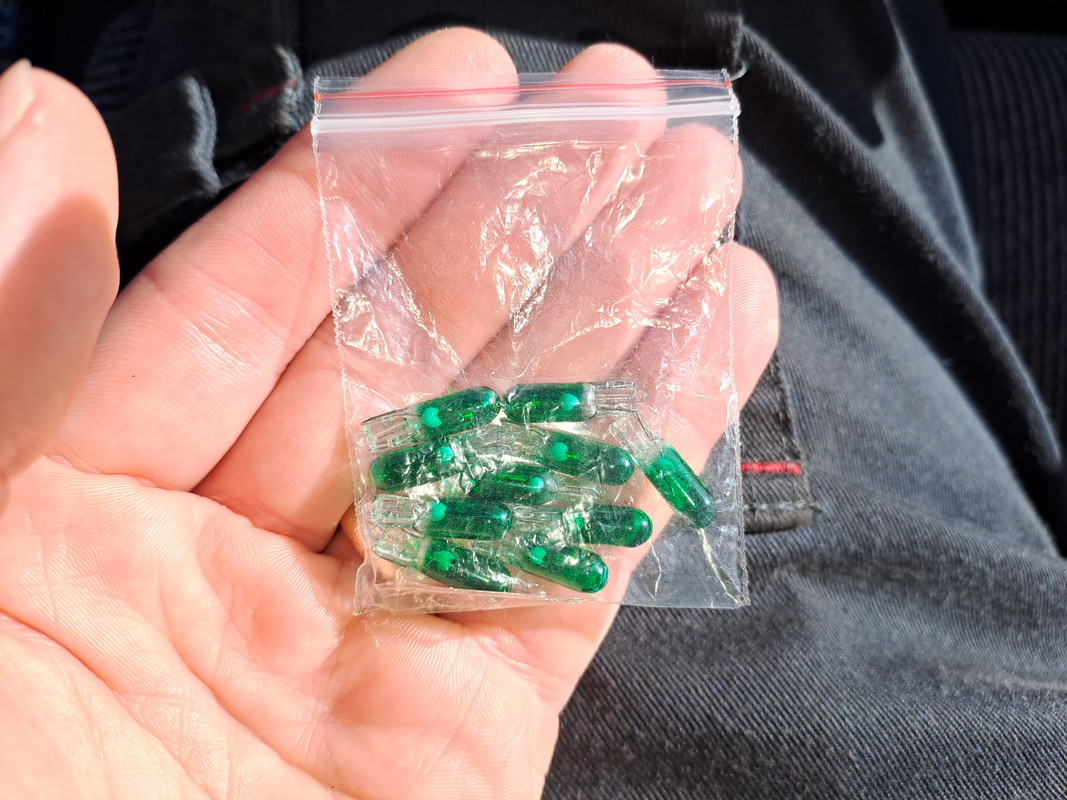 I thought about going LED, but I'd need to experiment a bit to find some that don't flicker - I can see trails from some LED lights and my wife gets migraines triggered by flashy/flickery lights, so incandesent is the safe option for now. Not the best picture, but now I can see what gear i'm in, and adjust the heater - if I had one!  Someone on another forum advised I should check the DRL fuse. That was a good shout:  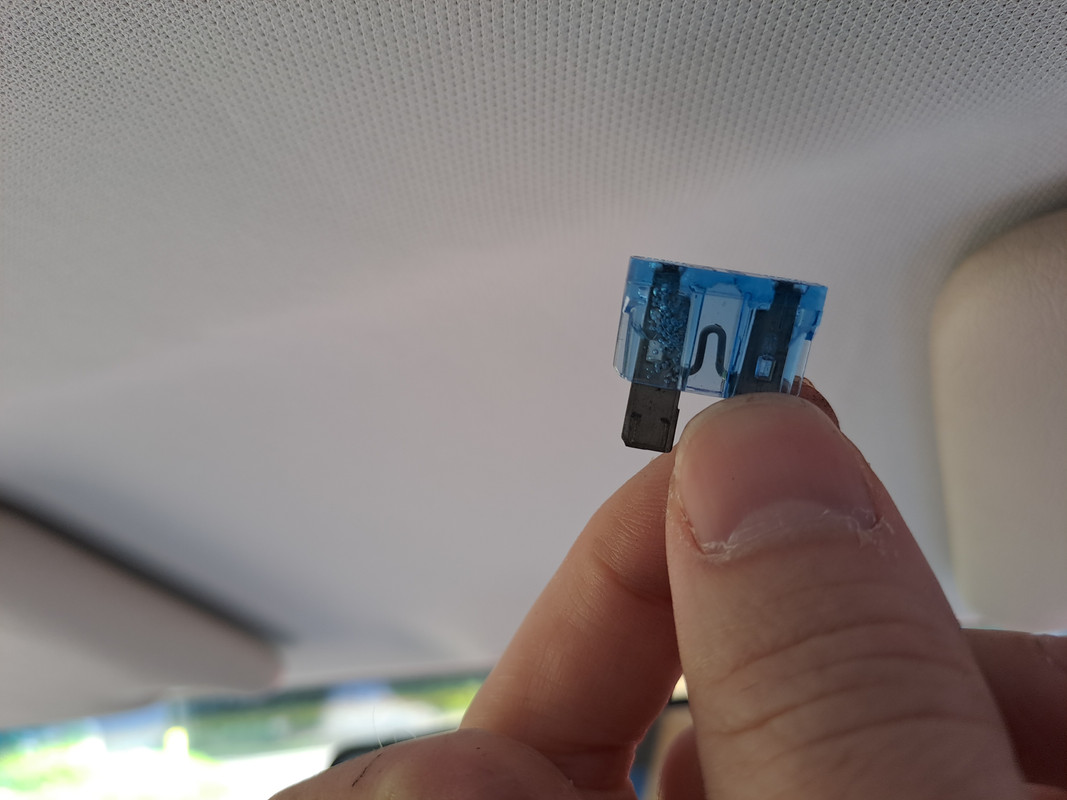 So I'm currently day-runningless for now until I get round to fitting an in-line holder. Another thing to add to the list, which doesn't ever seem to get shorter! |
|
|
|
| The Following User Says Thank You to Chris1Roll For This Useful Post: |
|
Oct 8th, 2023, 19:20
|
#95 |
|
Senior Member
Last Online: Today 10:58
Join Date: Aug 2006
Location: Cannington
|
A busy weekend.
I'd originally intended to do this back sometime in the summer, but... didn't. Luckily the weather gods were smiling on me this weekend so I could get it done before it turns all cold and wet. I already mentioned the only rust I could find on the car was on the rear arches, a good few inches away from being a strutural issue, but in need of sorting before it gets any worse. Nearside: 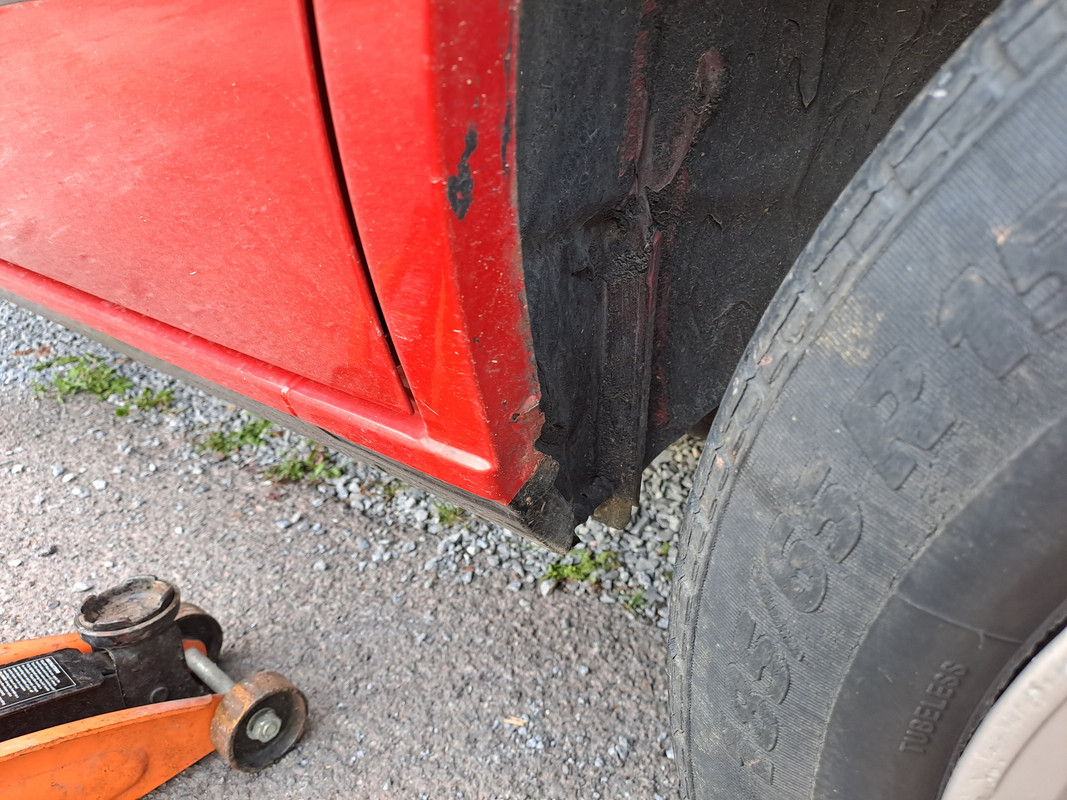 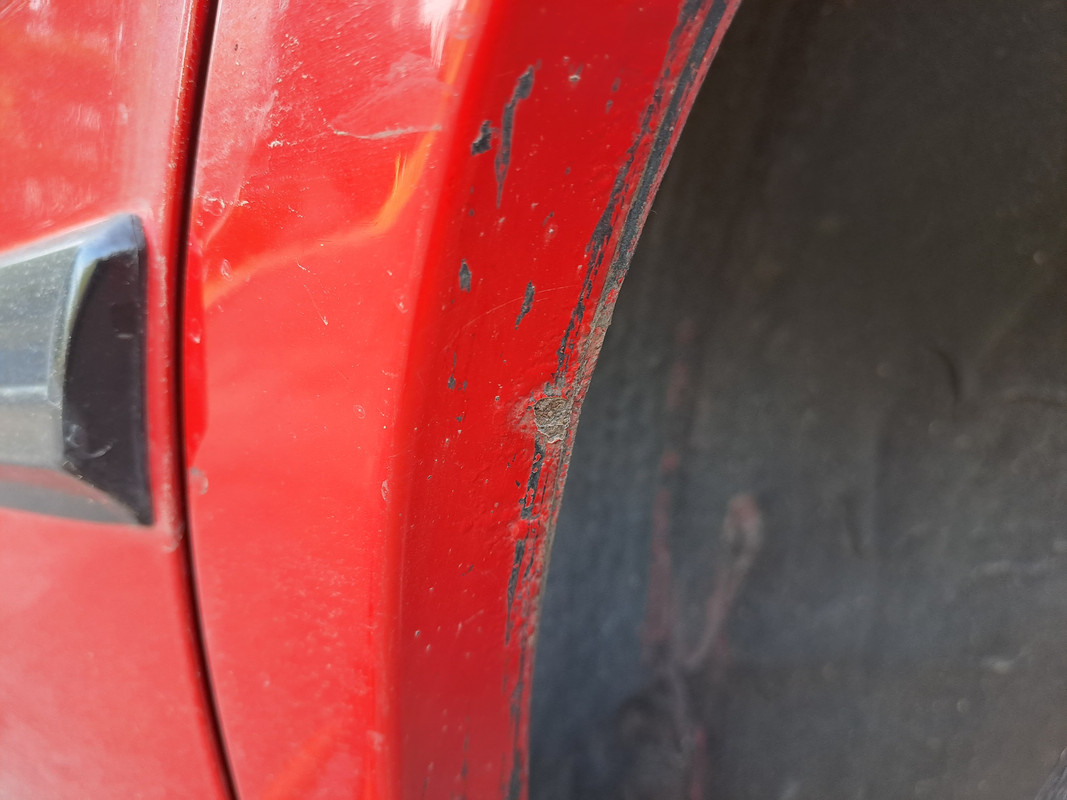  Offside, the lower part was worse than the nearside, but the rest of the arch was much better: 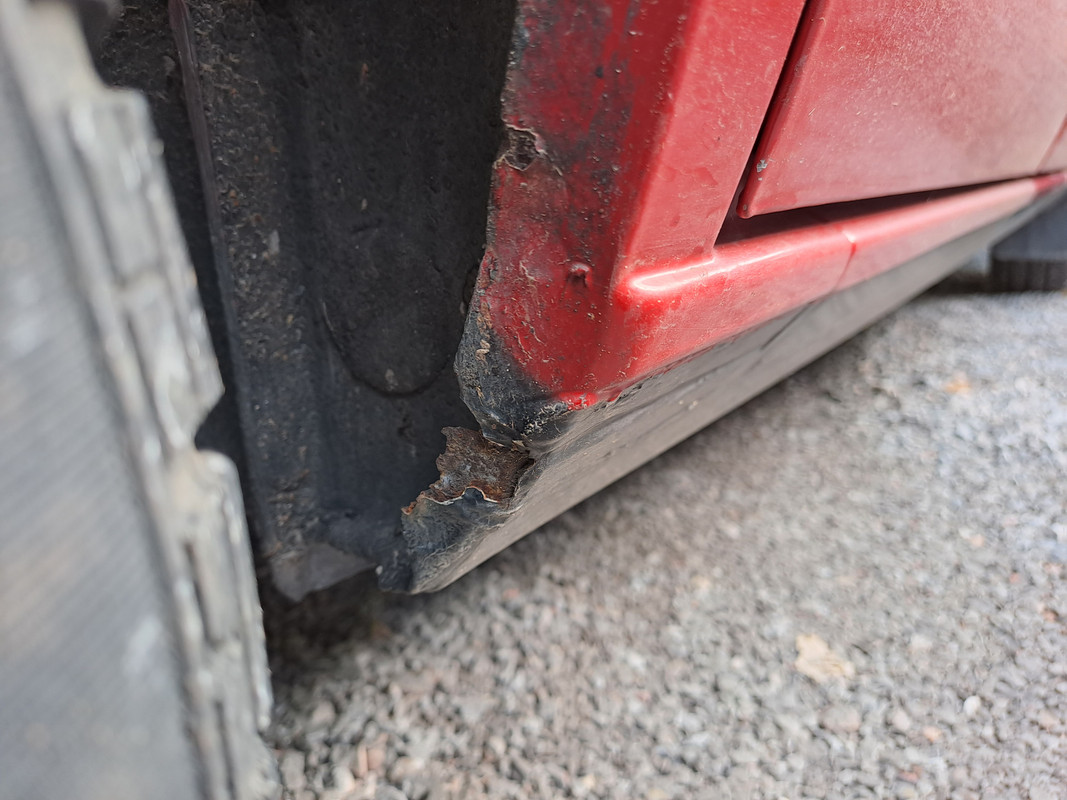  I'll preface this by saying I'm not a bodywork guy, this is not intended as an instructional, its just me blogging about it, and in order to be called a bad painter, I would first of all have to be a painter. This is a daily driver, and my intention is to prevent further decay as far as possible, and end up with a job that is 'good from 6ft away'. I bought a few bits and pieces:  Of course these jobs always grow a bit. At some point someone had done a quarter-assed job with some rubberised underseal, glooped it on so thick there was a drip hanging down from the arch at one point, and got it on the paintwork too. Predictable enough this had made things worse, and I ended up having to scrape it off the back of the sill and the inside of the arch. Luckily I caught the sill end in time:  Back to clean metal - I did the same on the inside of the arch, but thats not so easy to photgraph (or to get to - I was utterly filthy at the end of it) 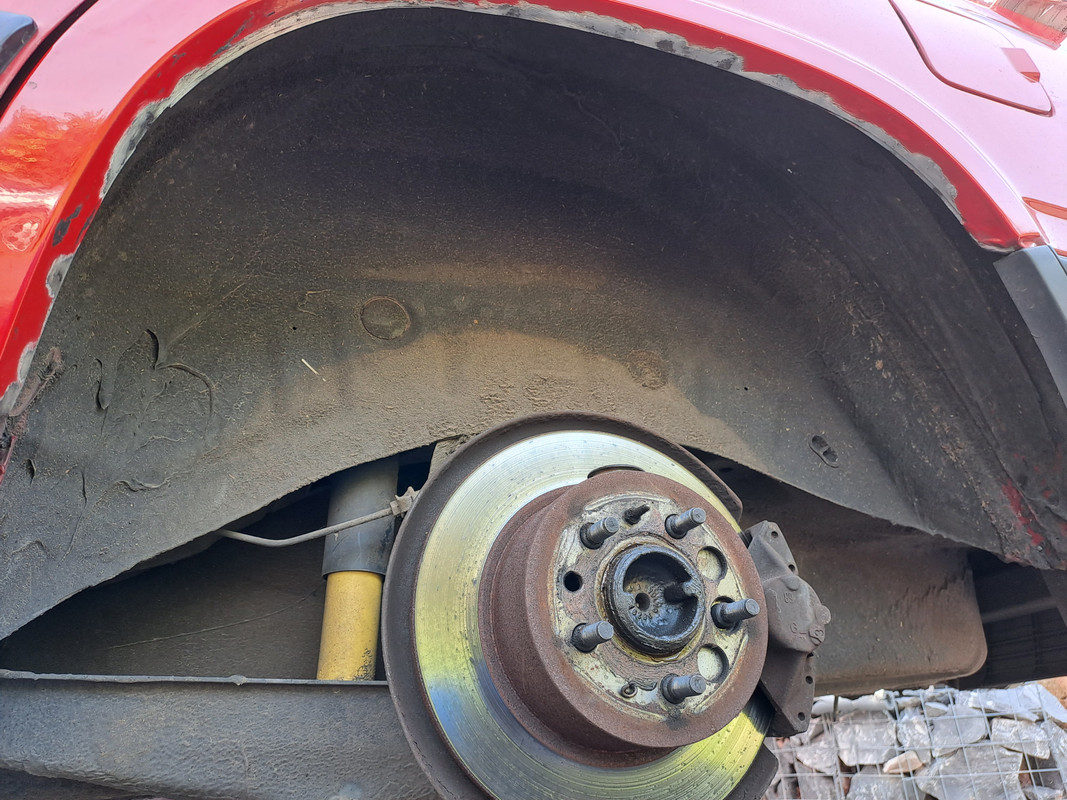 I didn't have to take as much off the off side: 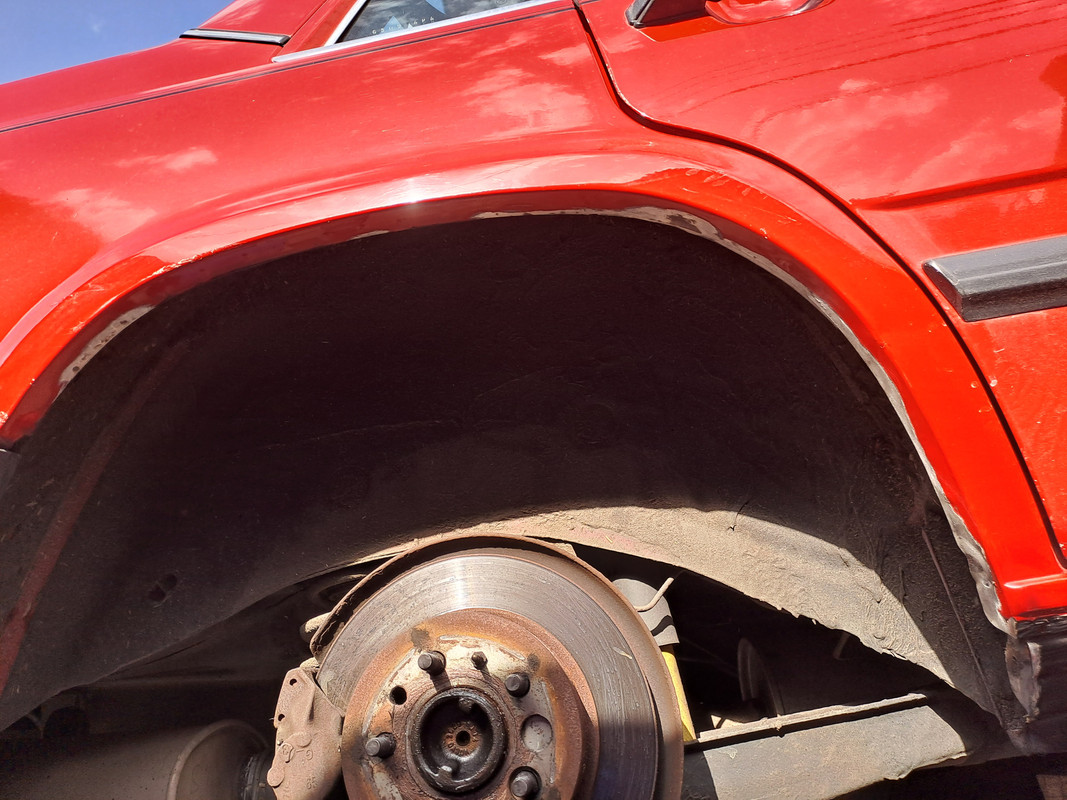 I took a file to the jagged rusted edges to make it look a bit more tidy: 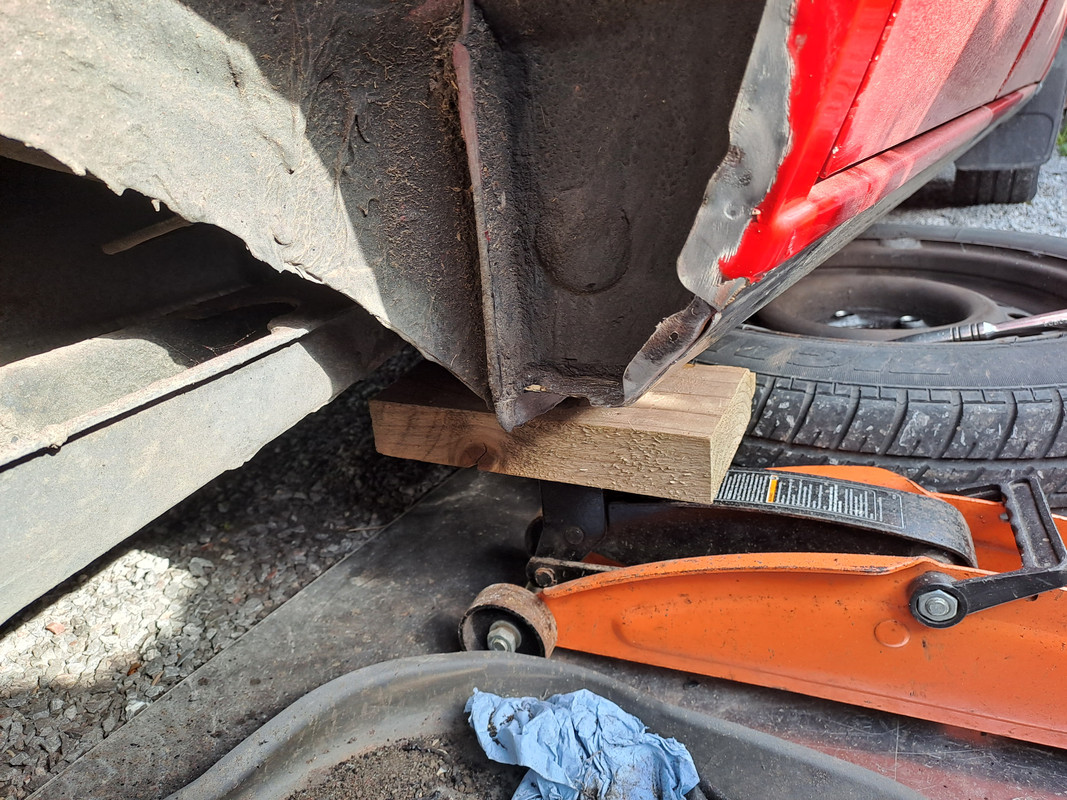 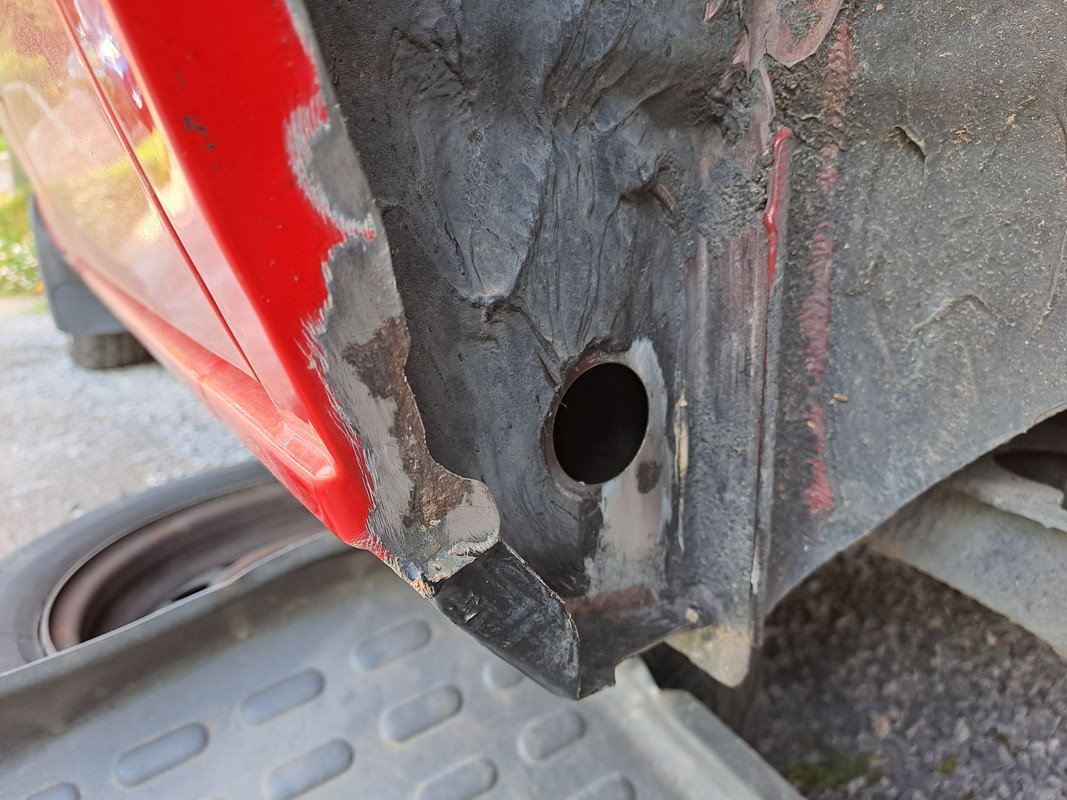 First coat of Bilt Hamber Hydrate 80: 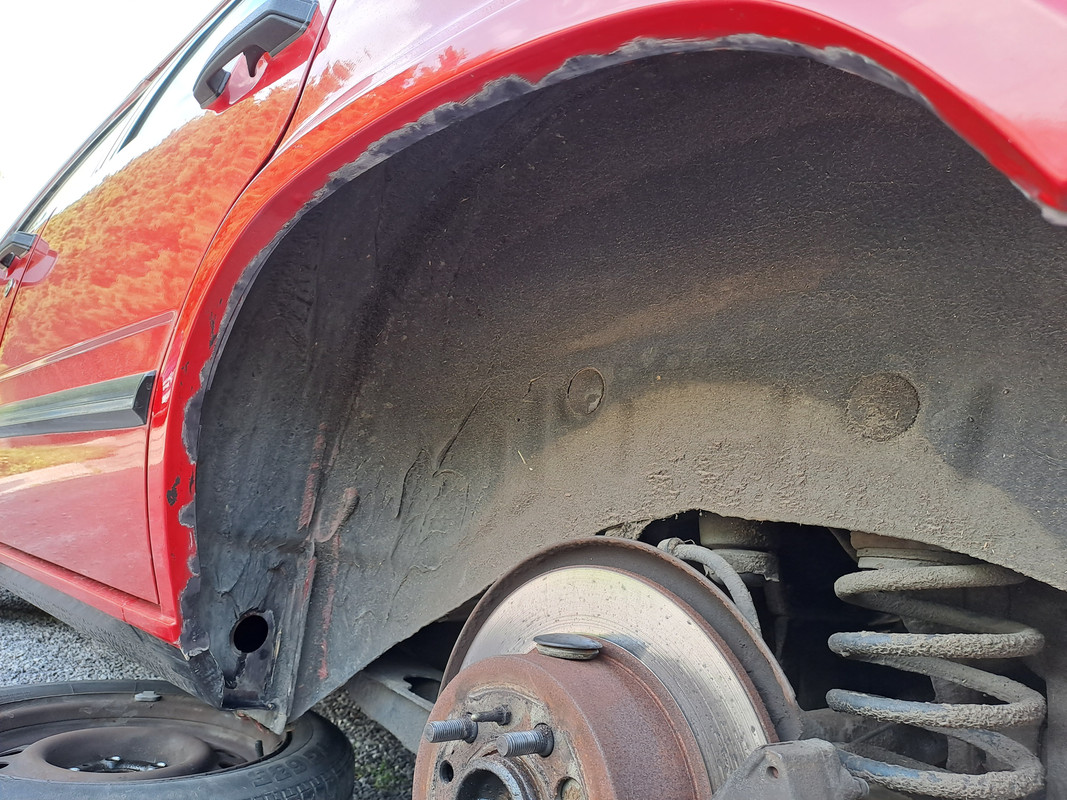 After I had waited the requisite 30 minutes I applied a second coat. The minimum time before overpainting is 3 hours (24 recommended). This would have taken me to about 5:30, at which point I would have been chasing the sun and fighting falling temperature and the dew, so decided to leave it overnight. I'm glad I did, this next morning the entire surface I had treated was the dark black of the activated product, and once the temperature had come up I was able to get on with the painting. Finished article:   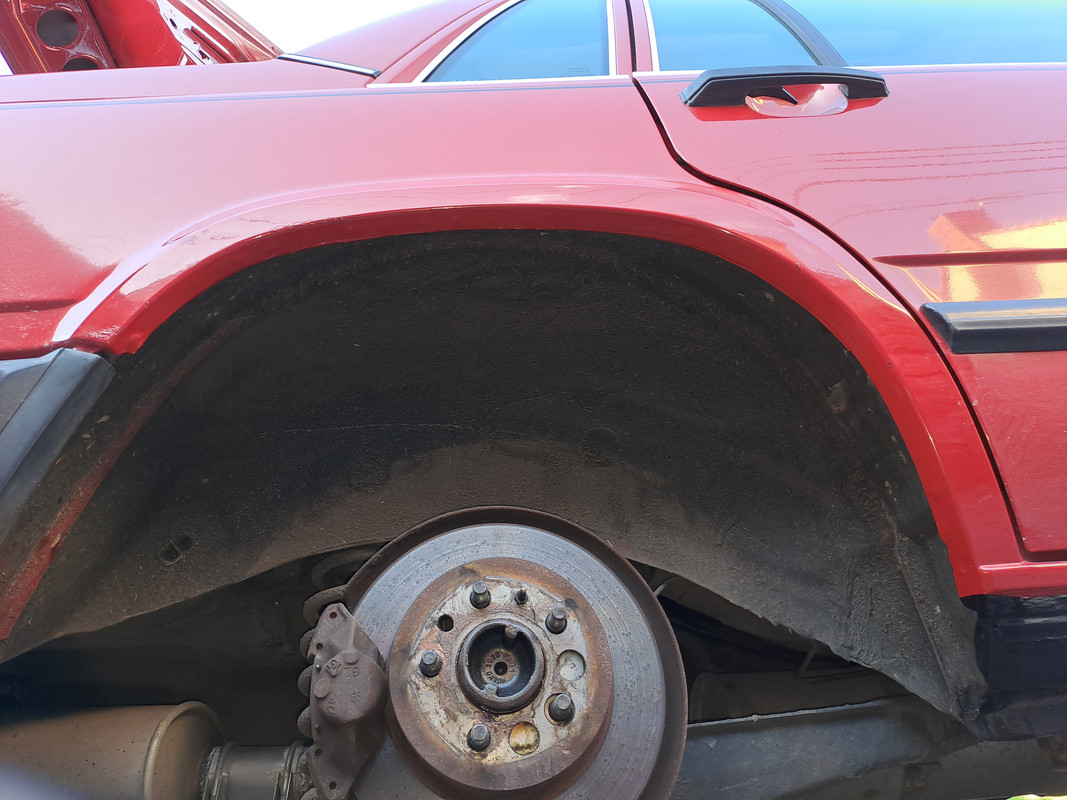 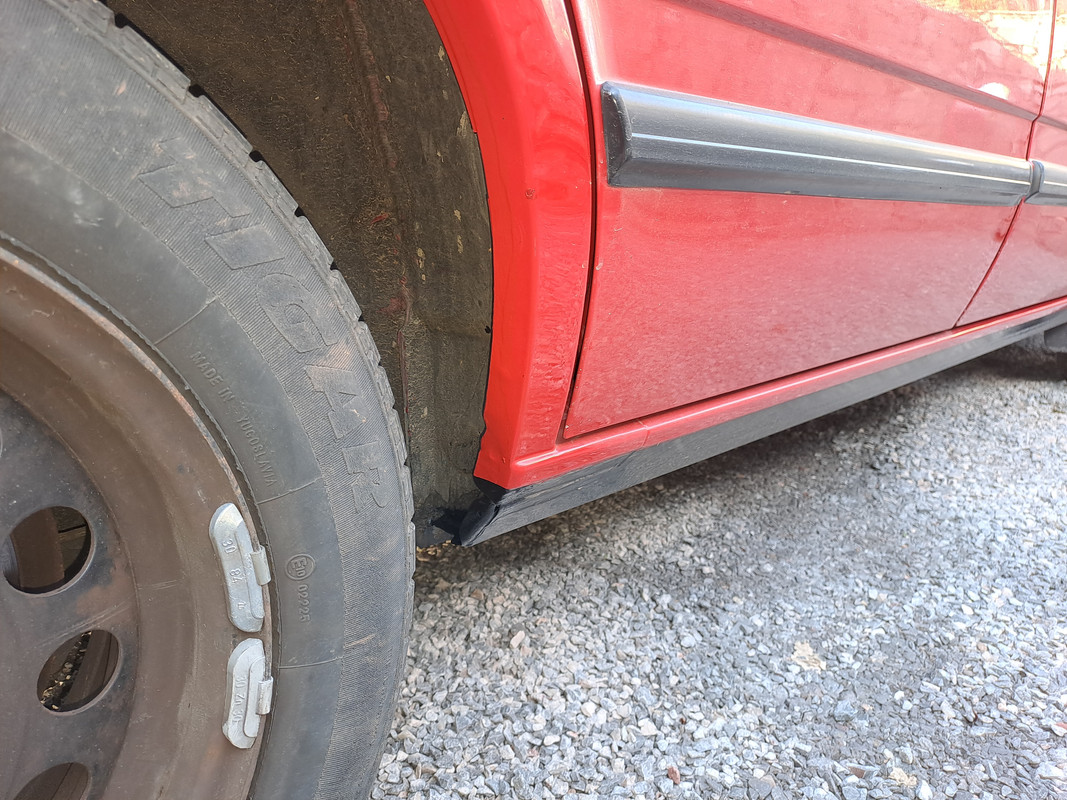 I think I fulfilled my spec, not bad for painting by hand by decanting a touch up paint into a ramekin and using an artists paintbrush! |
|
|
|
| The Following 4 Users Say Thank You to Chris1Roll For This Useful Post: |
|
Oct 8th, 2023, 19:36
|
#96 | |
|
Premier Member
Last Online: Today 21:20
Join Date: Sep 2021
Location: Stowmarket
|
Quote:
Cheers Steve |
|

|
|
| The Following 4 Users Say Thank You to Steve 940 For This Useful Post: |
|
Oct 8th, 2023, 21:40
|
#97 |
|
Premier Member
Last Online: Today 18:35
Join Date: May 2012
Location: Lakenheath
|
What Steve said ^^^^^
__________________
Cheers Dave Next Door to Top-Gun with a Honda CR-V & S Type Jag Volvo gone but not forgotten........
|
|
|
|
| The Following 3 Users Say Thank You to Laird Scooby For This Useful Post: |
|
Oct 14th, 2023, 23:00
|
#98 |
|
Senior Member
Last Online: Today 10:58
Join Date: Aug 2006
Location: Cannington
|
I now have a heater!
I bought one of the valves from Germany: https://www.ebay.co.uk/itm/224543798978 Or rather, I tried to. They took my money, marked it as despatched and then a few days later refunded me. No explanation. I messaged them in both English and very broken German but didn't get any response. Not impressed with the communication - what peed me off the most was that on the refund message from E-bay they had stated that I had asked to cancel the transaction! I see now that they have changed the listing to 'out of stock'. Therefore, I had to make something else fit. After a bit of measuring, I settled on the following: 16mm push to close brass water valve: https://www.t7design.co.uk/brass-hea...7-d03-0a0.html 1.5m bowden cable: https://www.t7design.co.uk/type-a-bo...6-207-ce6.html 1m of 16mm edpm heater hose: https://www.t7design.co.uk/epdm-car-...5-aad-571.html (For the amount I used, this could better be substituted with a 90deg edpm elbow that they sell instead, with the 90deg taking the place of the volvo hose I ended up adapting, especially if you have had to cut the original hose off.) A 16mm brass bulkhead fitting: https://www.amazon.co.uk/dp/B0B77XYS...t_details&th=1 And a few extra hose clamps. I did pay extra for DPD delivery on the stuff from T7 design as Royal Mail's latest record for delivery here is now just over three weeks on a 48hr tracked service and I kind of wanted to get on with it, but otherwise the total cost is less than £40. The first trial fitting. The short length of rubber hose needs to be cut such that the brass valve almost touches the inlet on the heater matrix, but leaves enough length that the valve can be lifted enough to point more directly at the hole in the bulkhead which it currently sits below: 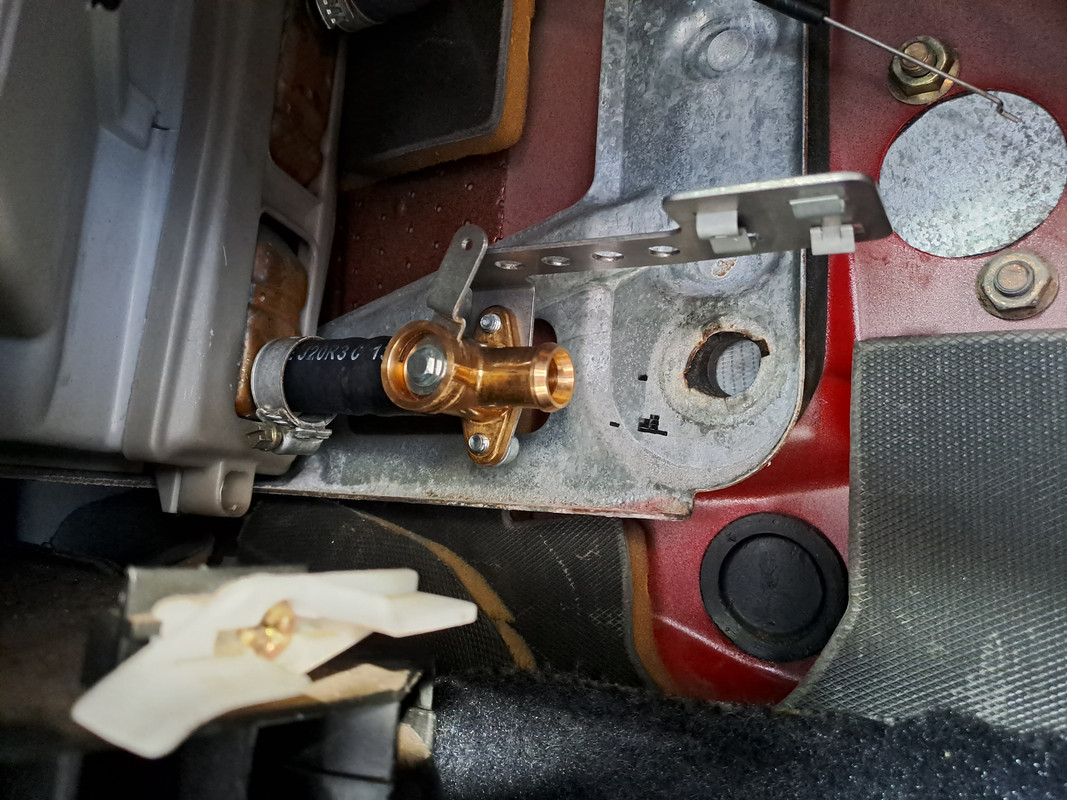 I didn't want it all flopping about down there. Luckily I found this random bracket left over from when I built our kitchen a few years ago: 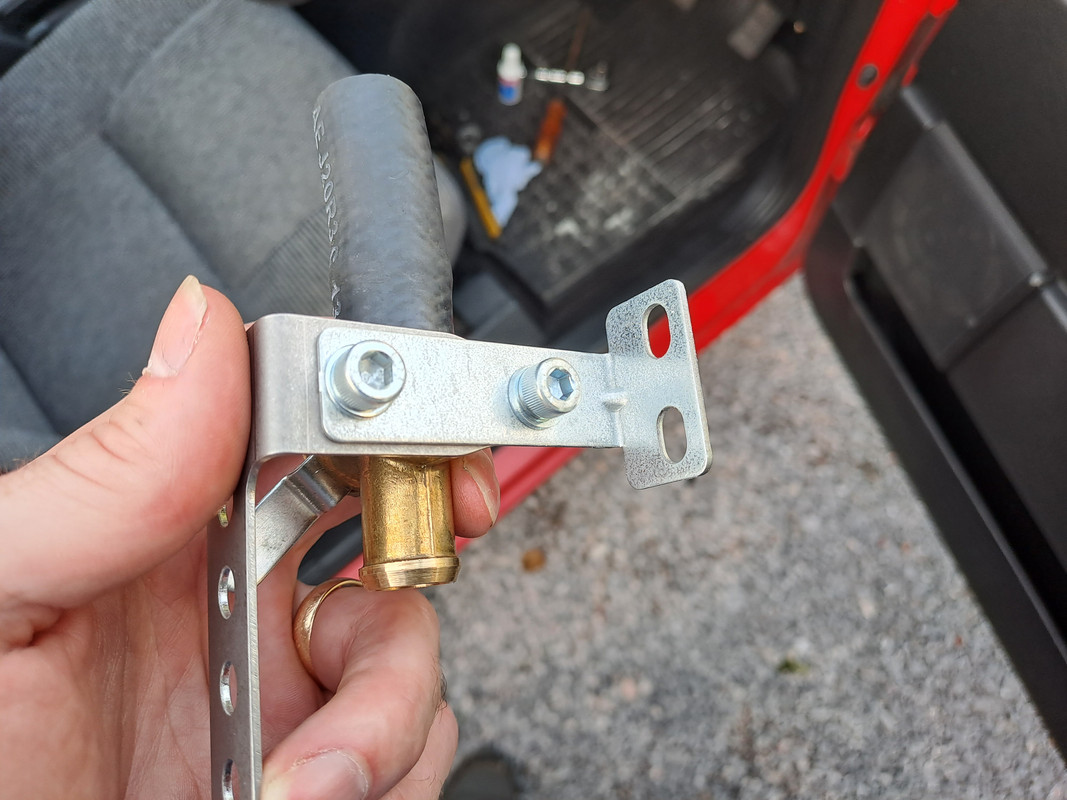 In order to fix that bracket to the car, I neded to drill a hole just at the end of the tippex mark on the steel sheet here: 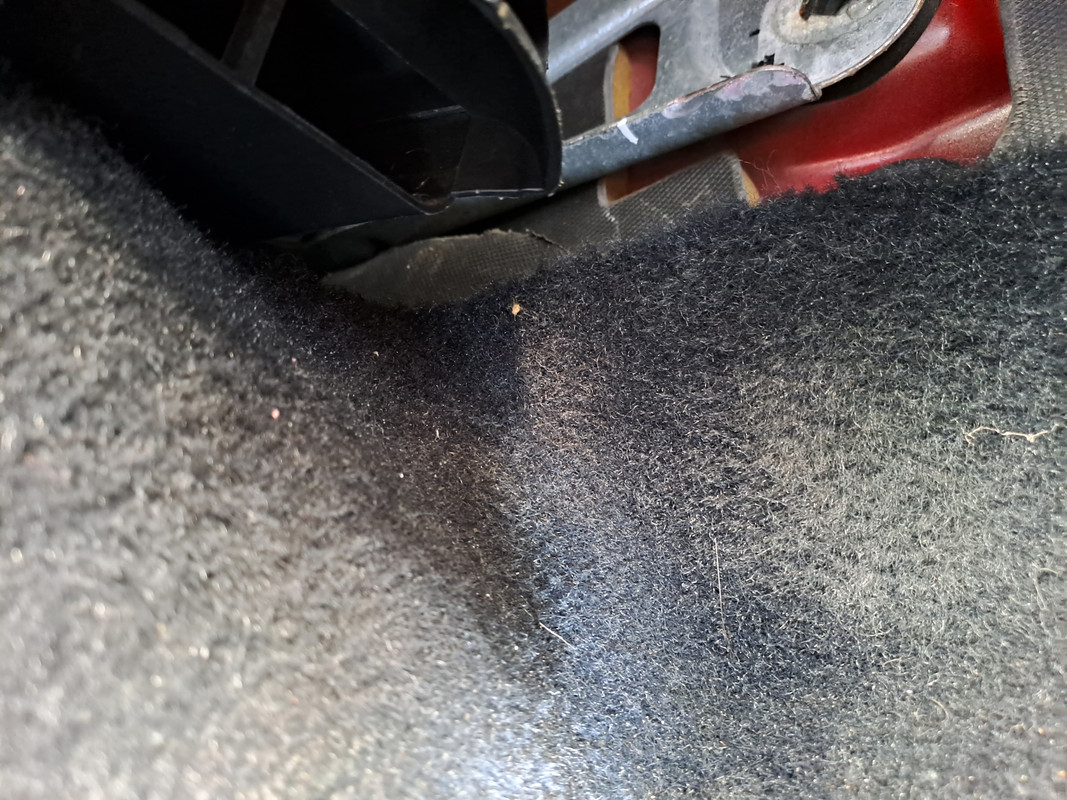 Somehow I managed that, and with the bracket loosely in place, part of the original volvo hose is trial fitted to point to the hole in the bulkhead.  Now, the original bowden cable was never going to reach down to a replacement valve so that needed to be changed. I had assumed, that the original cable came off the left of the slider, did a little loop, and then went directly to the valve. It does not. It comes off the right hand side of the slider, loops over the heater unit and controls a flap in the air intake. From there a second cable runs to the valve and it is this one that must be replaced. Can you see it? 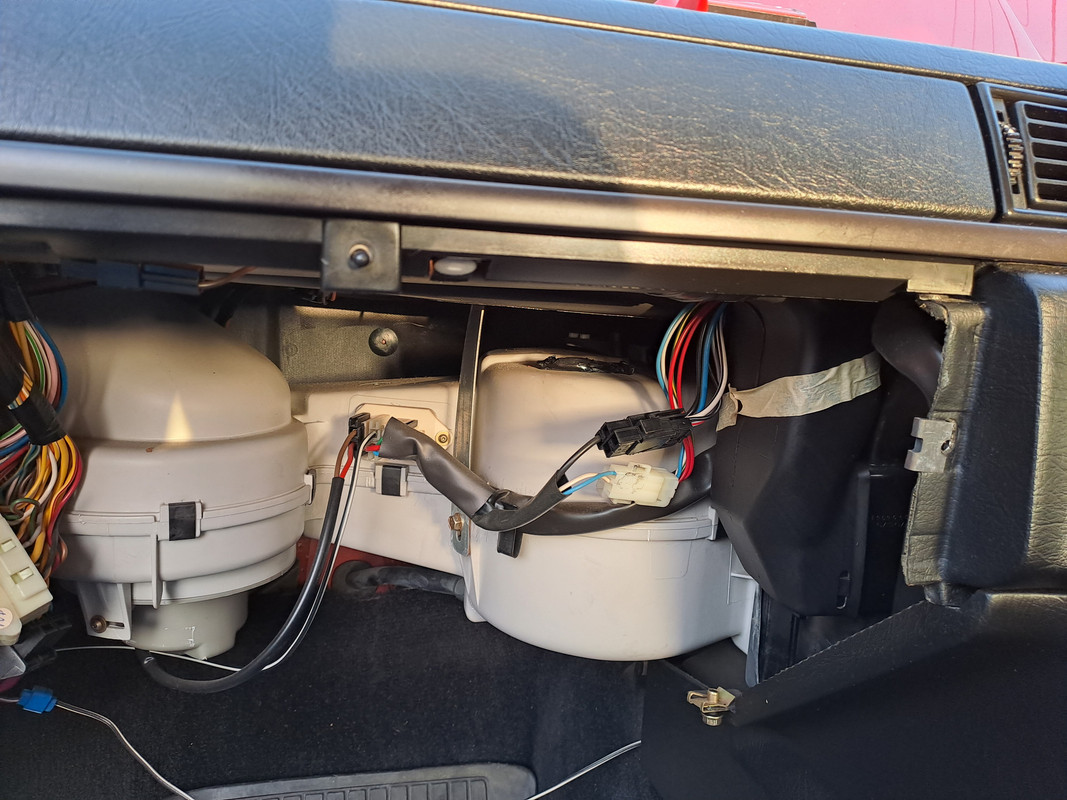 No? Here you go: 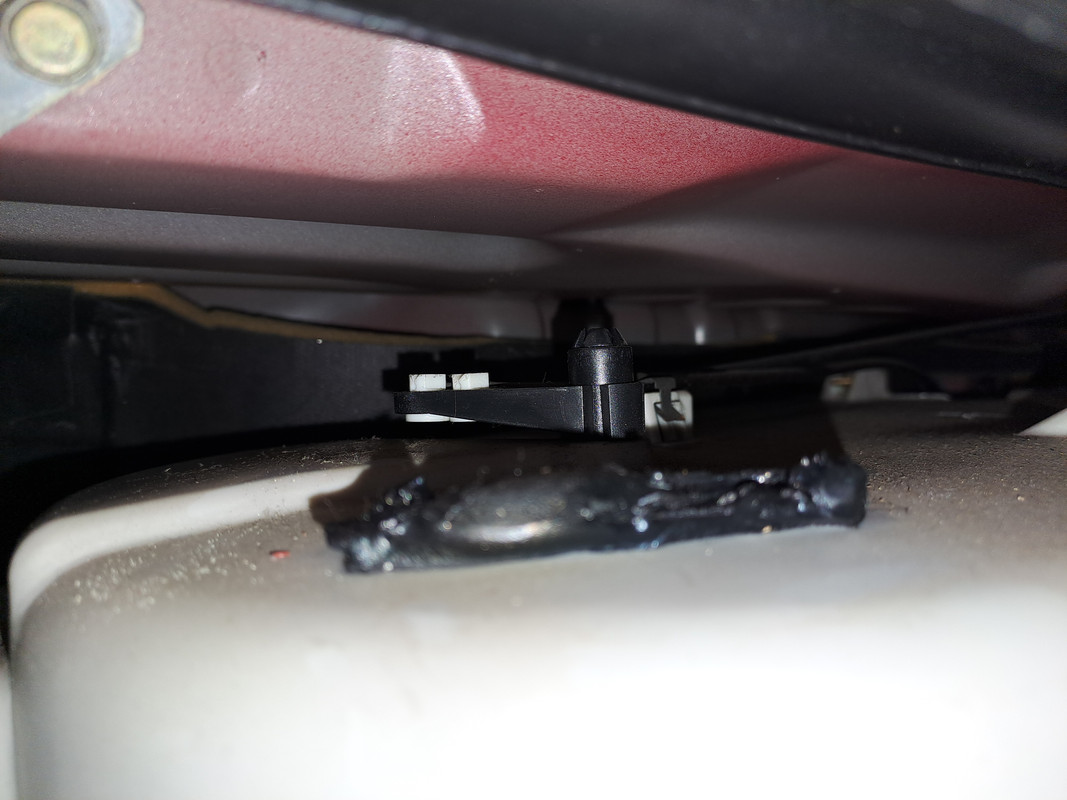 This is what took the time. It is the cable closest to the pivot that has to come off. A long screwdriver popped the out cable clamp off, and then I was able to pop the inner out of the white plastic clip you can just about see. At this point it is worth noting that the inner cables here aren't double bent, the have a single 90deg bend in them and are then clipped into the white plastic clip, so I had to modify the new cable. Getting the new cable actually clipped into that plastic clip was quite frustrating! It would look like it was ok, but after a few actuations it would work its way out again. In the end I had a screwdriver wedged under it against the heater box, and then used my 1/4 drive extension wedged against the upper bulkhead to get the pressure required to seat it properly. I originally bought the 1.5m cable deliberately thinking it would be too long and I would need to cut it down, but in fact it turns out it works out just right for me being able to route it with only gentle bends in it. it runs along over the top of the pedal box, curves around almost against the right hand side of the car, passes through the loop formed by the ignition ecu, goes just above the steering column and onto the valve. Once it was hooked up I discovered that becase it was driven by the inside of the lever (I.e. closer to the pivot point) on the top of the heater box, that shortened the throw compared to if it came straght off the slider, and therefore it didn't have enough throw to open the valve any further than this:  So the valve had to come out again (twice) while I drilled some extra holes in the arm so that the throw I had available would open the valve from the fully closed position, to, as it ended up, about 95% of the way:  All fitted: 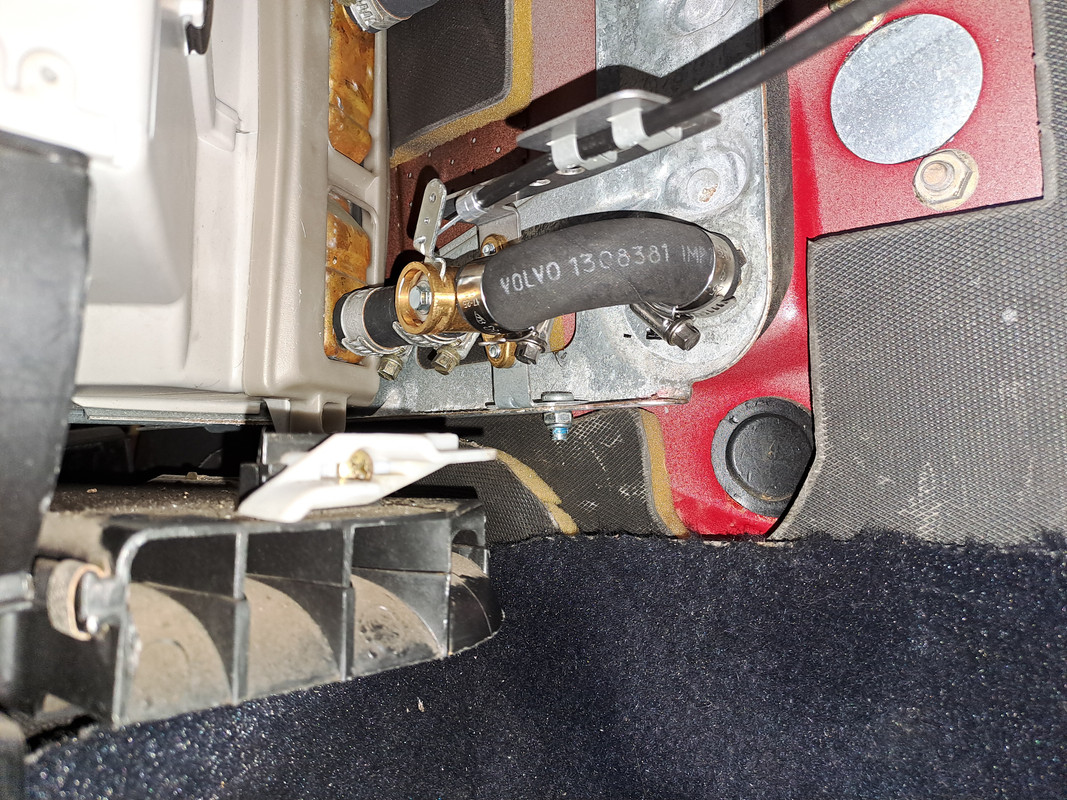 Further out picture of the bowden cable route. 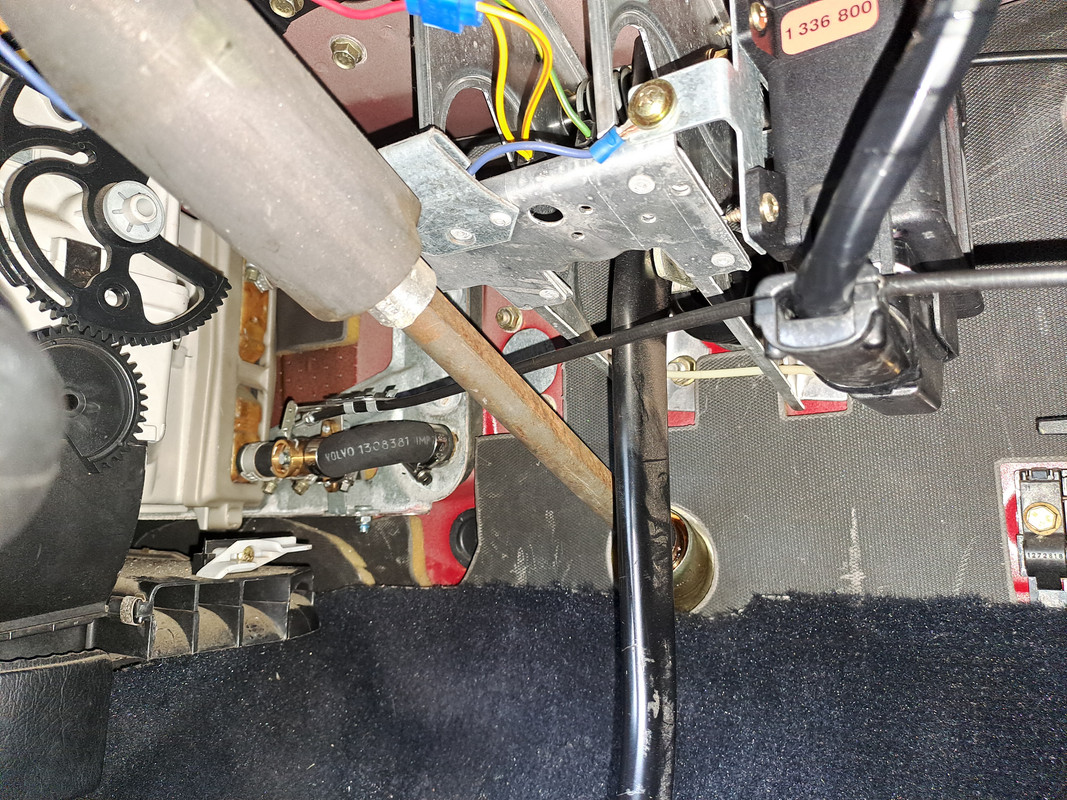 Good job my car is an auto. In a manual I suspect bending the cable retaining bracket might get the cable to clear in front of the clutch pedal, but without one to check I can't be sure. The alternative maybe would be to make an L shaped lever and use the original bowden cable to drive that with a short link to the valve lever. The valve in that case would need to be push to open.. The bulkhead fitting showing in the engine bay:  I was originally going to use a piece of 15mm copper with an olive soldered on to either end, but given how thin copper pipe is these days, the much more substantial piece of brass seemed the right option. I had made some washers to go either side of the bulkhead, but as it turns out the centre part of the fitting wasn't quite long enough to use them. It isn't moving around, but I ended up putting some silicone ( ) around the hole on the engine bay side to ensure any gaps were filled in case of exhaust leaks etc..And with the hoses hooked up and the coolant topped back up again I now have a toasty warm heater 
|
|
|
|
| The Following 5 Users Say Thank You to Chris1Roll For This Useful Post: |
|
Oct 15th, 2023, 12:19
|
#99 |
|
Premier Member
Last Online: Today 18:35
Join Date: May 2012
Location: Lakenheath
|
Excellent work Chris and just in time for the New Ice Age!
__________________
Cheers Dave Next Door to Top-Gun with a Honda CR-V & S Type Jag Volvo gone but not forgotten........
|
|
|
|
| The Following 2 Users Say Thank You to Laird Scooby For This Useful Post: |
|
Oct 15th, 2023, 13:10
|
#100 |
|
VOC Member
Last Online: Today 21:54
Join Date: Aug 2021
Location: Ashbourne
|
What toasty toes youre going to get!😁
Good photos BTW.👍🧐
__________________
Its pointless having a battle of wits with unarmed people! |
|
|
|
| The Following 2 Users Say Thank You to Moomoo For This Useful Post: |
|
| Currently Active Users Viewing This Thread: 1 (0 members and 1 guests) | |
|
|


 Linear Mode

