

|
|||||||
| PV, 120 (Amazon), 1800 General Forum for the Volvo PV, 120 and 1800 cars |
 Information
|
|
U.S. Build P1800. LS1 (V8) 5-Speed, Flush Mount Glass KitViews : 57255 Replies : 259Users Viewing This Thread : |
|
|
Thread Tools | Display Modes |
|
|
#33 |
|
Trader
Last Online: Aug 1st, 2014 05:07
Join Date: Feb 2011
Location: Madill
|
I have had some emails with some additional questions about the greenhouse roof mod, so here are a few more pictures of the process, and you will see it is pretty easy once you have a template for the cut. I have taken pictures of the the factory roof rail on the passenger side, and the modified roof rail on the drivers side. As you can see, it is really just a matter of hammering the oem pinch weld flange down to a flat position so it can be used as the bonding surface for the glass. After that, it is really only a matter of using a filler strip from the roof rail structure to the outer roof skin, and that ties the roof skin in, and in turn does a double boxing of the roof rail assembly.
I had to take it this far so I could get my programmer started on the automated cut programs for the templates and filler pieces. When all of that is done, I hope to have a basic horseshoe template that will line everything up for the cutting and new glass, but it will also have all the filler strips as break away pieces in the body of template. I hope that makes sense, because it sure does in my head.. LOL Oem Passenger side roof rail. 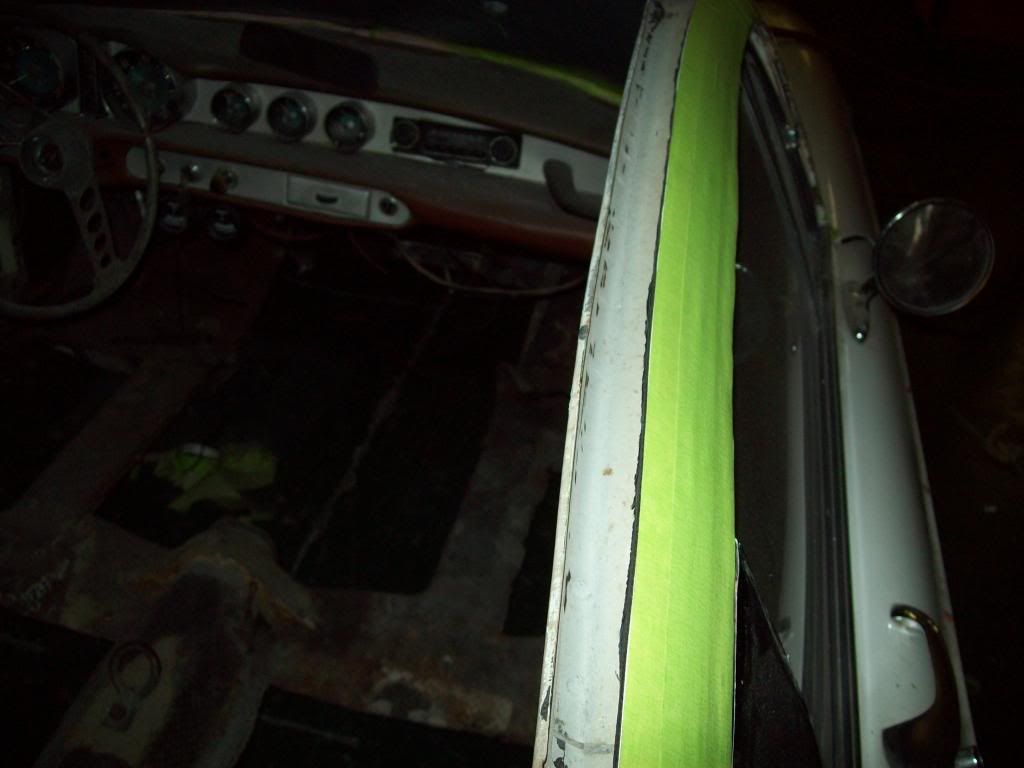 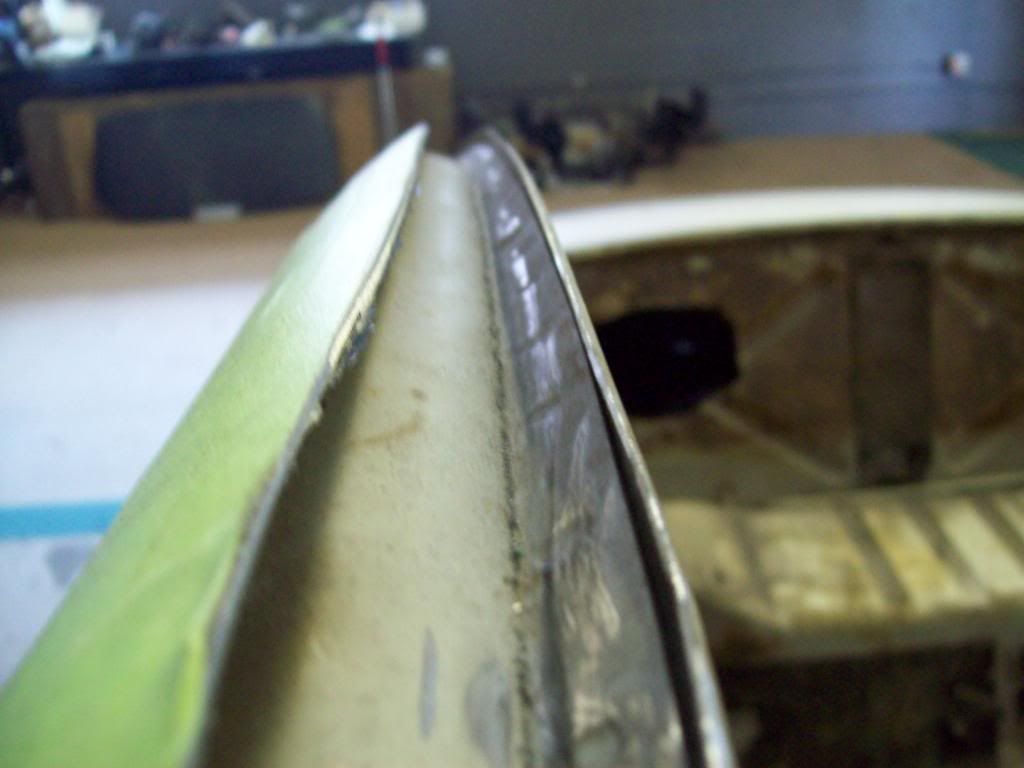 Modfied Drivers Side roof rail. Pinch weld flange hammered down for a glass adheasion point, and the filler strip to box the roof outer skin and roof rail pocket. I also added a strip down the side of where the back glass would attach normally, that way there is a uniform flange for glass adheasion. Keep in mind that the template assembled car will be much cleaner than the hand cut pieces I have here, and the finish welding and grinding hasnt been done, but this will give you an idea of how it works. Once all of the welding and additional boxing is done, along with the heavy tempered glass being installed, the body integrity should actually be stronger. 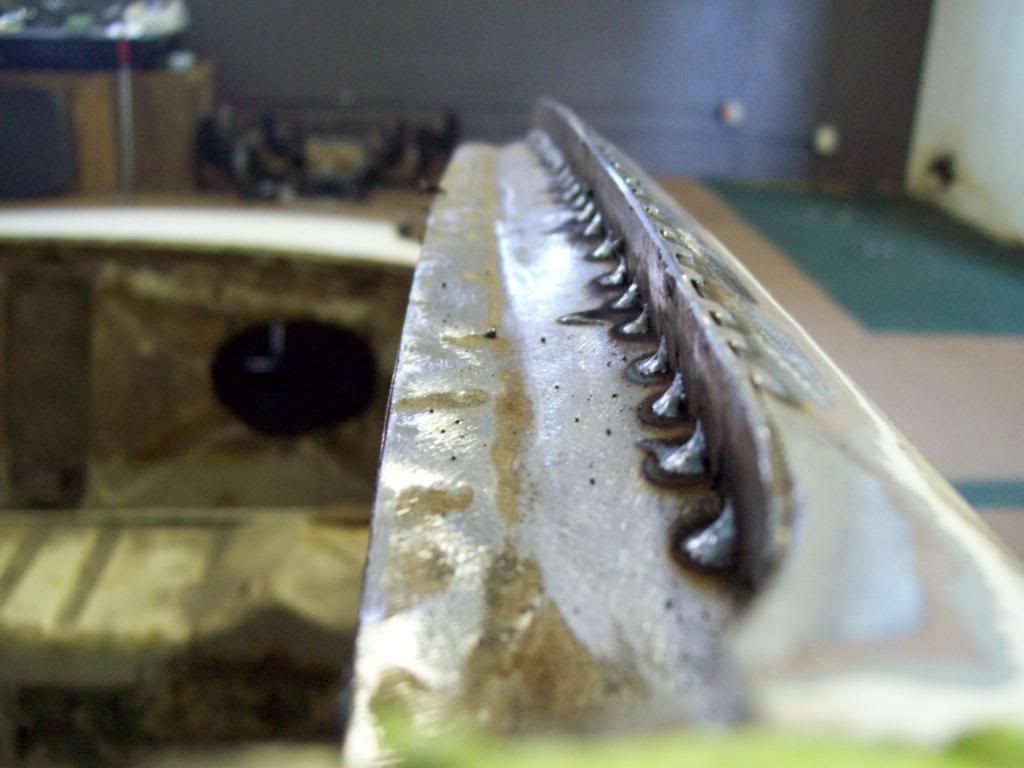 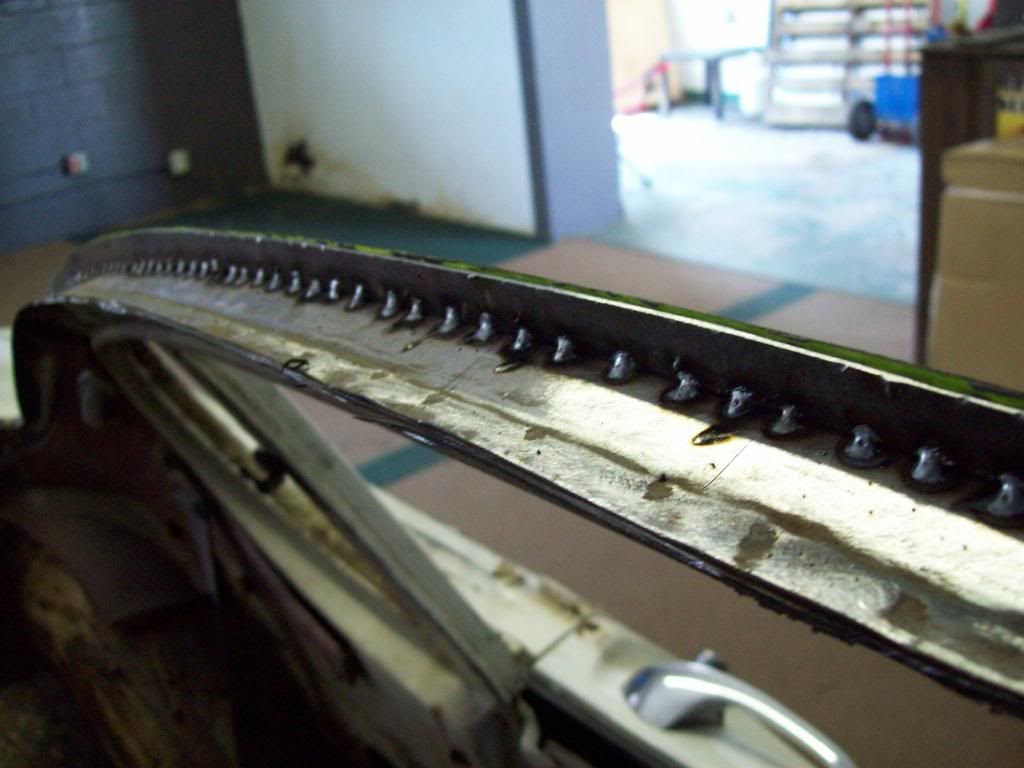 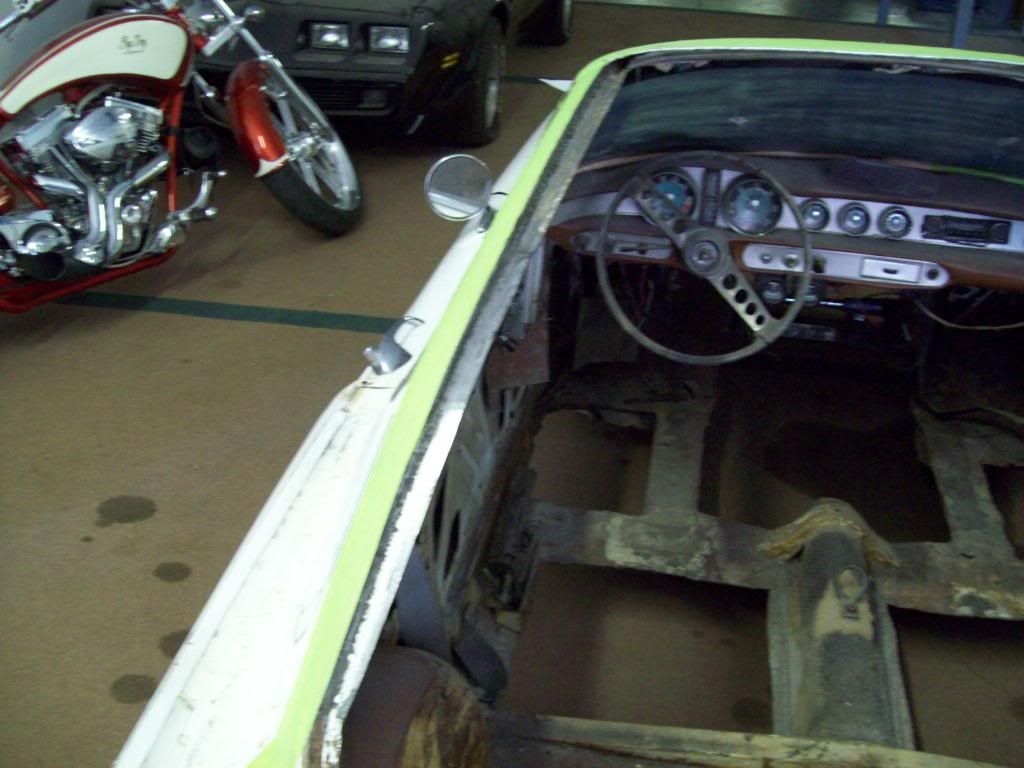
__________________
Robert Jackson Classic Auto Glass Innovations Flush Mount Glass Classicautoglassinnovations.com |
|
|

|
| Currently Active Users Viewing This Thread: 1 (0 members and 1 guests) | |
|
|