

|
|||||||
| PV, 120 (Amazon), 1800 General Forum for the Volvo PV, 120 and 1800 cars |
 Information
|
|
1964 Amazon 122S restoration projectViews : 39060 Replies : 270Users Viewing This Thread : |
 |
|
|
Thread Tools | Display Modes |
|
|
#251 |
|
Premier Member
Last Online: Today 06:41
Join Date: Jan 2020
Location: Skeg Vegas
|
Those were fascinating updates, thank you.
Achieving 35MPG was very good indeed, I donít think Iíve ever got better than 30 MPG on a run with Great Aunt Maud. Alan 
__________________
... another lovely day in paradise. 
|
|
|

|
| The Following 2 Users Say Thank You to Othen For This Useful Post: |
|
|
#252 | |
|
Senior Member
Last Online: Yesterday 08:45
Join Date: Sep 2020
Location: Falkirk
|
Quote:
In day to day use (which are still decent runs) I'm seeing between 27 and 29mpg so not far off what you have experienced. I intend to fit an electric fan and delete the fixed one soon, which hopefully will help too. |
|
|
|

|
| The Following 3 Users Say Thank You to Juular For This Useful Post: |
|
|
#253 |
|
VOC Member
Last Online: Jul 25th, 2024 18:37
Join Date: Oct 2022
Location: Cheshire
|
I am so glad I have found this thread, I saw this car at rustival and included it in my Youtube video. I love the look and honestly of this car its so dam cool.
__________________
Restoring Volvos & Filming along the way! Current Volvos: www.youtube.com/simpsonsclassics 64 Amazon 121 79 Volvo 245 DL 03 P2 V70 D5 |
|
|

|
| The Following 2 Users Say Thank You to Simpsonsclassics For This Useful Post: |
|
|
#254 | |
|
Premier Member
Last Online: Today 06:41
Join Date: Jan 2020
Location: Skeg Vegas
|
Quote:
An electric fan is an interesting idea; I fitted one to the RB (1980 244) a few years ago and it worked very well indeed.  Addendum: Forget what I said in the above about only getting 29 MPG on a run from Aunt Maud; when I checked my own records I found it achieves 33 MPG, so quite comparable to your Amazon Juular: https://www.volvoforums.org.uk/showp...postcount=1198 Ö sometimes Iím a forgetful chap 
__________________
... another lovely day in paradise. 
Last edited by Othen; May 14th, 2024 at 15:02. |
|
|
|

|
| The Following 2 Users Say Thank You to Othen For This Useful Post: |
|
|
#255 |
|
Senior Member
Last Online: Yesterday 08:45
Join Date: Sep 2020
Location: Falkirk
|
The nice thing about doing long drives is you get a feel for the things you want to improve.
First thing was to improve the door seals as the ones on the car were original, and falling to bits. There was a bit of wind noise on the driver's door and both rear doors. This was done with generic D profile rubber, put in place with impact adhesive. It works really well and the doors shut with a convincing sound.  I also felt a draught from around the gear shifter, which was easily fixed with some recycled plastic loft insulation.  Next up, rewiring.   There are lots of things about the factory wiring that irk me. The lack of fusing on many circuits, the way that nearly all of the current for the car is passed through the ignition switch, and the way that so many things are daisy chained off the back of the fuel gauge.  I don't know if anyone else has noticed but the ignition switch can get extremely hot with all that current passing through it, which freaks me out. For this reason the plan was to fit a master 100A ignition relay, with the only current draw passing through the ignition switch to be the unfused feed for the coil. The rest will be fed off two blade fuse boxes, one for permanent live and one for ignition switched live. Another thing I wanted to do was move the fuses inside the car to reduce the corrosion problem. Here are the finished fuse boxes.  No longer having to deal with crappy glass or continental fuses is a benefit in my mind, but also having a fusebox which indicates which fuses are blown is extremely helpful. It's also nice to know that losing one circuit isn't going to affect everything else. I also quite like the cleanliness of the engine bay without the fuse box in there. At the same time I made a number of upgrades. Hazard switch.  Routing the overdrive and reverse wiring through the shifter hole.  Deleting the brake pressure switch and fitting a later model brake pedal switch. My brake lights were so lazy before doing this that I felt it was a danger.  Replacing the flasher relay with an adjustable one as the indicators are far too slow.  Replacing the floor dip switch with a flasher relay from a VW bus, in this case DNI0127.  Using this the flasher stalk acts as flashers with the lights off, but if you turn the lights on the flasher acts as a full beam toggle switch. Absolutely perfect. Some extra cosmetic touches. Sanded back, epoxied and painted the somewhat cracked and tired steering column shroud.   Finally, replacing the dash instrument light decals, as they had mostly worn off.  All of these may seem like minor changes but they have transformed how the car feels, just being able to operate the main beam easily and having reliable lights and indicators etc. |
|
|

|
| The Following 6 Users Say Thank You to Juular For This Useful Post: |
|
|
#256 |
|
Premier Member
Last Online: Today 06:41
Join Date: Jan 2020
Location: Skeg Vegas
|
That is a really good point about the poor electrical design, and in particular about the very large current passing through the ignition switch. I started to get problems with the switch making good contact, so I fitted a starter relay (and also a Ron Kwas push button switch to take load off the gorilla spring):
https://www.volvoforums.org.uk/showp...postcount=1040 It works much better than the original design, and I feel happier knowing there arenít 40 Amps coursing around the cabin. Your point about the flasher relay is a good one also; I found a solid state replacement that is far more reliable than the original Lucas one: https://www.volvoforums.org.uk/showp...postcount=1073 Good thread - and some really good ideas for Amazon owners.  Addendum: I like what you have done with the brake light switch - I donít much trust the pressure sensitive switch either.
__________________
... another lovely day in paradise. 
Last edited by Othen; May 15th, 2024 at 18:13. |
|
|

|
| The Following 3 Users Say Thank You to Othen For This Useful Post: |
|
|
#257 |
|
Senior Member
Last Online: Yesterday 08:45
Join Date: Sep 2020
Location: Falkirk
|
Bringing this up to date.
I wanted to improve the performance of the car. When I changed the cam, I noticed that the one I fitted during the rebuild was a B cam, not a D as originally thought, it's just that the marking had worn off so was difficult to read. Regardless, I found the now installed K cam an improvement in overall performance and the drive down to Rustival was a great deal of fun. The main area which I felt could be improved was power at motorway speeds, which suggested to me the engine needed to breathe better. On top of that I felt that I wanted to improve the handling. The original bushes were getting a bit tired, and I found the body roll quite wearisome on twisty roads. On the motorway I found the car unsettled by winds and HGV draughts. First thing I did was replace the original single outlet pea shooter exhaust with a branched manifold and sports exhaust. 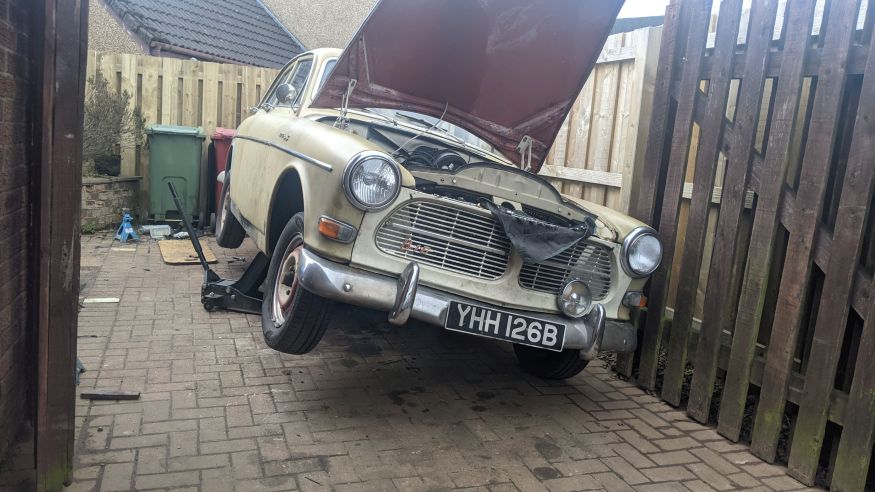 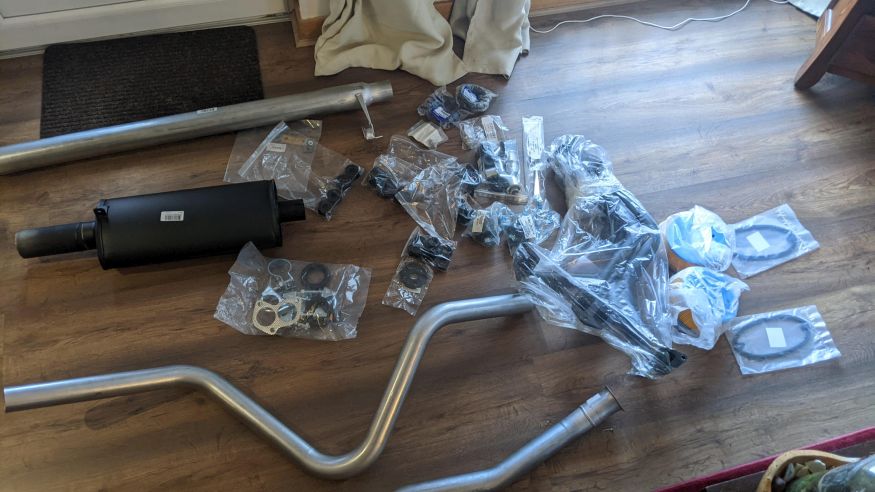 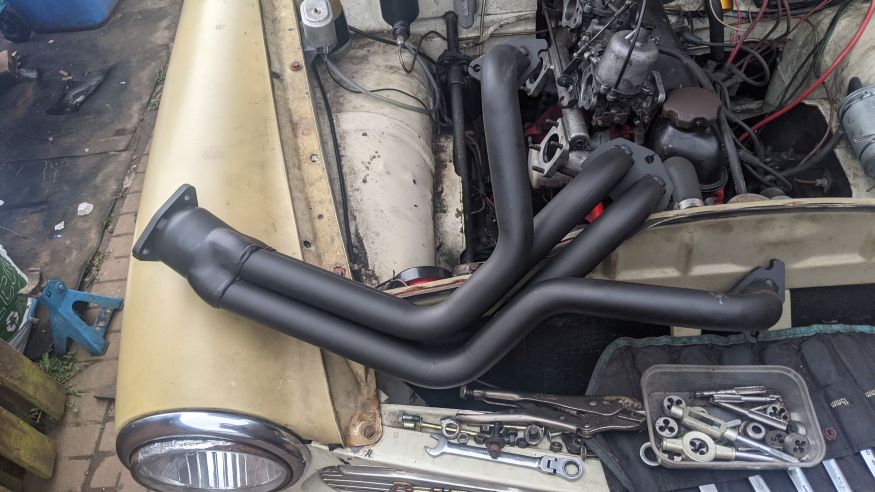 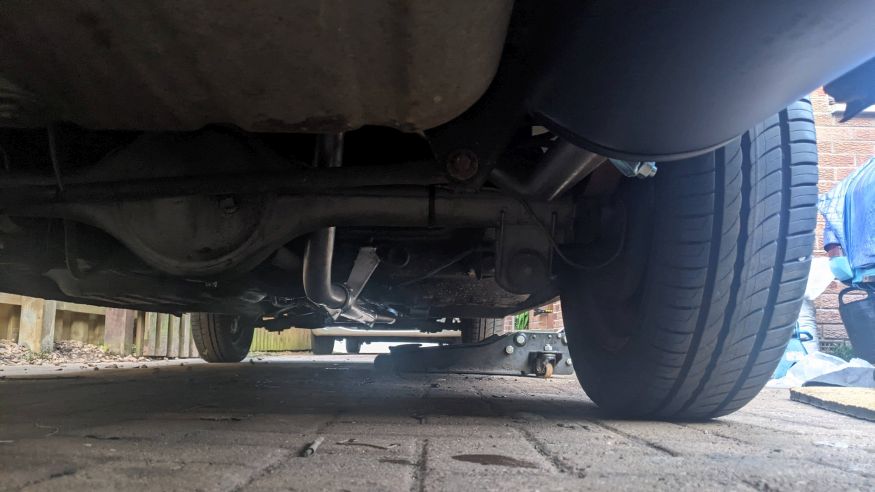 I coupled this with some better air filters as the generic thin SU pancakes I had on were quite restrictive. 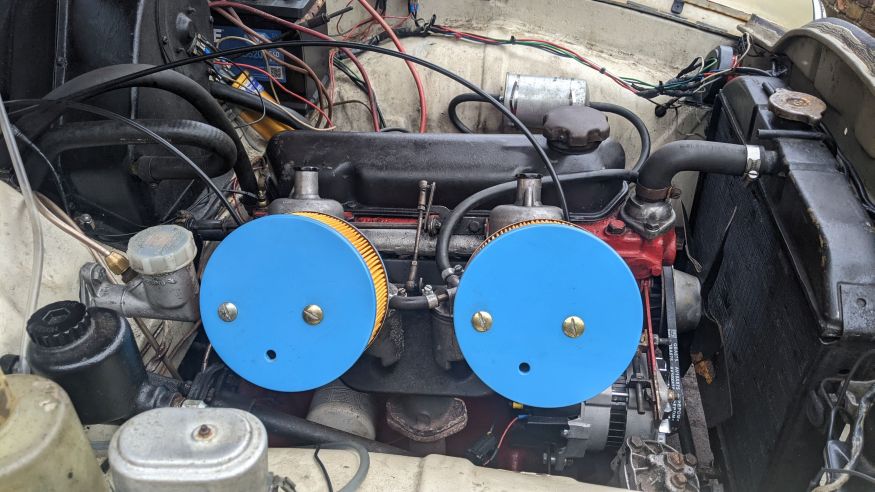 I also felt the engine was leaning out a little too often, even with the idle mix set quite rich. To try and address this I fitted a pair of KD needles. 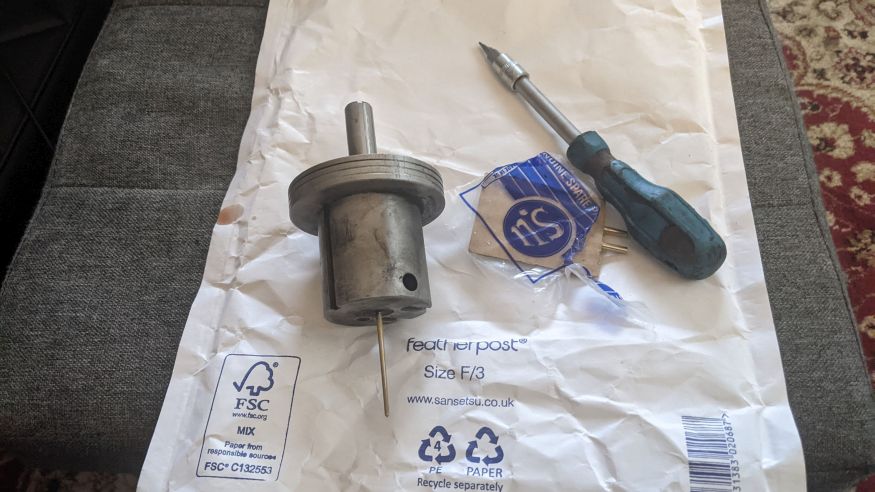 First impressions were really positive, with both an enormous increase in low down torque at the same time as the ability to rev the engine right out without running out of breath. Motorway driving is more relaxed now as it has significantly more grunt. I also managed to get a happier mix setting, with the plug colour looking healthier after a good drive. I have to admit I'm not entirely happy with the Simons sport exhaust. It doesn't fit very well despite hours of adjusting and tweaking, causing the mid pipe to slam against the rear passenger footwell on bumps. The back box strap is also a bit weedy and I found it moved around far too much. I had to make my own strap to allow it to sit lower and further towards the outside of the car, or it would bang into the fuel tank on corners. Not entirely happy with the sound either. It's certainly throatier without being boy-racer, but the drone at motorway speeds is a bit wearisome. I am tempted to see if I can source a better rear silencer to try and quieten it down. Now onto the handling. The first thing to address is the fact that the gearbox mount was shot causing the prop to hit the transmission tunnel. Good job I can fix this problem with a "Professional PRAT". 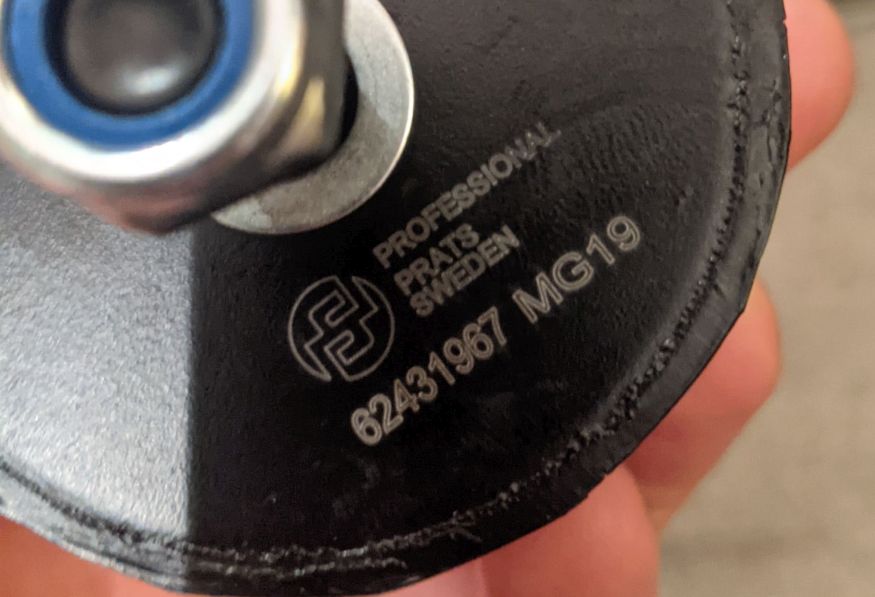 Then, it's on to polybushing the entire car. 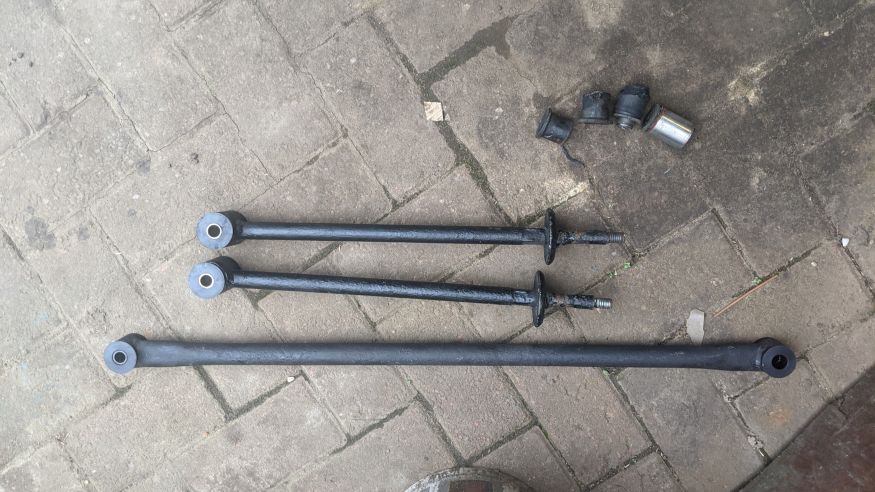 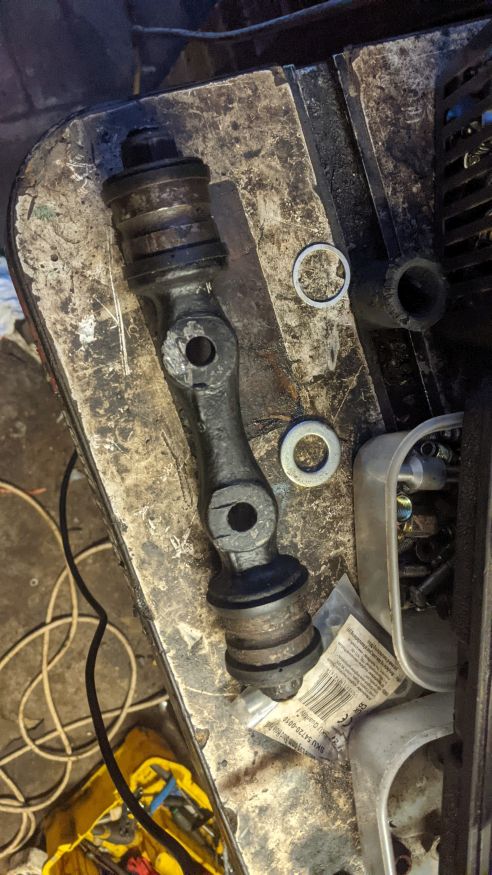 In the midst of doing this I noticed that the front lower wishbone rubber bushes had begun to walk themselves out while on the car. Uh oh! 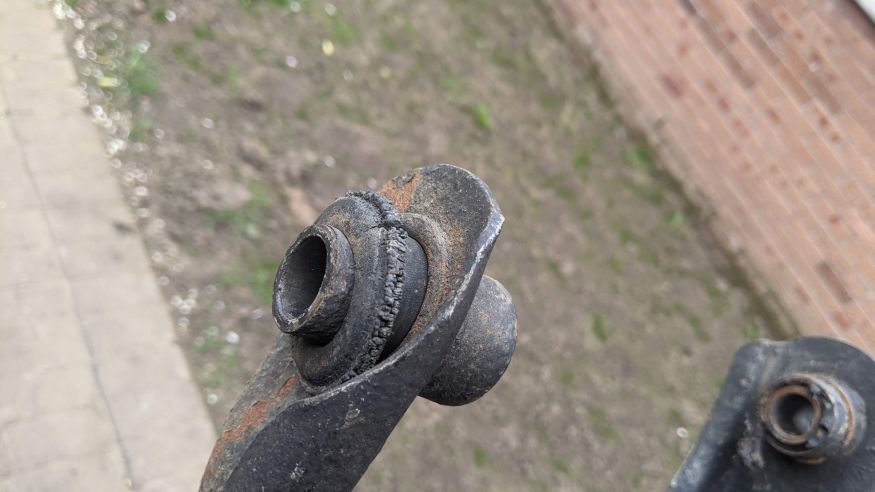 To me this was a sign that the arms were not straight any more, and indeed placing one arm on top of the other showed that they were radically different. To make matters worse I placed all of the arms I had from both the original and donor cars together and noticed that not one was the same as any other! I had to bite the bullet and buy a set of new lower arms, which I then pressed poly bushes into. To finish off I fitted front and rear IPD anti-roll bars. 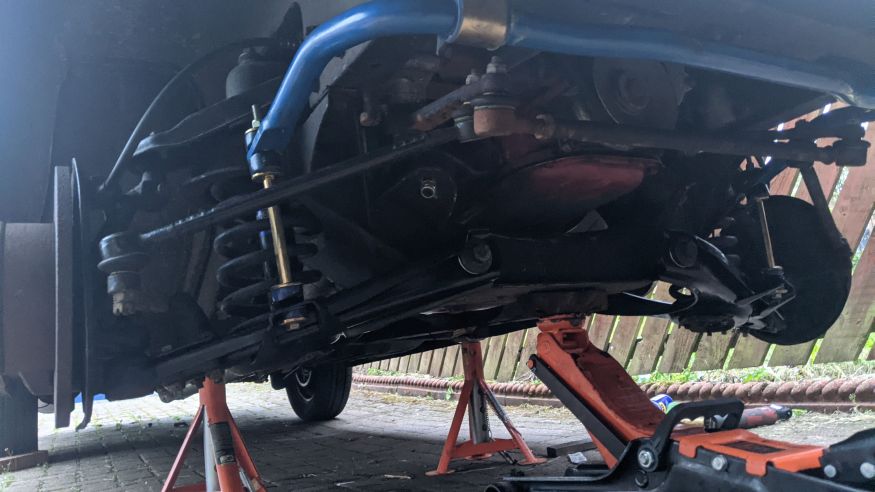 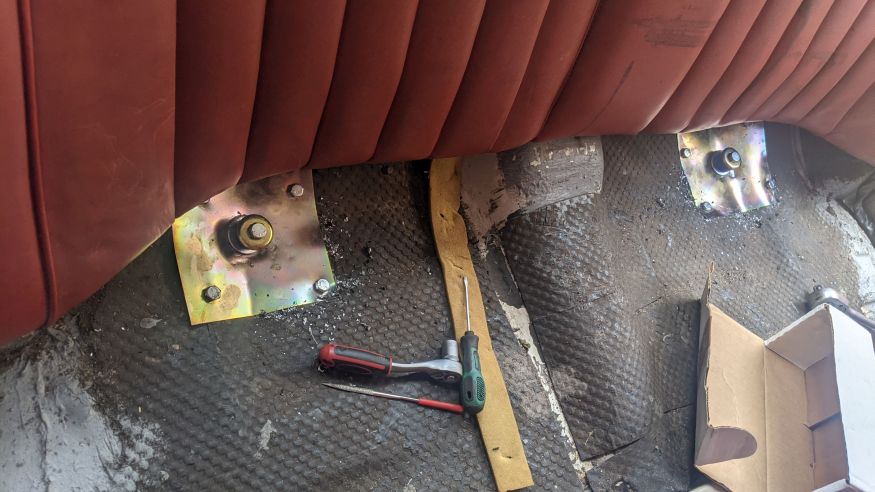 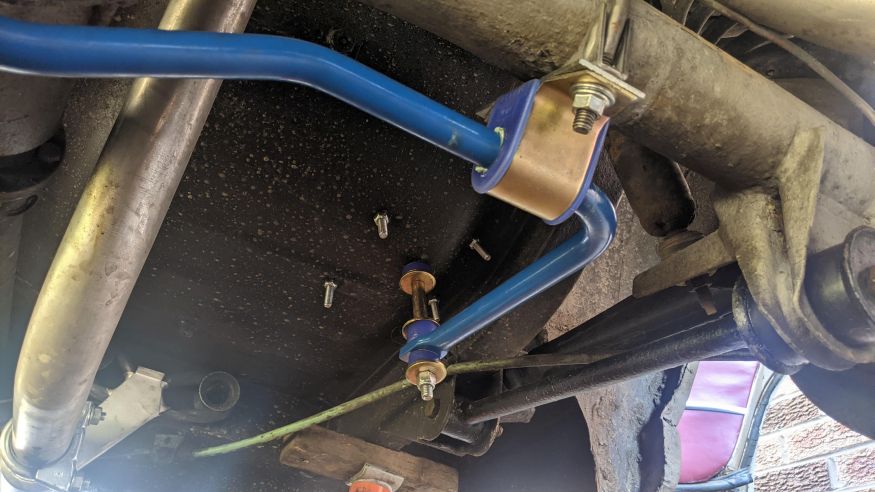 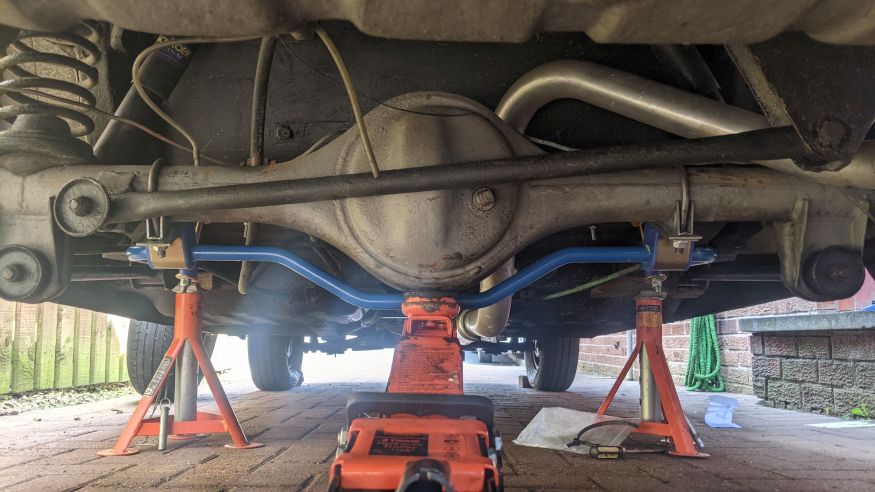 After that lot, I set the front alignment to just a smidge of toe-in. Car drove nice and straight right off the mark after that. The combination of polybushing the car and adding the ARBs is a phenomenal upgrade. The poly bushes don't make the car remotely crashy, but everything feels lovely and together. Cornering is flat and accurate. It's no track car but it's a thoroughly enjoyable road driver now, and has surprised people who don't think a 1960s rustbucket should be able to keep up. I'm pleased that I kept the original springs and shocks too, as it makes the ride nice and comfortable and compliant. It's hard to tell where the car sits now in terms of BHP and torque. A friend who drove it says it feels significantly more perky than his Dolomite 1850, which is a lighter car. And that's with the longer rear axle too. Finger in the air, I feel it's not far off my 240 which is 131bhp but that is a fair bit heavier. I'm tempted to get a dyno session, however, I'm not really bothered about chasing absolute maximum, it's an old OHV boat anchor and I'm really pleased with how well it goes now. I doubt I will do any more work on the engine. The road test for this lot was a 400 mile round trip to Weardale for a drive around the North Pennines. 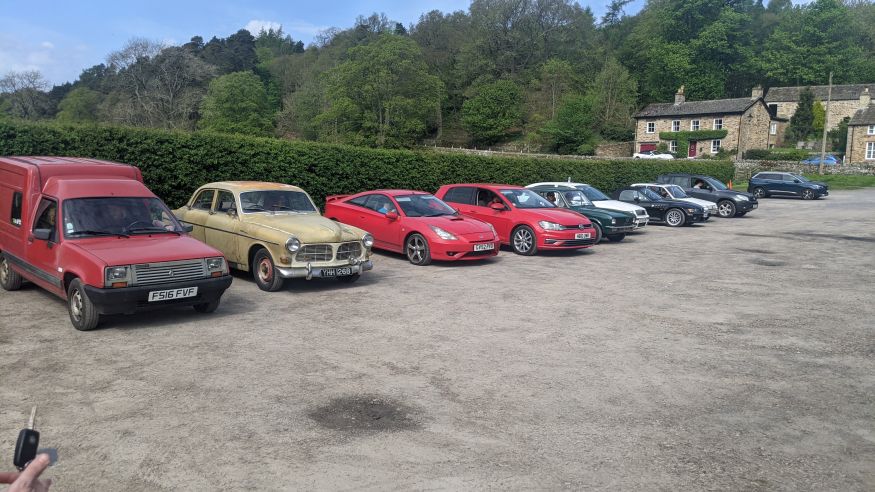 A highly prestigious award! 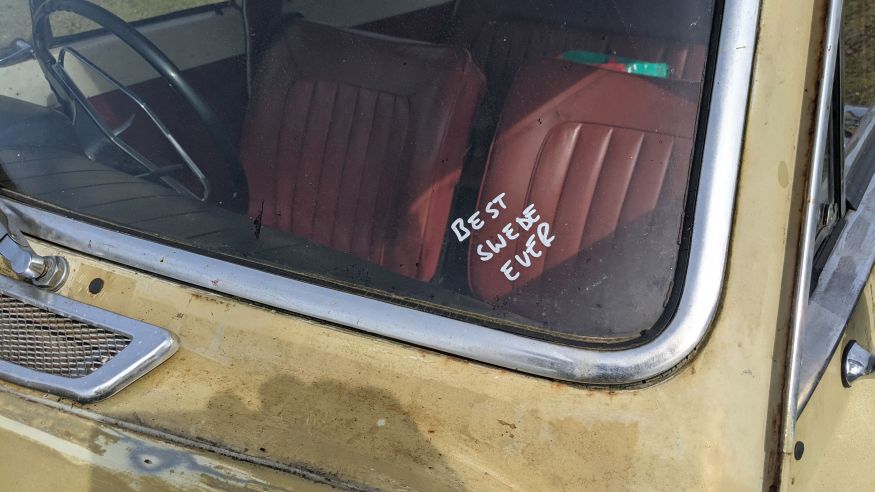
Last edited by Juular; May 22nd, 2024 at 12:00. |
|
|

|
| The Following 7 Users Say Thank You to Juular For This Useful Post: |
|
|
#258 |
|
Senior Member
Last Online: Today 07:15
Join Date: Sep 2021
Location: MILTON KEYNES
|
Had the same issue with the centre pipe so removed it and fitted a short box and straight length of pipe the box fits just before the pipe starts to go over the axle and uses the original hanger points by cutting the mount of the simons pipe and welding it on the jetex silencer
Last edited by Rustinmotion; May 22nd, 2024 at 15:03. |
|
|

|
| The Following User Says Thank You to Rustinmotion For This Useful Post: |
|
|
#259 | |
|
VOC Member
Last Online: Jul 25th, 2024 18:37
Join Date: Oct 2022
Location: Cheshire
|
Quote:
I best she also sounds sweet now to.. regards
__________________
Restoring Volvos & Filming along the way! Current Volvos: www.youtube.com/simpsonsclassics 64 Amazon 121 79 Volvo 245 DL 03 P2 V70 D5 |
|
|
|

|
| The Following 5 Users Say Thank You to Simpsonsclassics For This Useful Post: |
|
|
#260 |
|
Premier Member
Last Online: Today 06:41
Join Date: Jan 2020
Location: Skeg Vegas
|
Really good work.

__________________
... another lovely day in paradise. 
|
|
|

|
| The Following 2 Users Say Thank You to Othen For This Useful Post: |
 |
| Currently Active Users Viewing This Thread: 1 (0 members and 1 guests) | |
|
|