
|
|||||||
 Information
|
|
BLUE - 2017 Volvo V40 T2 R-Design Progress ThreadViews : 32092 Replies : 133Users Viewing This Thread : |
 |
|
|
Thread Tools | Display Modes |
 Feb 22nd, 2024, 21:38
|
#71 | |
|
Premier Member

Last Online: Jul 21st, 2024 22:33
Join Date: Feb 2017
Location: North East, Teesside
|
Quote:
In the V40 yes, 1.6 D2 for so long then changed to the 2.0 VEA D2. I don't really boot the T2 around so am averaging 48mpg at the moment. I'd say it's much better on fuel than the V50. Smaller car with a bigger engine, where as the V50 was a small engine and a much bigger car. Temping to get the V40 remapped. It's only 120bhp and stage 1 takes it to 190bhp.
__________________
 Thread V40 T2 R-Design - https://www.volvoforums.org.uk/showt...56#post2901756 Thread V50 D2 R-Design - https://www.volvoforums.org.uk/showthread.php?t=264890 - CRASHED |
|

|

|
|
Feb 22nd, 2024, 22:26
|
#72 | |
|
Premier Member
Last Online: Today 16:15
Join Date: Apr 2019
Location: Manchester
|
Quote:
 How did you find the V50 for rear space? Let's say the driver was 6ft and he had his seat set accordingly, but the passenger that wanted to sit in the rear behind the driver was the same height, would it be cramped in the back?
__________________
2007 S80 2.4 D5 (P3) - 110,000 miles 2008 V70 2.4 D5 (P3) - 163,000 miles |
|

|
|
|
Feb 22nd, 2024, 22:28
|
#73 | |
|
Premier Member
Last Online: Jul 21st, 2024 22:33
Join Date: Feb 2017
Location: North East, Teesside
|
Quote:
Loads of space in the back. I'm 6 foot and had no issues sitting behind the drivers seat. The V40 is way tighter behind me.
__________________
Thread V40 T2 R-Design - https://www.volvoforums.org.uk/showt...56#post2901756 Thread V50 D2 R-Design - https://www.volvoforums.org.uk/showthread.php?t=264890 - CRASHED |
|
|
|
|
|
Feb 22nd, 2024, 22:47
|
#74 | |
|
Premier Member
Last Online: Today 16:15
Join Date: Apr 2019
Location: Manchester
|
Quote:
__________________
2007 S80 2.4 D5 (P3) - 110,000 miles 2008 V70 2.4 D5 (P3) - 163,000 miles |
|
|
|
|
|
Mar 17th, 2024, 17:05
|
#75 |
|
Premier Member
Last Online: Jul 21st, 2024 22:33
Join Date: Feb 2017
Location: North East, Teesside
|
I've been off for a week after a week of nights at work.
Took the chance to give the interior a bit of attention. Luckily I don't carry many passengers, so the rear wasn't too bad. The front was fairly manky though. Started at the back first. The boot wasn't that bad.    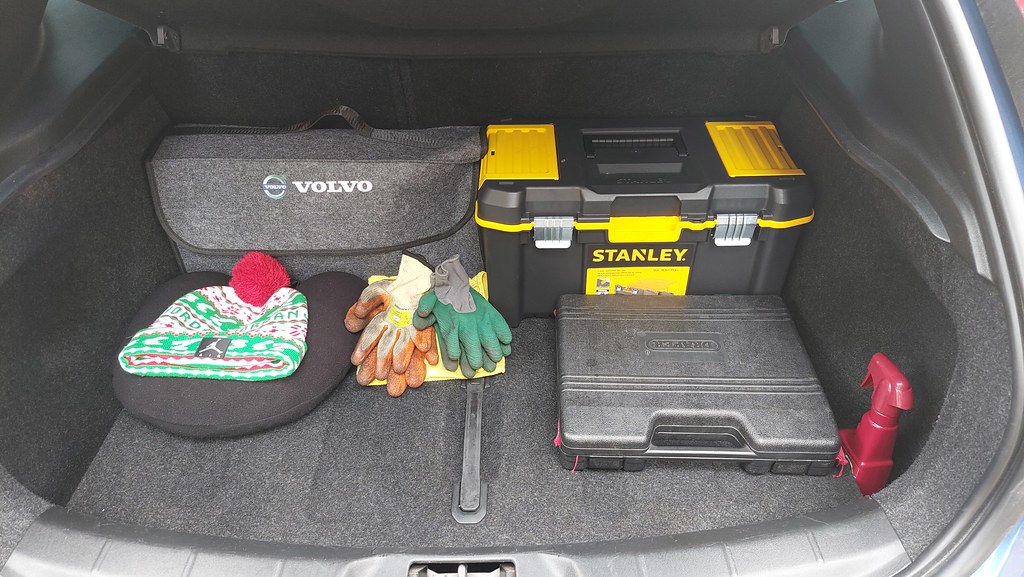 All hoovered out and cleaned with Autosmart G101 and cloths and brushes. Drivers side, filthy  Drivers side rear. Like I said, hardly any passengers in there  Passenger side front.  Passenger side rear. Just a few bits in the back really and my cheat-sheet for those frosty nights/days.  Same method used again for the interior. Hoovered everywhere. G101 on most of the plastics, directly or onto a cloth first. Little detailing brushes for those intricate areas. And I used this on the alcantara sections of the seats  All done and a couple of new air fresheners put in the outer vents    Smells and looks delightful now. Then as I was going through the glovebox, I found a couple of stickers I obtained from aaaages ago, so stuck them on the rear drivers side window. The Walking Man - NOSH Swedish Boost Mafia (I think)  Said I wasn't going to have loads of stickers on this car, but I think this might have to now be a sticker window... It was also pointed out to me that the V40 Crew sticker now says VOIVO...... totally missed that, so have ordered more to replace it. Also have cleaned the exterior, but you all know what that looks like. Next up when I'm off again in 10 days for 9 days, a full detail including decon and machine polish and also an oil and filter change.
__________________
Thread V40 T2 R-Design - https://www.volvoforums.org.uk/showt...56#post2901756 Thread V50 D2 R-Design - https://www.volvoforums.org.uk/showthread.php?t=264890 - CRASHED |
|
|
|
|
Mar 18th, 2024, 15:03
|
#76 |
|
Premier Member
Last Online: Today 16:15
Join Date: Apr 2019
Location: Manchester
|
Looks great!
 I know this may seem like a daft question, but what's your process of washing the exterior of the car? I'm assuming you do it yourself. If you don't mind, could you share how you do it/what products you use? I'm thinking its a little more involved than a bucket and sponge.  I've brought mine to local hand car washes, but they don't do a great job. I find they miss half of it!
__________________
2007 S80 2.4 D5 (P3) - 110,000 miles 2008 V70 2.4 D5 (P3) - 163,000 miles |
|
|
|
|
Mar 19th, 2024, 08:45
|
#77 | |
|
Premier Member
Last Online: Jul 21st, 2024 22:33
Join Date: Feb 2017
Location: North East, Teesside
|
Quote:
Happy to tell you about my methods and products. Wheels; Always start with wheels as they're the dirtiest part of the car. All Purpose Cleaner (APC) on the tyres - Autosmart G101 is what I use at the moment along with a stiff bristle brush. Any APC would be fine though. Every now and again I'll use a fallout remover on the alloys themselves (currently using KKD Ferrum Fallout Remover), this helps to remove ingrain brake dust. Generally I just use an APC or a Citrus degreaser, a long wheel brush for the barrels and a soft detailing brush for the faces. Hose it all down. The Car At this time of year, I'll first spray the lower half of the car along with the front and back end entirely in a Citrus degreaser through a little pump sprayer. At the moment I use ValetPro Citrus Pre Wash. Then I'll cover the car with snow foam. Currently using Gyeon Foam, but there are loads of snow foams to choose from. Let that all dwell for 5 minutes or so. You'll need a pressure washer and snow foam lance for this bit. Whilst that's doing it's thing, fill a bucket with shampoo, again, currently using a Valet Pro Shampoo. There are loads of these to choose from as well. Throw a microfibre wash mitt in the bucket. Pressure wash the car off. Then again, I cover it with snow foam and then go at it with the wash mitt and bucket of shampoo and also another detailing brush for window surrounds, boot badges, front grille places like that. Once the car has been washed, I then use an old wash mitt and the remaining water in the bucket to do a contact wash on the wheels, which isn't that thorough as the initial clean usually does the trick, but just in case I've missed any bits. Rinse the car off again. An old drying towel or old microfibre cloth to dry all the door shuts, boot shut, fuel filler cap, under bonnet/engine bay etc. A good microfibre drying towel to dry the car off, or if the car still has a bit of protection on it and the water is beading after the rinse, use an air blower of some kind to blow the water off. Then I'll do the windows with Gyeon Glass Cleaner Then dress the tyres with Autoglym High Performance Tyre Gel Then cover the car with Sonax Brilliant Shine Detailer As the car hasn't been decontaminated yet I haven't applied any wax or anything, but have a tin of Collinite in the garage to use. I'll first need to clay the car and have purchased a Pure Definition clay towel for that, rather than a clay bar as I'm hoping it won't marr the paintwork as much as a bar usually does. I have an Argos Dual Action polisher with a 5' inch backing plate and a number of Chemical Guys Hex Logic polishing pads and a couple of bottles of Menzerna polish. I think that's pretty much it, but I'll try and take plenty of pictures of the full process when I do it all in a couple of weeks.
__________________
Thread V40 T2 R-Design - https://www.volvoforums.org.uk/showt...56#post2901756 Thread V50 D2 R-Design - https://www.volvoforums.org.uk/showthread.php?t=264890 - CRASHED |
|
|
|
|
|
Mar 20th, 2024, 12:43
|
#78 |
|
Premier Member
Last Online: Jul 21st, 2024 22:33
Join Date: Feb 2017
Location: North East, Teesside
|
As per my previous post, the new V40 Crew decals showed up the other day so replaced the VOIVO
 Old one removed and window all cleaned up  New one put in place. Slightly more accurate than the previous one. 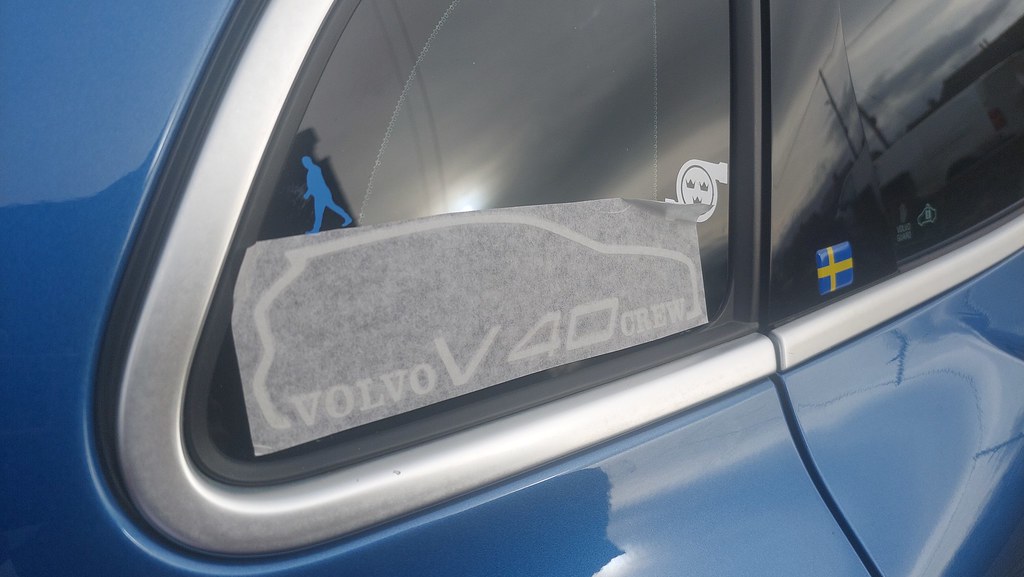 All sorted, nice and fresh  Also got another black "R" badge for the front splitter.  The one currently on there is quite weathered, so I'll eventually renew it. These badges are only a couple of quid. I currently have leatherette type seat belt pads on the front belts and they're wearing a bit. Well, the drivers side one is anyway. So I came across some cloth ones and ordered a set of them.   Not bad quality, but the "R-Design" isn't 100% straight on them, but what can you do for a couple of quid again. Still to be delivered are some new wheel nut covers in black and a new USB Fast Charger plug for the 12v socket.
__________________
Thread V40 T2 R-Design - https://www.volvoforums.org.uk/showt...56#post2901756 Thread V50 D2 R-Design - https://www.volvoforums.org.uk/showthread.php?t=264890 - CRASHED |
|
|
|
|
Mar 31st, 2024, 23:33
|
#79 |
|
Premier Member
Last Online: Jul 21st, 2024 22:33
Join Date: Feb 2017
Location: North East, Teesside
|
After looking at the forecast for the week, today was the only day I was going to be able to give Blue a full detail.
Although it is due to rain every day this next week , I had to get this done and had taken some annual leave to do so (as well as the fact that it's my birthday) So, got cracked on and got all my stuff out and ready. Bucket/s of shampoo  Fallout remover and a number of brushes  And I got started on the wheels first Long wheel brush for the barrels  Soft detailing brush for the faces 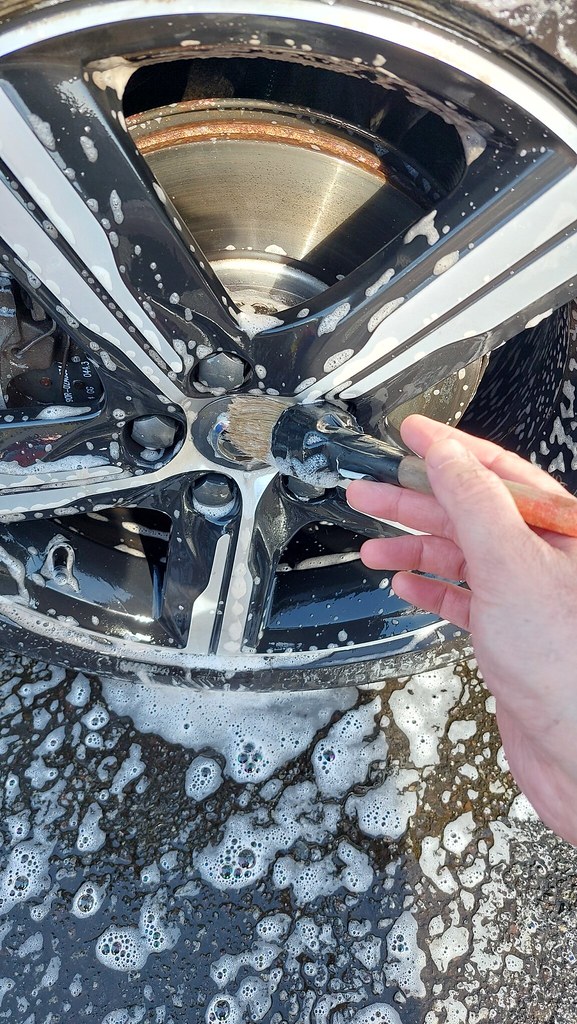 Also used some of this  To clean the side walls of the tyres. Along with a little stiff bristled brush. Then mixed up some Citrus Pre Wash  And got my foam lance ready  Covered the lower half of the car in the citrus pre wash, then foamed the entire car  Let that dwell for a few minutes, then rinsed the car with the pressure washer, which removed a fair bit of surface dirt. I then snow foamed the car again and whilst that was dwelling, went round the windows, letters, grille, places like that with a soft detailing brush. Then did a full contact wash with bucket of shampoo and microfibre wash mitt. Then again, once done, rinsed the car. Then I went over all the paint work with this  No pictures of it out of the bag, but it was pretty much just a microfibre towel with some clay type product infused into it's fibres. It came with it's own lubricant  But I decided to use the KKD Ferrum pictured above as lube, which in turn helped with the decontamination of the paint work. I do have a Bilt Hamber clay bar, but this came up for just over £10, so thought why not. I'll probably revert back to a clay bar in future though, just didn't feel right using a cloth. Once I had done a panel or 2, I rinsed them as the sun was out and I didn't want the fallout remover to dry on the car. Gave the car a good rinse and dried it with a large microfibre drying towel. The paint work was finally nice and smooth. Except for the passenger front door. Just below the window was rough, which I thought was weird and highlighted the fact, to me anyway, that some work had definitely been done on that door. This along with the rust patch along the bottom edge, tells me something previously happened to this car and that side. Anyway, after all that, I got on with machine polishing the whole car  Got my little Argos DA, Menzerna polish and Chemical Guys polishing pad. I wasn't going for any major correction on the paintwork, I'm not that skilled and didn't have that kind of time. I was mainly looking for a nice clean slate with a decent level of gloss. Which I got, or at least I thought so anyway. I then went and did the other little bits on the car to give me a break from that. Autosol Metal Polish on the exhaust  A bit of this on the tyre side walls  And then some Gyeon Glass on all of the windows. That then left the final stage of the detail. A layer of wax. I may have opened a birthday present slightly early as I was hoping to get this wax and also a glass treatment set. I got the wax, but only 1 part of the glass treatment set. Hopefully I'll get the other part off someone else at the end of the week. But anyway, this is what I used  Soft 99 Mirror Shine Wax. It came with it's own micro fibre cloth to apply the wax with and I used a general Kirkland cloth to buff it off. This wax was an absolute dream to use. Applied in a cross hatch manner to get even coverage. Only issue I had was seeing it on the paint work. I thought the dark versions are for dark cars, but I think the light versions might be for dark cars, so it shows up better???? In any case, it was applied and buffed off with ease and left the paint work really glossy and really slick. Kind of want the rain to come now so I can see how it beads the water off. I'll probably apply this after every wash now for a good while. Keep the protection levels up along with the shine/gloss, especially with spring and summer around the corner. Finished article. Don't think the pictures do it justice though         And that's it. All cleaned, decon'd, polished and waxed. Glad that's not a job that needs doing very often, I am knackered.
__________________
Thread V40 T2 R-Design - https://www.volvoforums.org.uk/showt...56#post2901756 Thread V50 D2 R-Design - https://www.volvoforums.org.uk/showthread.php?t=264890 - CRASHED |
|
|
|
|
Apr 3rd, 2024, 23:20
|
#80 |
|
Premier Member
Last Online: Jul 21st, 2024 22:33
Join Date: Feb 2017
Location: North East, Teesside
|
As forecast, the rain came.....
The car is now filthy again.... Saturday is due to be fine so I'll give it another quick wash. Anyway, the beading was beaut       As much of a pain as it is when it rains after you've washed the car, especially after such an indepth clean as I did on Sunday, the beading that is presented kind of makes it all worth it.
__________________
Thread V40 T2 R-Design - https://www.volvoforums.org.uk/showt...56#post2901756 Thread V50 D2 R-Design - https://www.volvoforums.org.uk/showthread.php?t=264890 - CRASHED |
|
|
|
|
| Currently Active Users Viewing This Thread: 1 (0 members and 1 guests) | |
|
|


 Linear Mode

