
|
|||||||
| PV, 120 (Amazon), 1800 General Forum for the Volvo PV, 120 and 1800 cars |
 Information
|
|
1965 Volvo Amazon (121)Views : 41176 Replies : 237Users Viewing This Thread : |
 |
|
|
Thread Tools | Display Modes |
 Jul 31st, 2011, 10:53
|
#111 |
|
VOC member
Last Online: Jun 4th, 2024 15:40
Join Date: Jan 2008
Location: Sheffield
|
Speedo instrument cluster is straight forward to strip down.Where the chrome outer rim is crimped over at the back, you have to straighten the crimped areas.
Rest of it is screws and nuts. Be careful with "barbers shop"style barrel it has a delicate spring. I have a few of these units "in bits" if you need anything. Keep up the work and the pic updates, Chris |

|

|
| The Following User Says Thank You to Volvo_133 For This Useful Post: |
|
Jul 31st, 2011, 15:22
|
#112 |
|
Senior Member
Last Online: Yesterday 18:46
Join Date: Sep 2010
Location: Bramhall
|
Thanks for that, ive got it in bits now but i cannot get the clear plastic bit off the front so i can restore the metal surround type thing that seperates the gauges. I think the only way it to cut off the bits of plastic melted flat to hold it on.
Last few days ive been doing this. 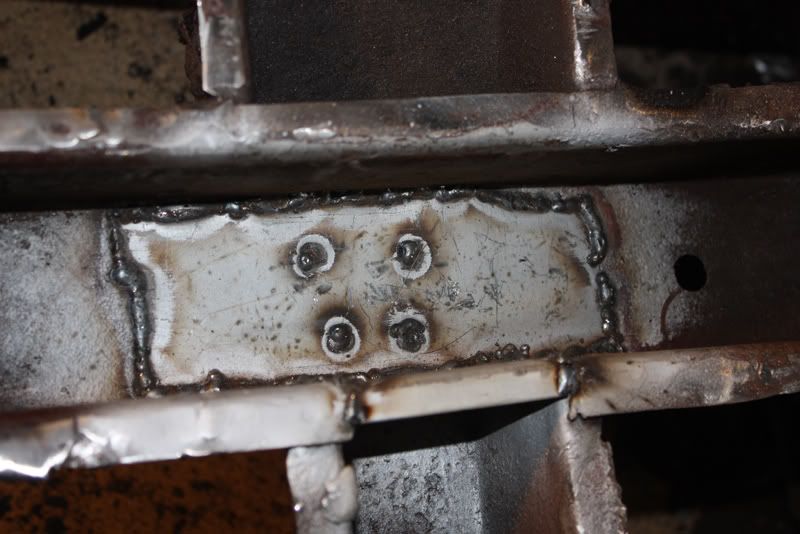 Now in place ready for me to finish cleaning the rails up for paint.  Floor in soon i hope. Floor in soon i hope.
|
|
|
|
|
Jul 31st, 2011, 16:15
|
#113 |
|
Master Member

Last Online: Jan 30th, 2019 22:56
Join Date: Nov 2004
Location: Heathfield, East Sussex
|
I always find the steering wheel too big and can only just get my thunder thighs in between the seat and the wheel. Years ago I swapped one for a `Momo` sports steering wheel, I like this design - http://www.demon-tweeks.co.uk/Perfor...el/323/0/14469
|
|
|
|
| The Following User Says Thank You to johnjp For This Useful Post: |
|
Jul 31st, 2011, 20:50
|
#114 |
|
VOC Member

Last Online: Yesterday 16:45
Join Date: Jul 2006
Location: Chatham
|
Nibble away at the bits of plastic that have been "hot sealed". It will come apart if you're patient and a dob of glue will refix it. I've got one apart at the moment. If you want to respray the brass part it's even more fiddly getting the coloured lenses out. The grey finish on the brass is actually a very fine crackle paint but grey isn't available. I've done it in black very lightly so the crackle is virtually invisible and hope to get some matt or satin grey to finish it off. Long term project. i.e. I have done anything with it lately!
|
|
|
|
| The Following User Says Thank You to Derek UK For This Useful Post: |
|
Jul 31st, 2011, 22:21
|
#115 |
|
Senior Member
Last Online: Yesterday 18:46
Join Date: Sep 2010
Location: Bramhall
|
Hot sealed! Thats the technique
Its the brass i need to repaint as its flaked off. The coloured lenses are now just coloured. Did they have text on them orginally? |
|
|
|
|
Aug 5th, 2011, 13:21
|
#116 |
|
Senior Member
Last Online: Yesterday 18:46
Join Date: Sep 2010
Location: Bramhall
|
No picture worthy replys but there has been progress.
Box sections cleaned, repaired and now primed. Handbrake off... what a pain of a job to do... not looking forward to the refit. Jobs for the weekend is to finish removing the floor around the lip areas, clean up and start to fit the new ones. Damage done today.... Bruised and cut forehead... damn ratchet. |
|
|
|
|
Aug 8th, 2011, 11:08
|
#117 | |
|
Amazoniste

|
Quote:
__________________
Paul - 1967 Amazon 222S B20 o/d Estate & 1961 A-H Sprite Mk2 948cc WANTED - For '67 Amazon estate - offside rear quarter, preferably new old stock. |
|
|
|
|
|
Sep 16th, 2011, 09:18
|
#118 |
|
Senior Member
Last Online: Yesterday 18:46
Join Date: Sep 2010
Location: Bramhall
|
Just keeping you all up-to-date.
The project hasnt gone just very busy so not had as much time to work on it. Ive been doing the odd hour or so on it and have managed to paint the box sections and get the floor trimmed to fit. Hoping ill have some time soon to get the floor in. |
|
|
|
|
Nov 29th, 2011, 13:45
|
#119 |
|
Senior Member
Last Online: Yesterday 18:46
Join Date: Sep 2010
Location: Bramhall
|
Right, due to change in circumstances for me the project has ground to a halt, i doubt ill be working on it again till the new year.
Ive protected alot of the metal for the winter months and thats how its going to stay for the next few months. However its not all bad news! Even though the main body will be left over winter im currently working on removing bits i can work on inside and away from the car. If all goes well over christmas and the new year ill have the body part of the loom made and ready. Really hope next year to get cracking on it again, its shouting at me to get back on the open road. Edit - For Paul/222 While im doing it i noticed your doing articles on things so ill try and document the wiring loom for a article, including areas for upgrades. Last edited by Jackman; Nov 29th, 2011 at 13:49. |
|
|
|
|
Mar 27th, 2012, 11:37
|
#120 |
|
Senior Member
Last Online: Yesterday 18:46
Join Date: Sep 2010
Location: Bramhall
|
... Wow life doesnt half make it hard to get cracking on projects. Alot has happened meaning ive not touched the car.
However i now have 2 months (ish) to try and get the car as close as possible to being done bodywork wise and if possible some mechanical. Going to be a challenge and i should (Unless somthing else happens) be starting next week getting the drivers floor finished so i can make a good start on doing the front end. The Loom got started on, got all the colours together for each item but didnt get exact measurements or full diagrams drawn. Ill get there in the end. Jackman |
|
|
|
|
| Currently Active Users Viewing This Thread: 1 (0 members and 1 guests) | |
|
|


 Linear Mode

