
|
|||||||
| 850 / S70 & V70 '96-'99 / C70 '97-'05 General Forum for the 850 and P80-platform 70-series models |
 Information
|
|
rebuild, light at the end of the tunnelViews : 12731 Replies : 85Users Viewing This Thread : |
 |
|
|
Thread Tools | Display Modes |
|
|
 Sep 4th, 2011, 15:58
|
#1 |
|
Member

Last Online: Oct 2nd, 2019 01:52
Join Date: Feb 2011
Location: essex
|
just finished the paintjob on my v70t5, i took her off the road some while back and left her at work to do a full body resto. my car was a pocket money s*itebox and to be fair drove nice, good power etc but the bodywork was cained. accident damage, rust (yes a volvo can rust lol) and 13years of abuse. ive been playing around at work with tricks in the paint, tinting laquer and stuff but cant really play aroud too much on customers cars lol. heres some pics of the before, repair, prep and paint.........
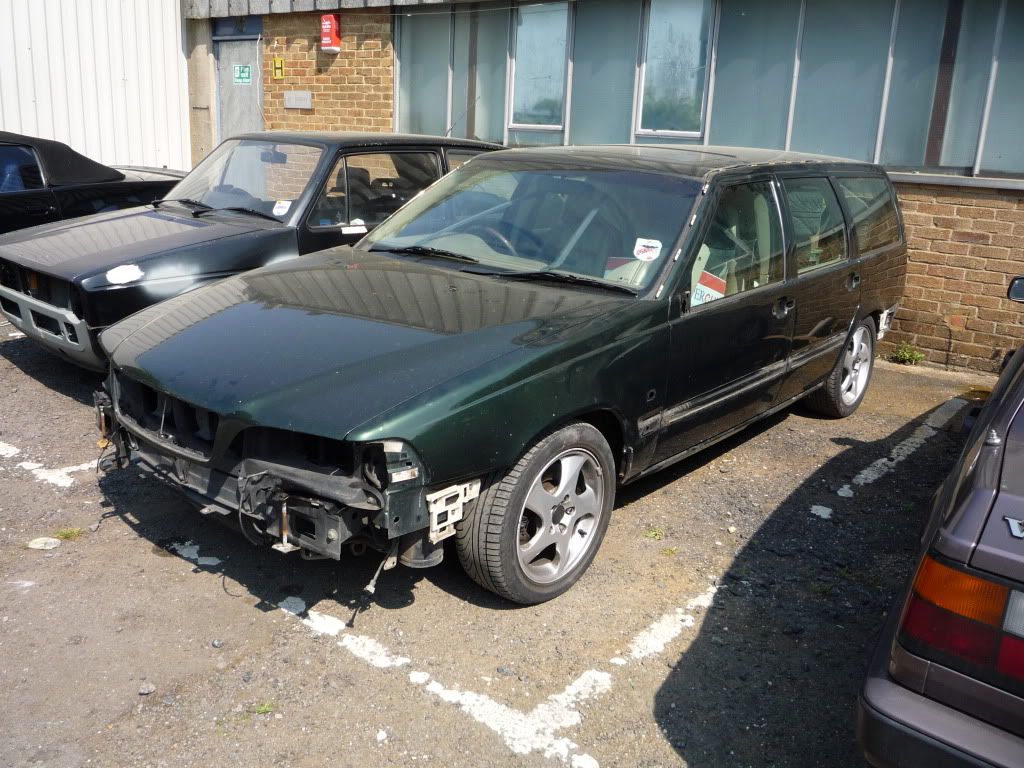 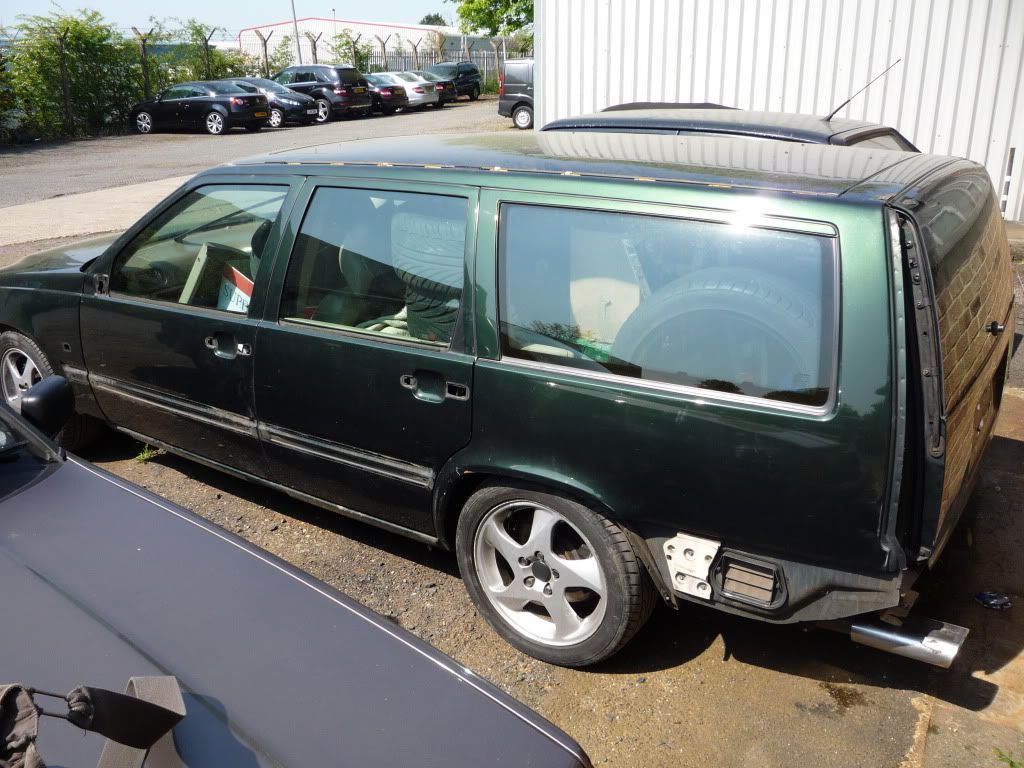 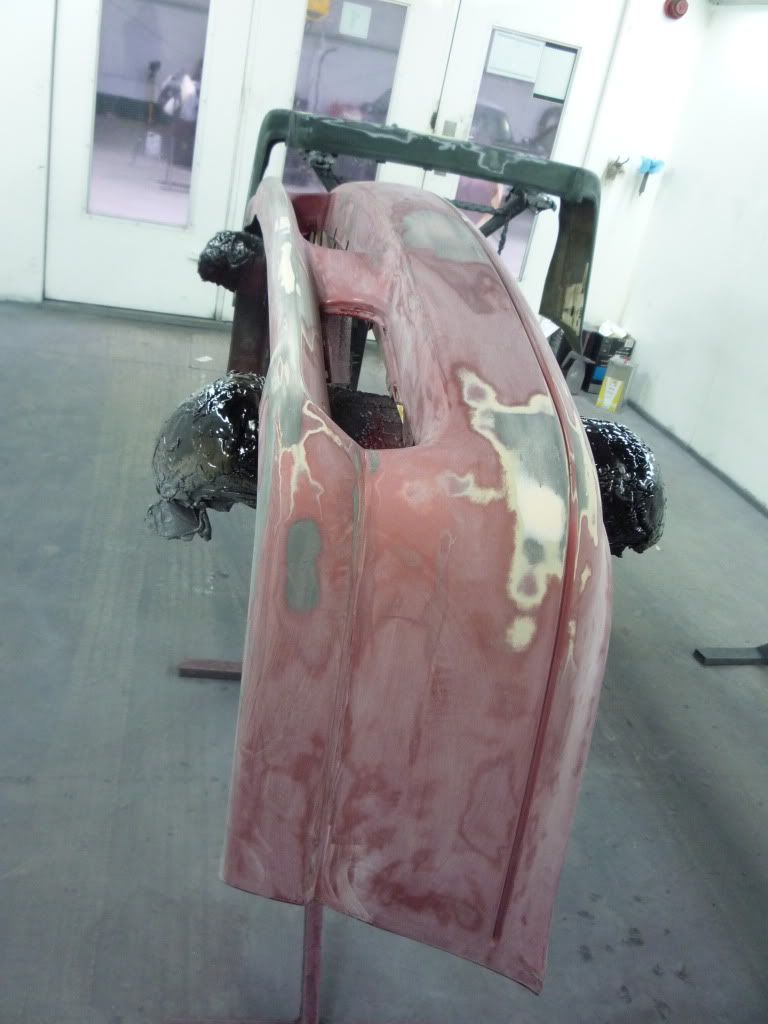 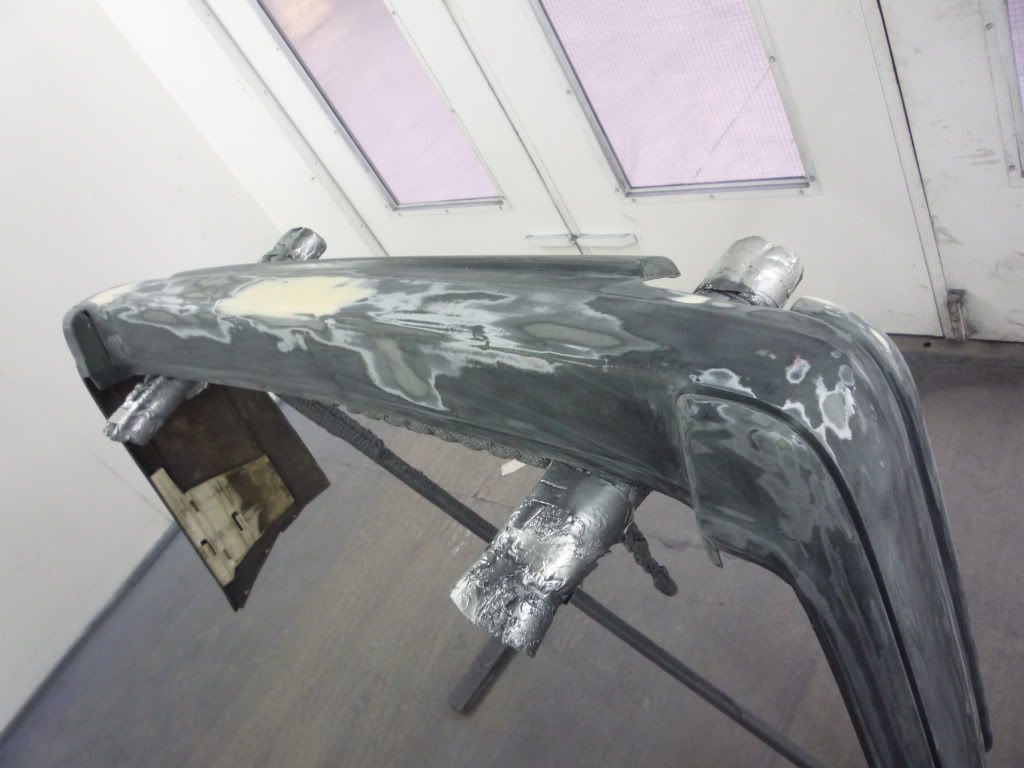 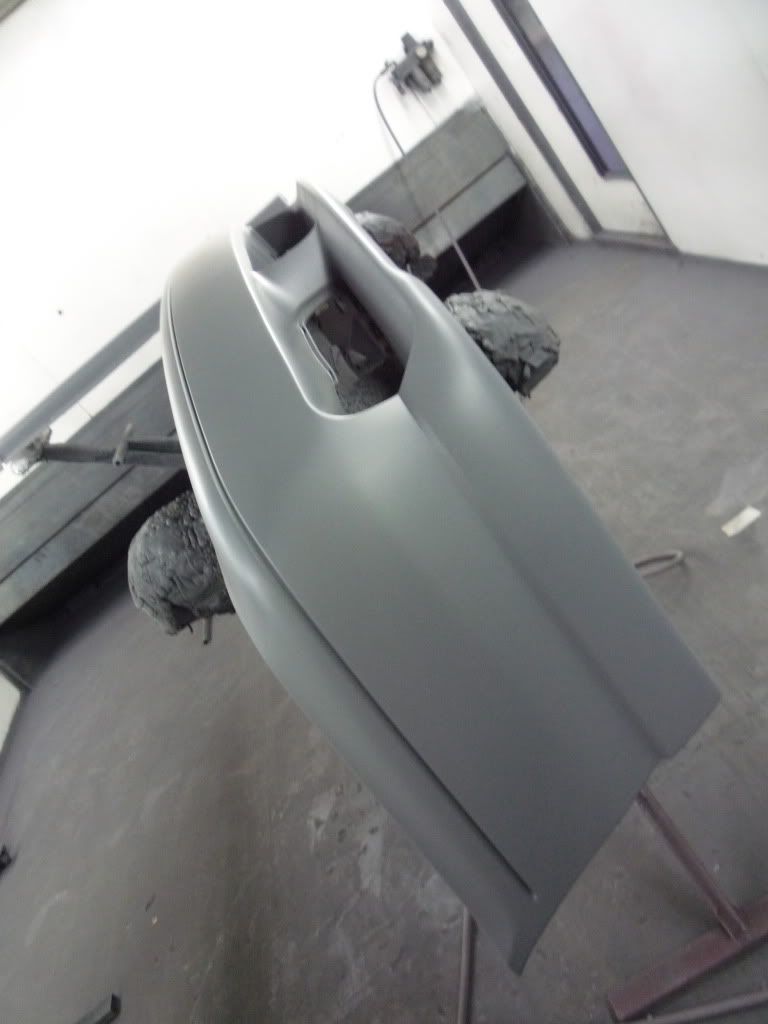 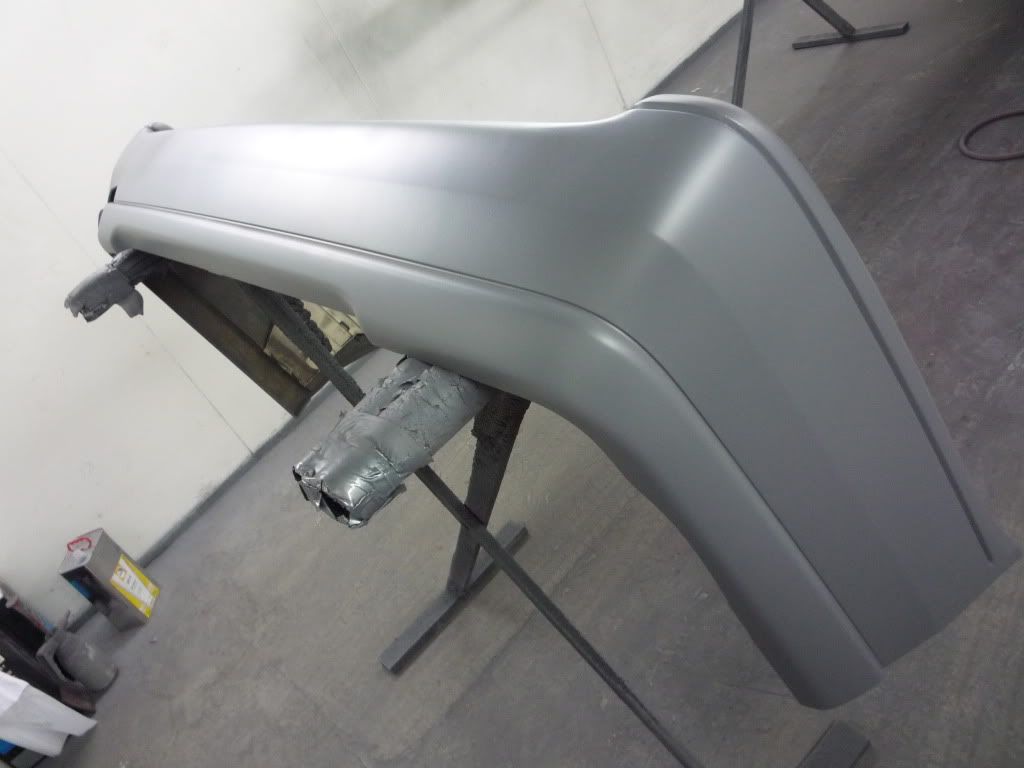 then i started the car, each yellow "x" is a dent lol 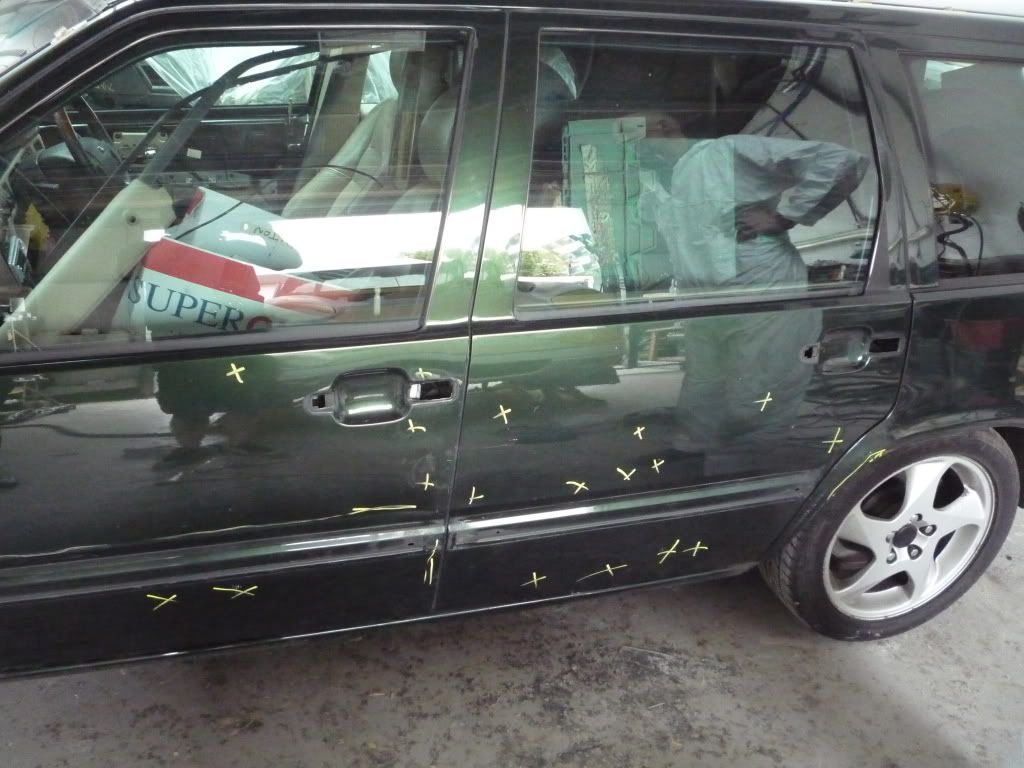 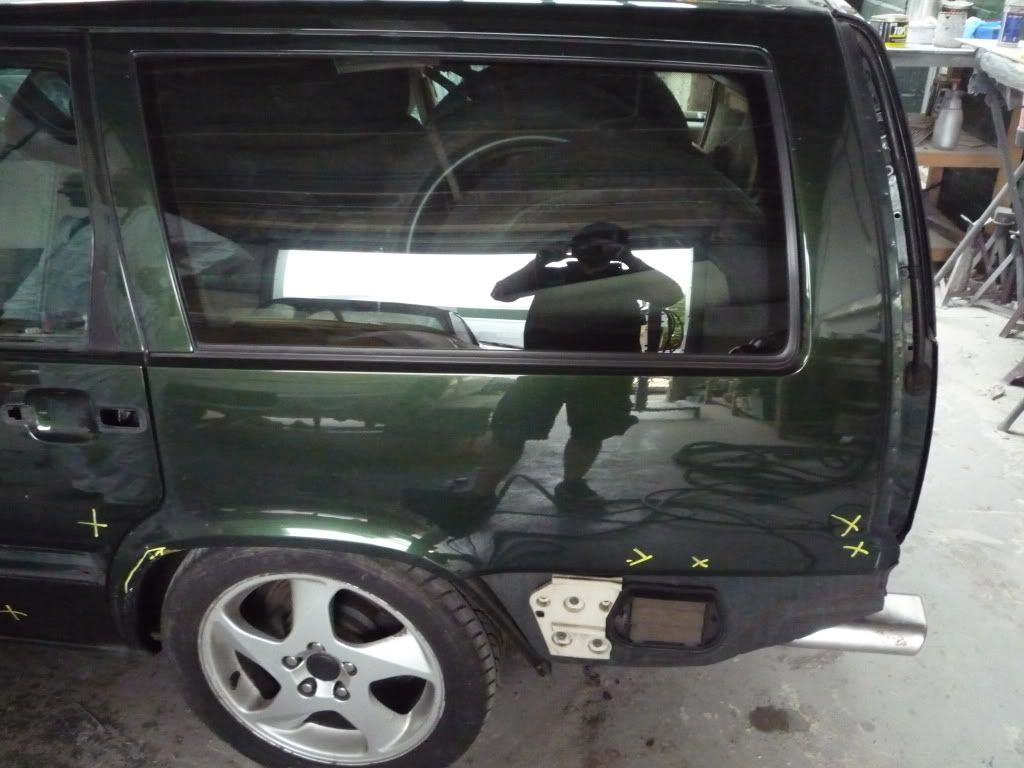 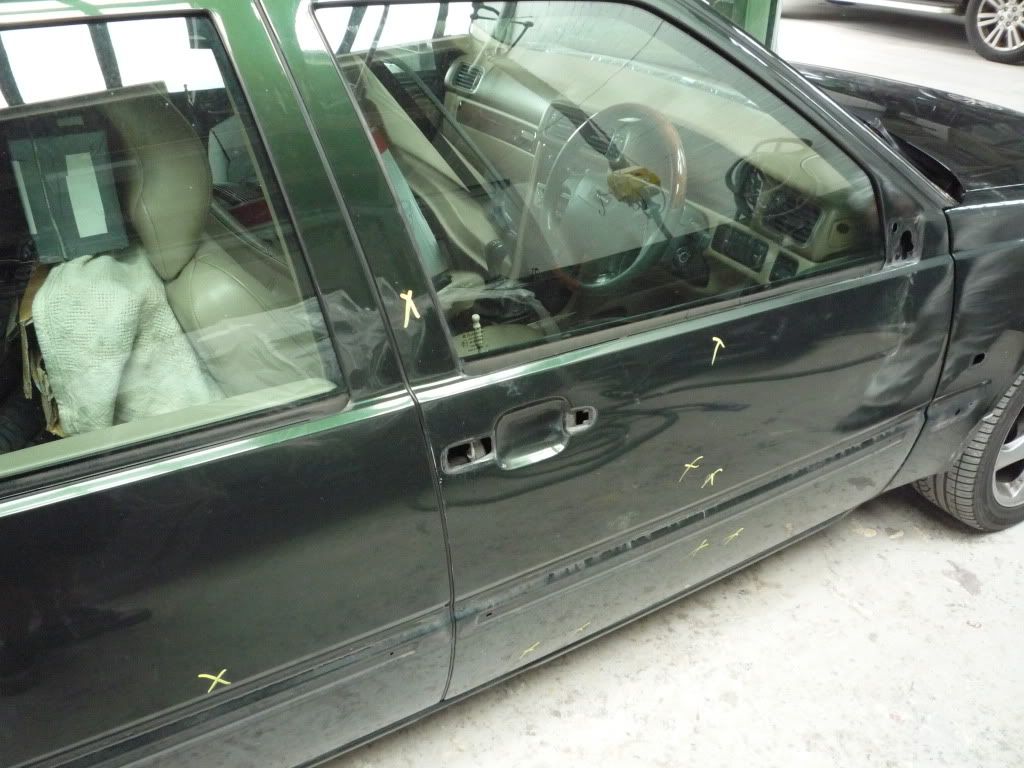 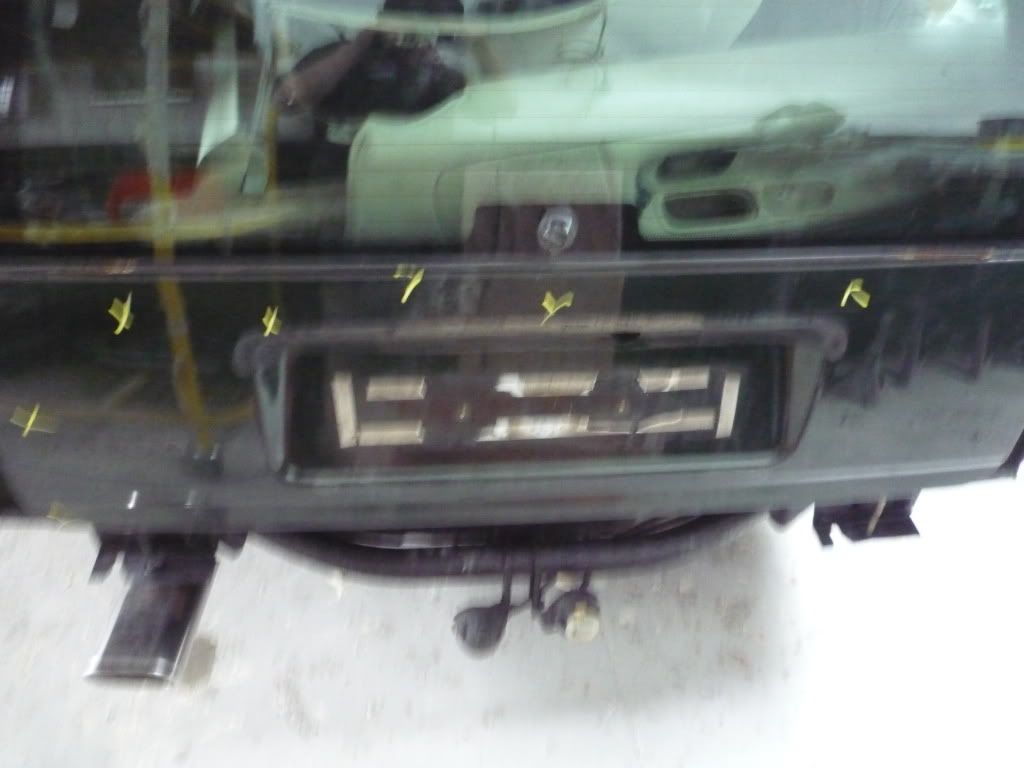 repaired (30 hours work later) 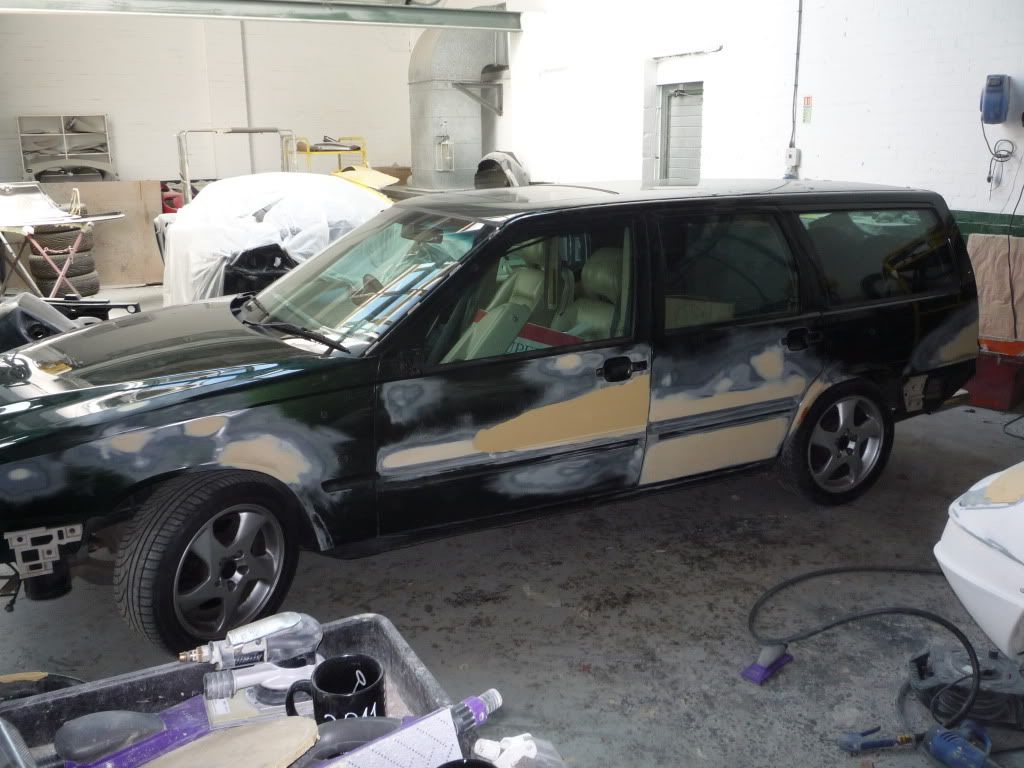 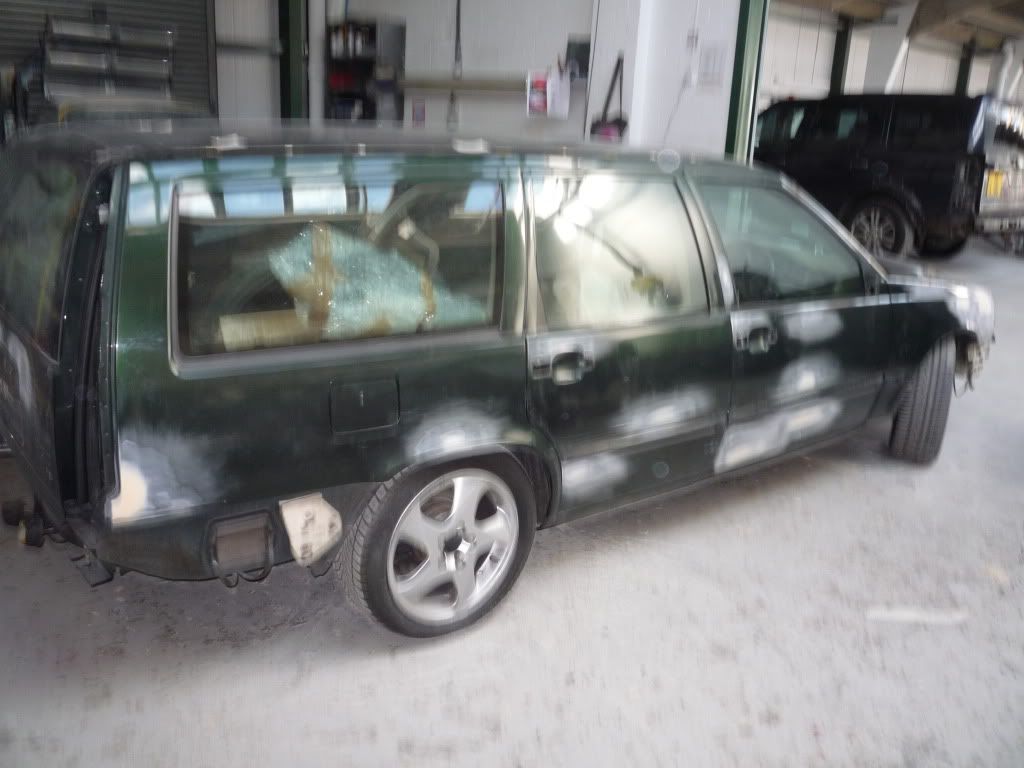 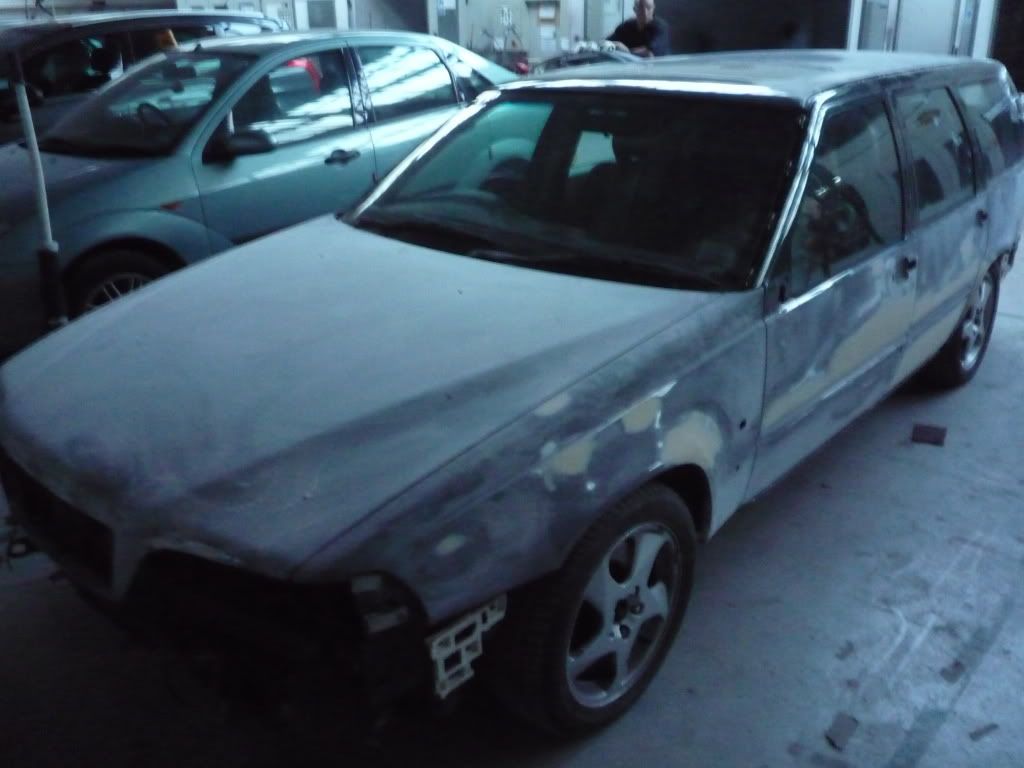 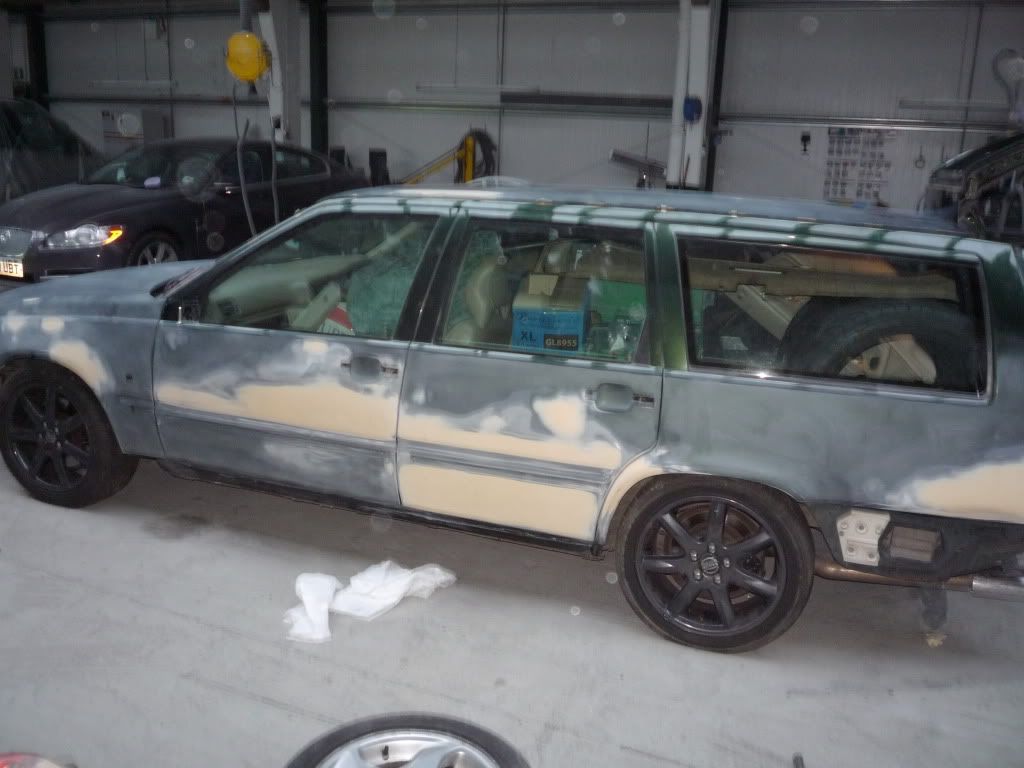 epoxying,priming and prepping 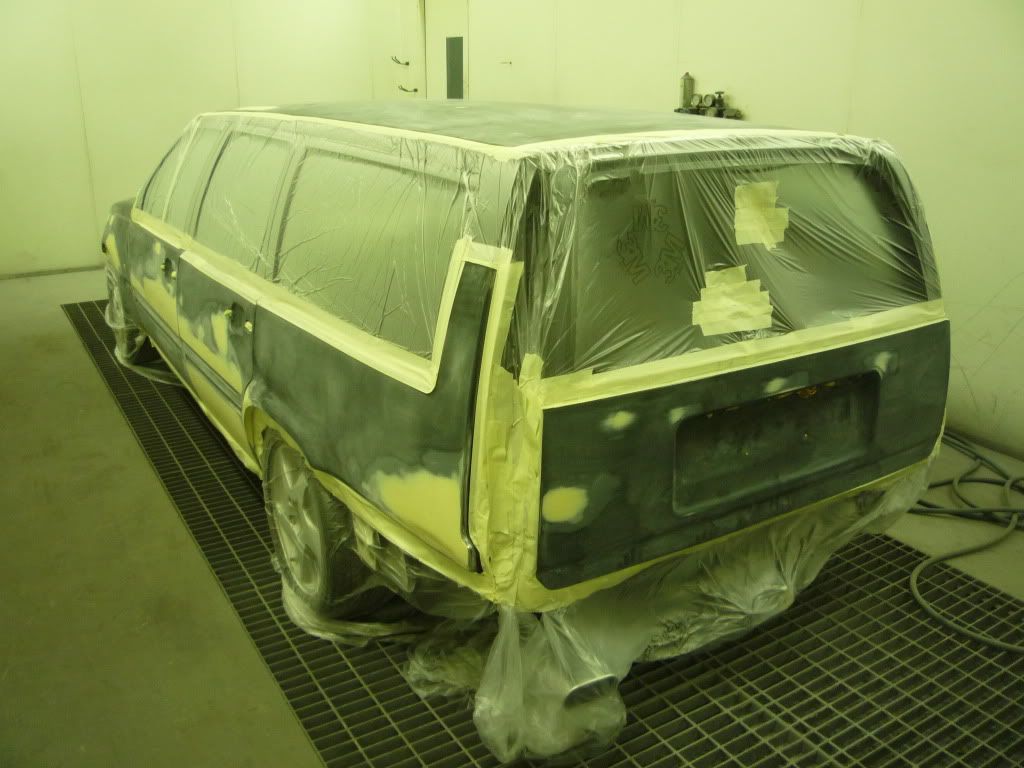 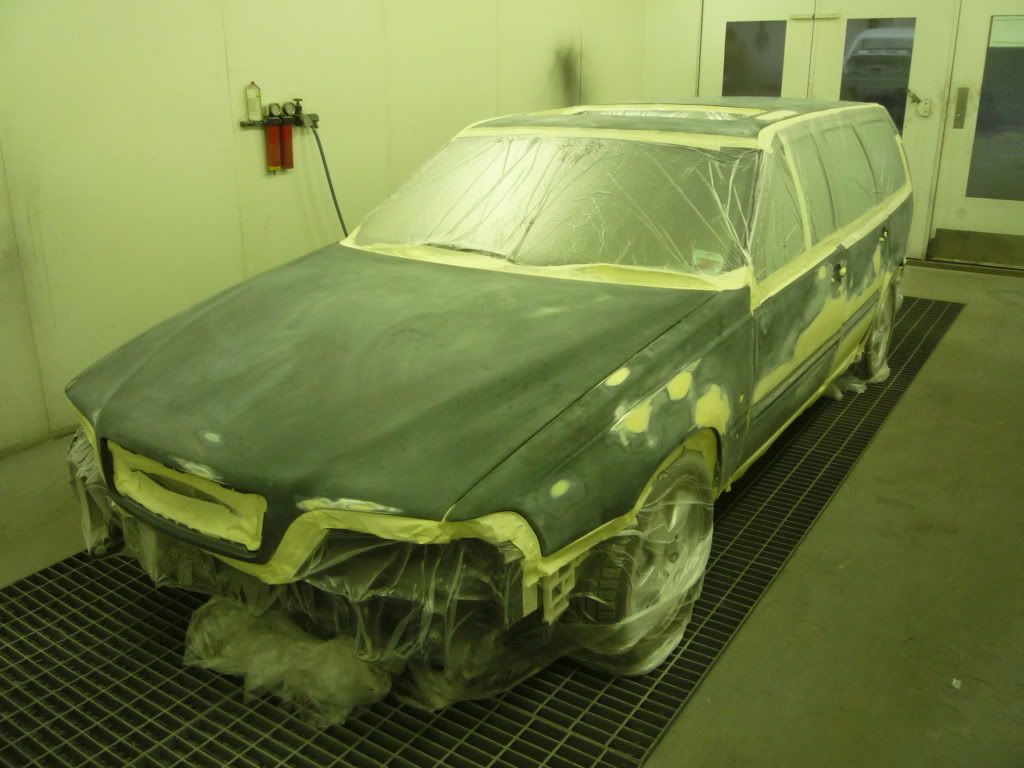 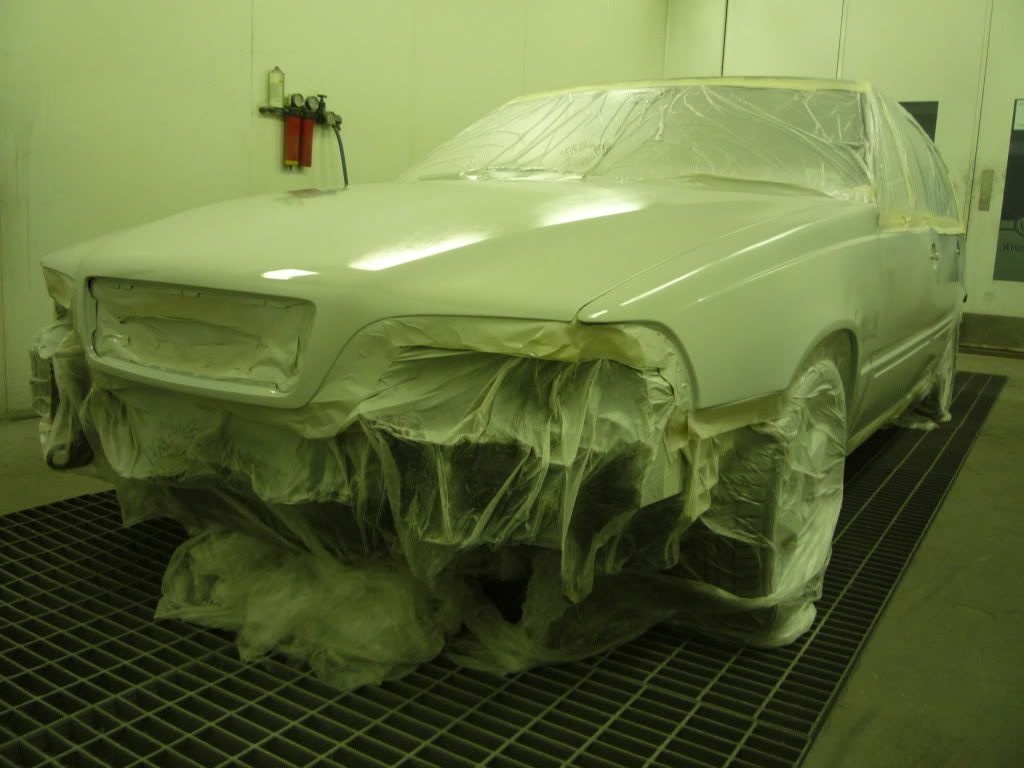 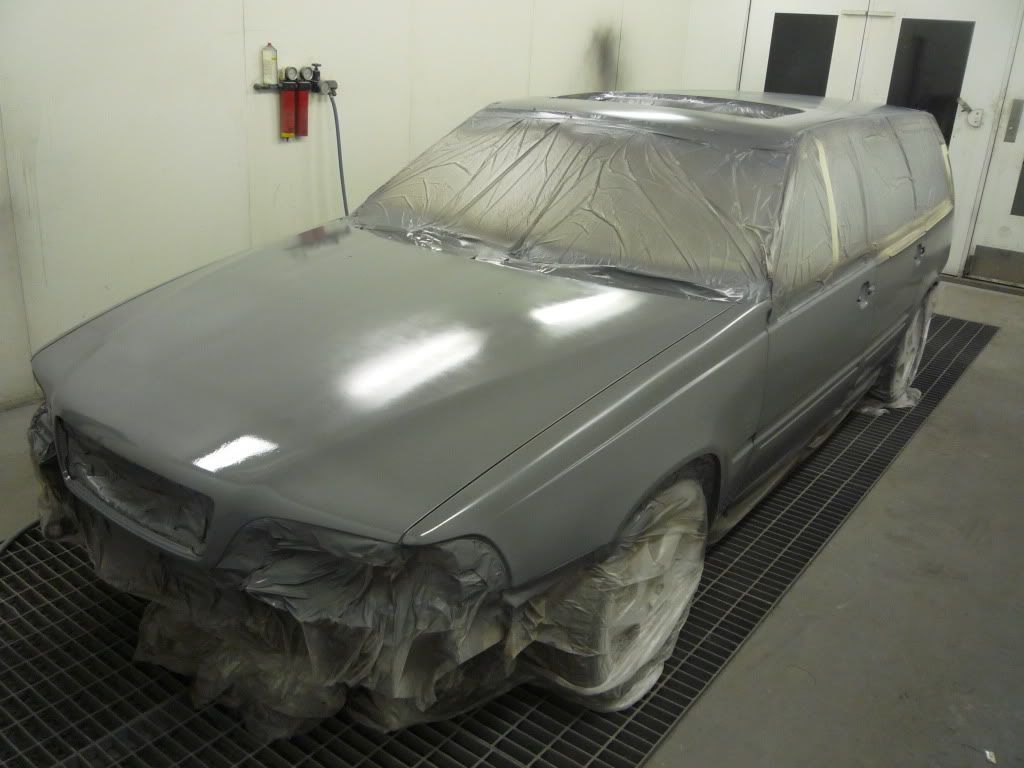 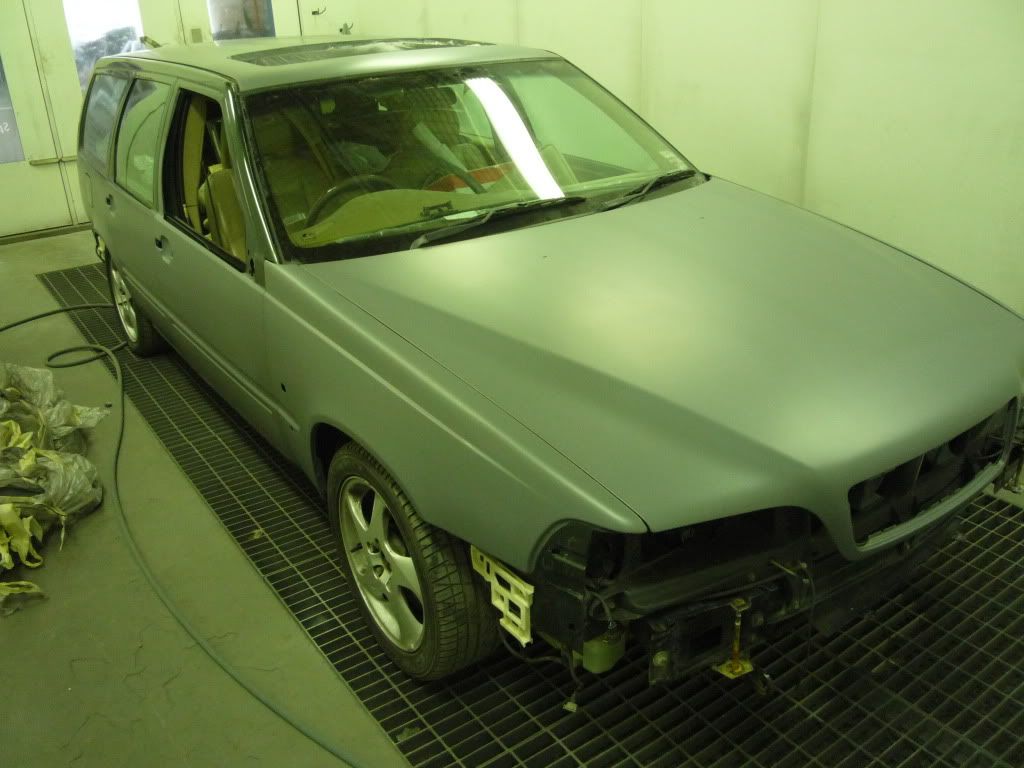 painting volvo 421 with a pearl twist and tinted clearcoat 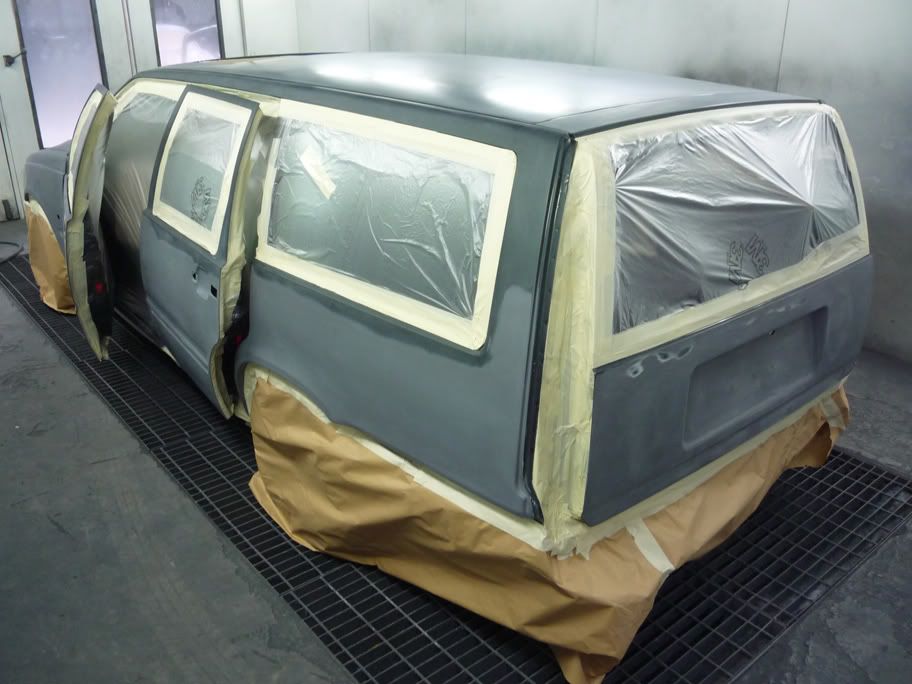 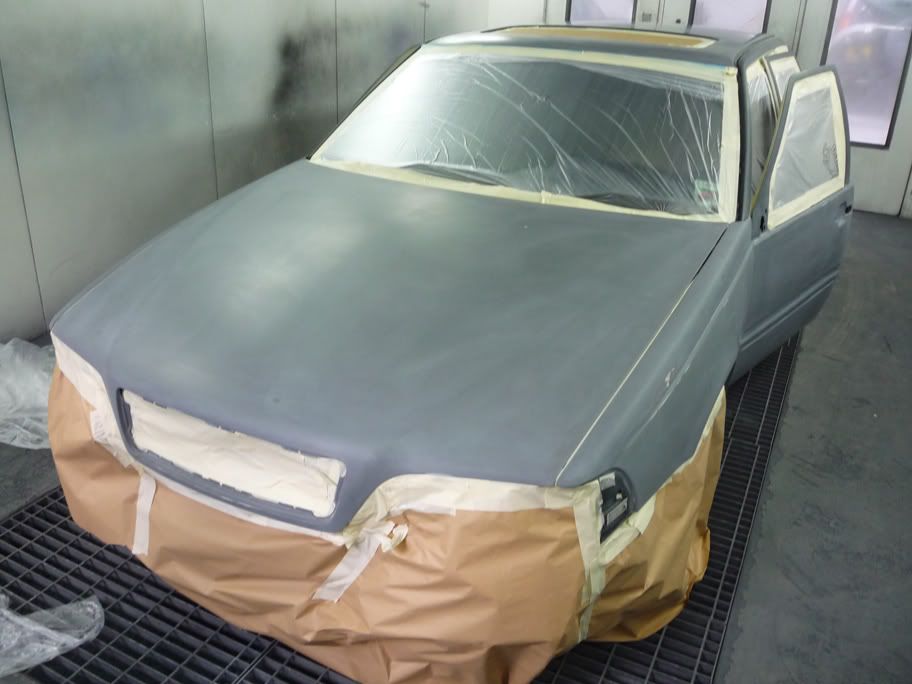 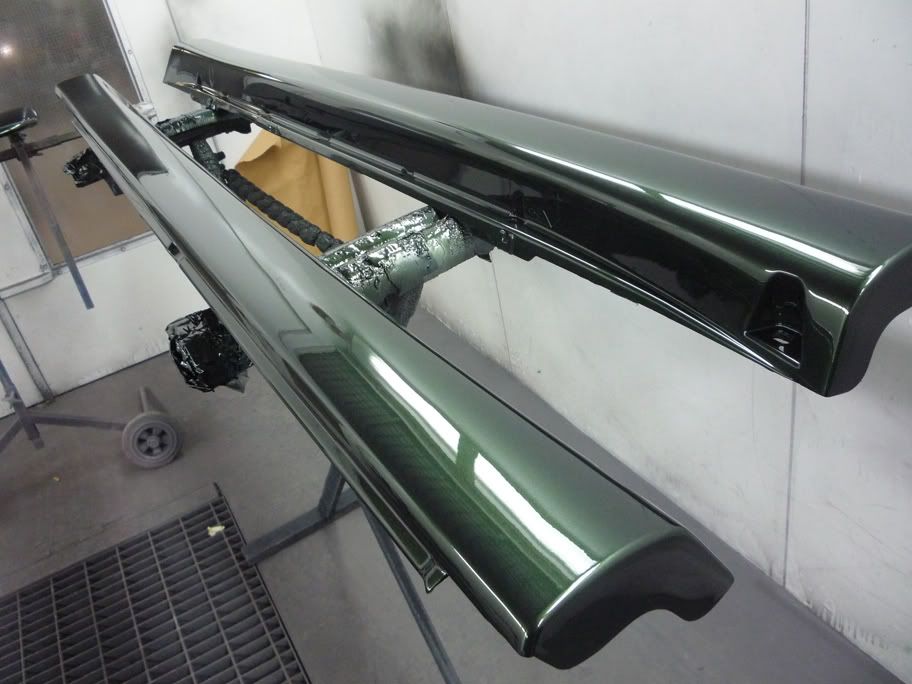 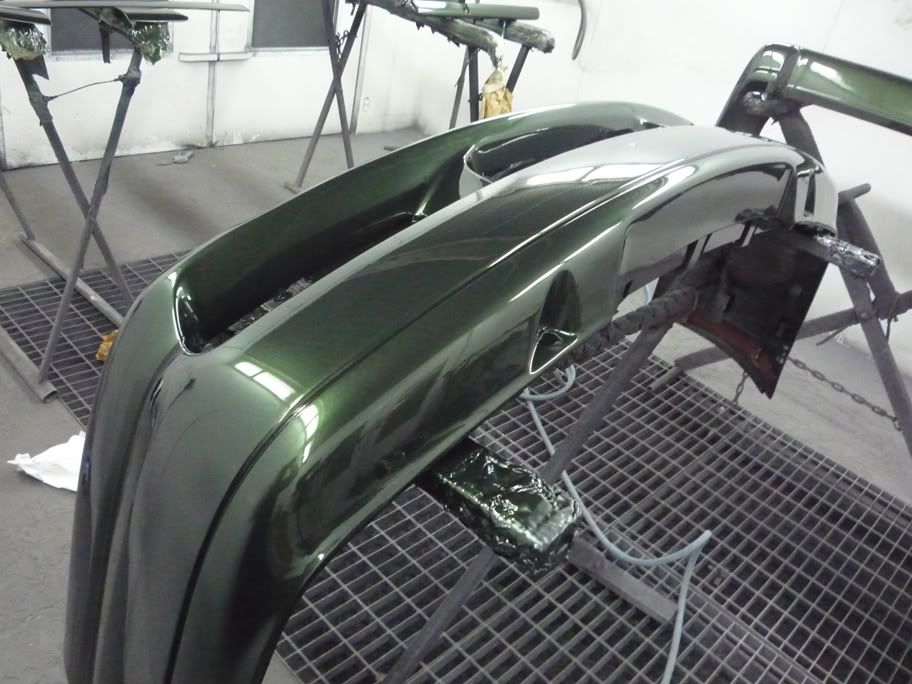 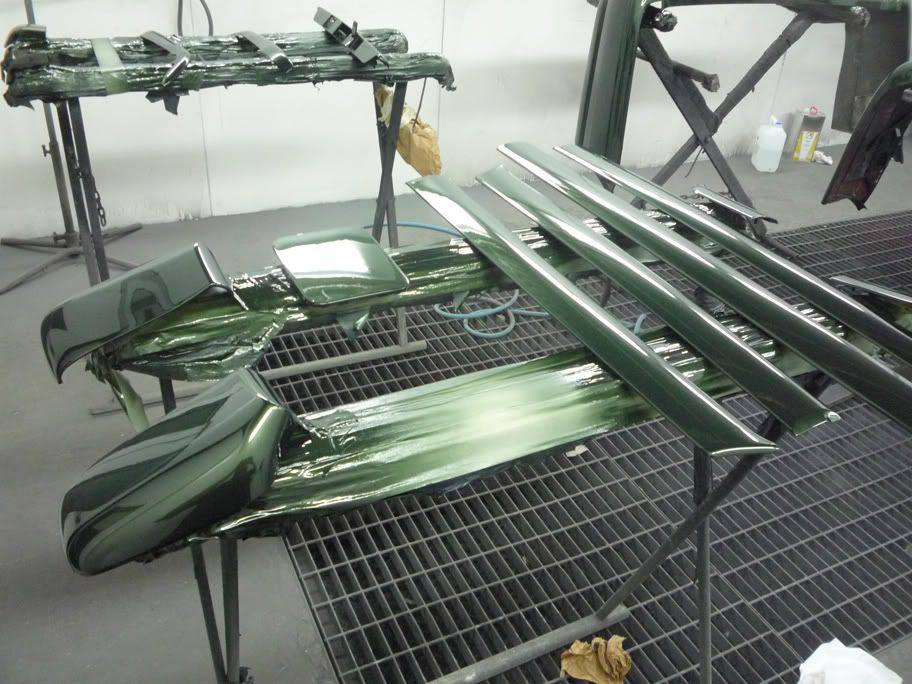 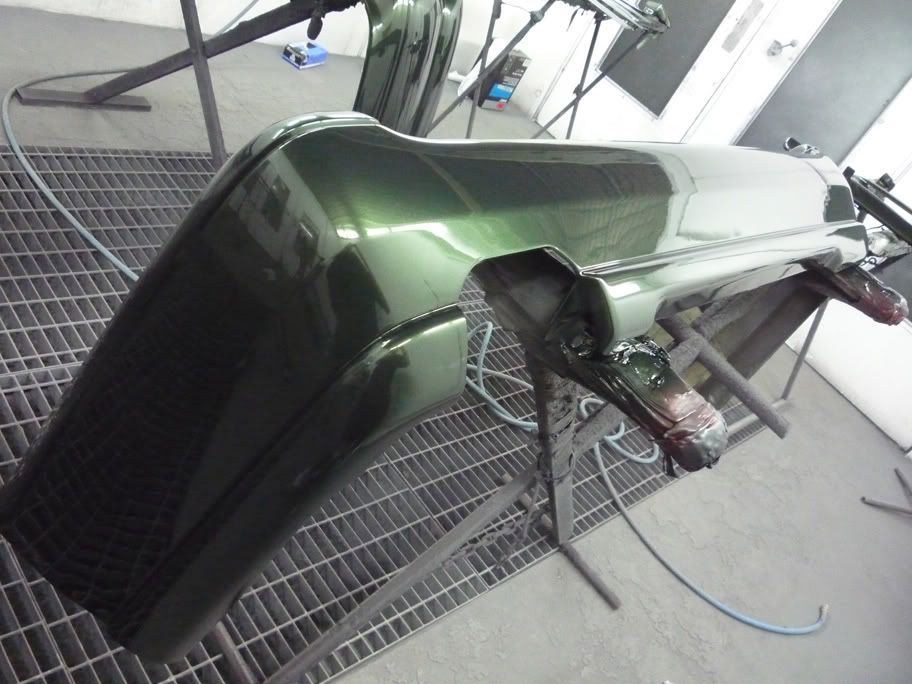 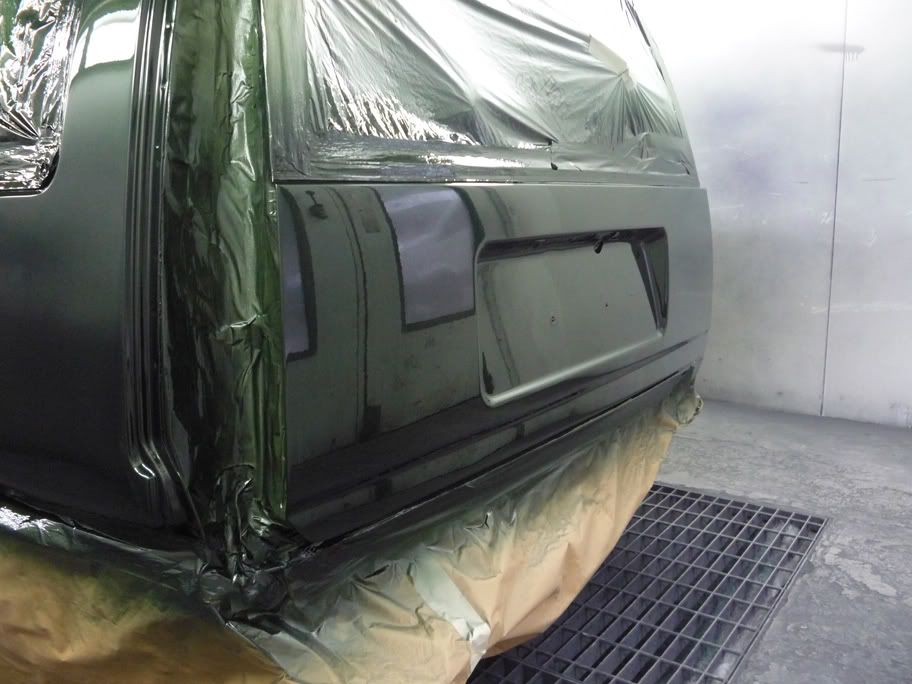 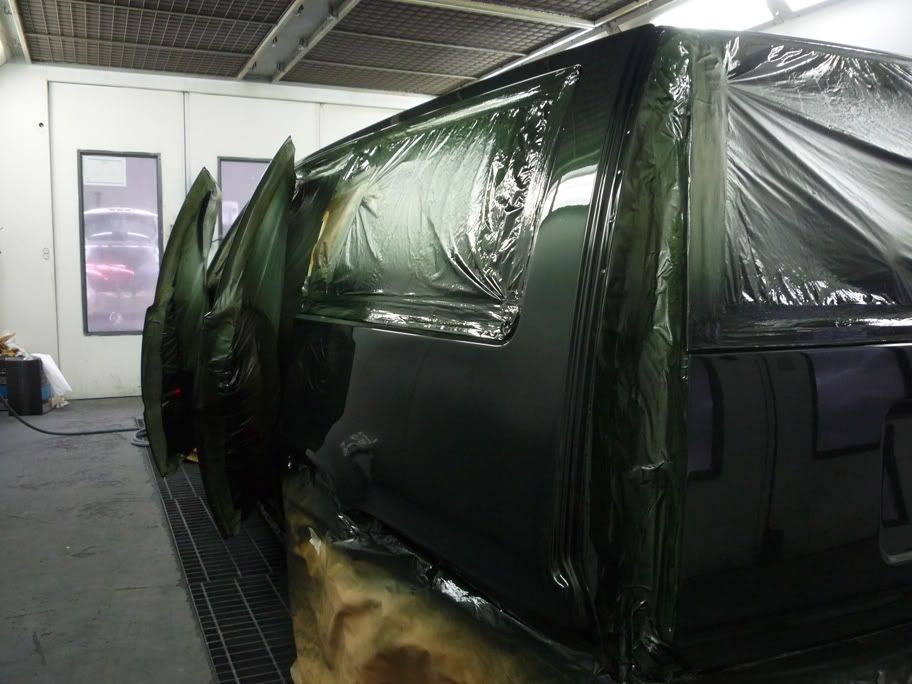 adding the pearl tvr laquer 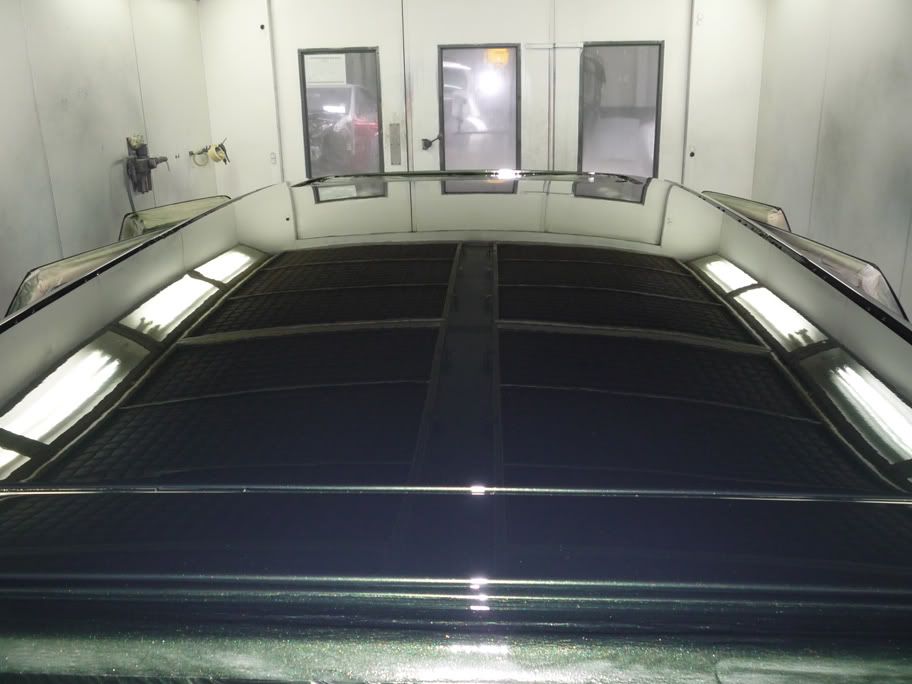 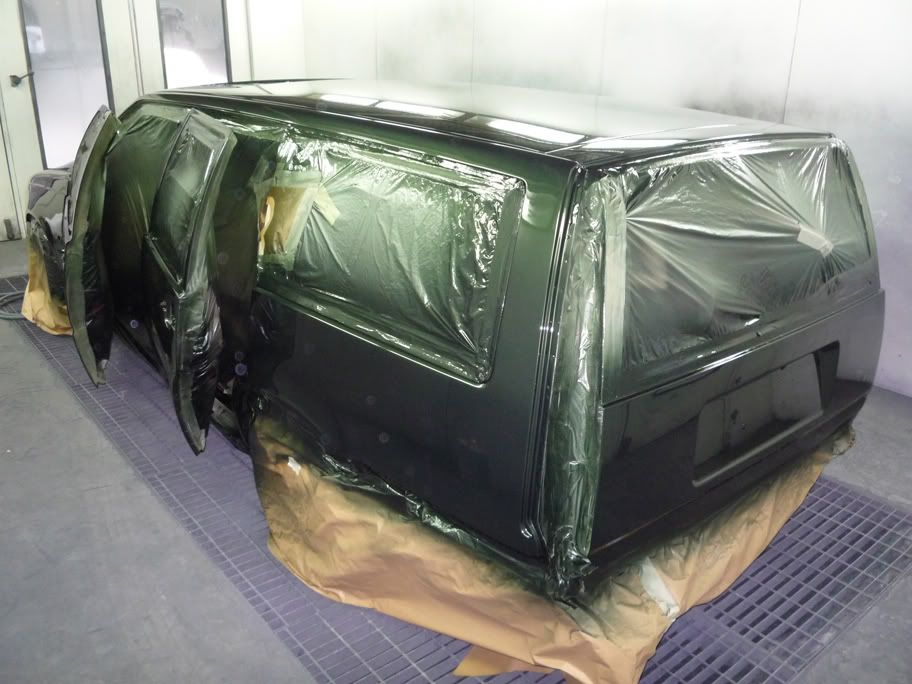 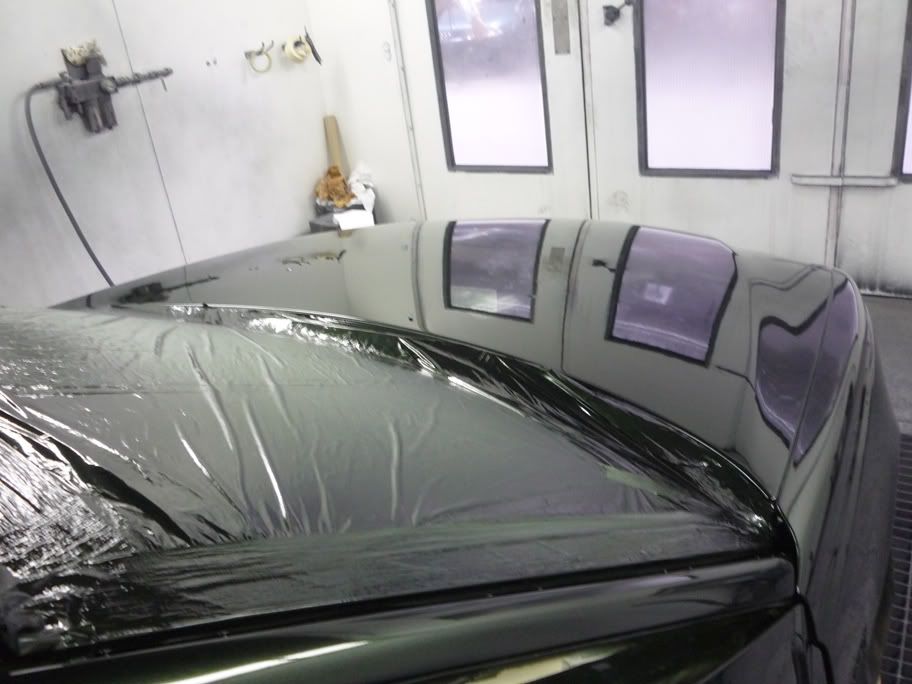 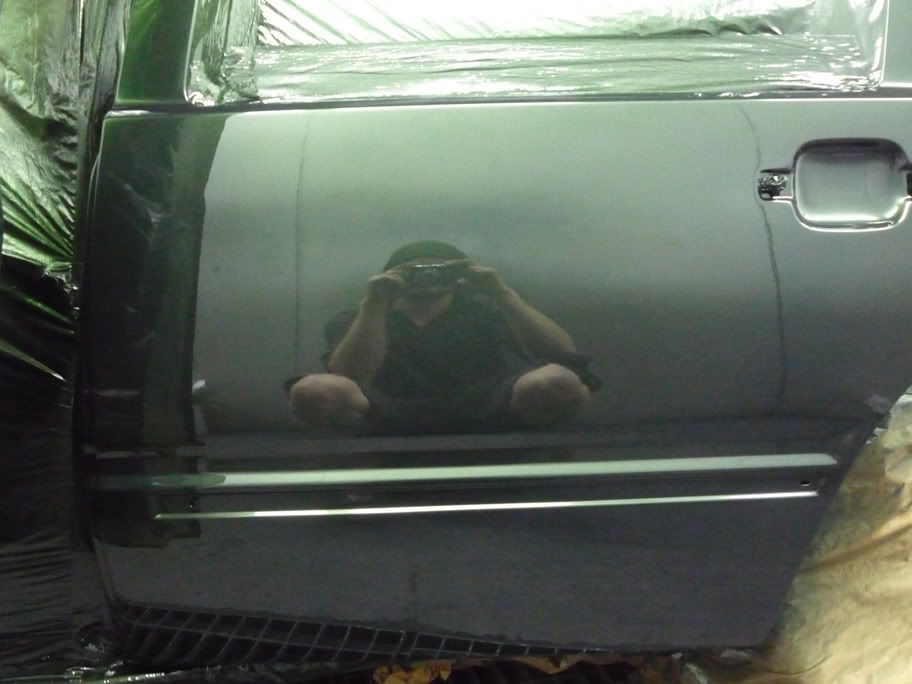  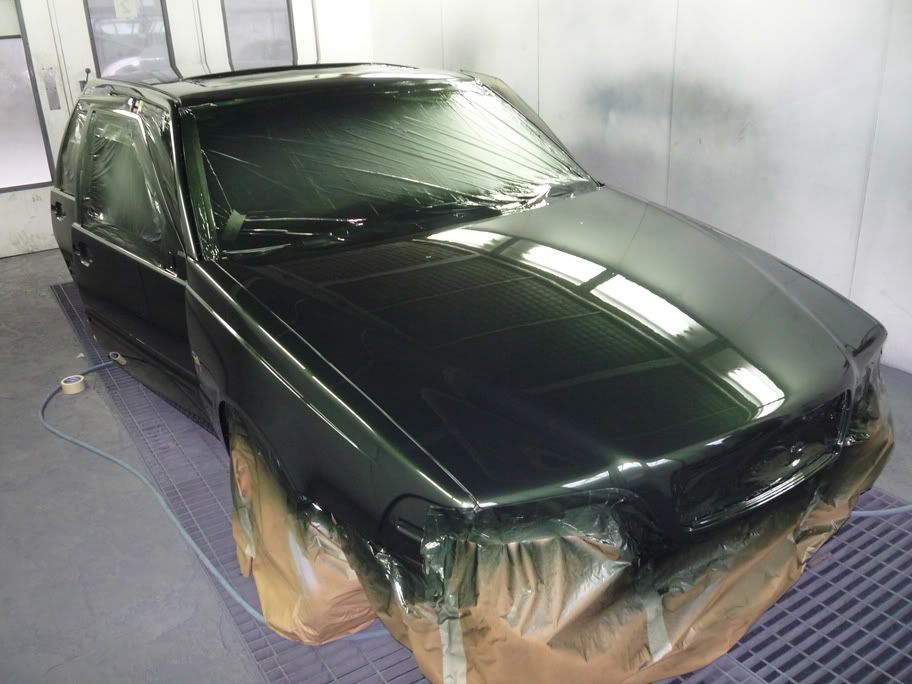 now ill be putting her back together and fittin my new tuning parts, 19t, wi, rods, ths fmic, bosst controller, green giant 465cc, walbro 255 and remapped. its taken 4 months of lunchbreaks, evenings and weekends but its now mint and arrow straight and will be corrosion protected for a very long time, thgose of you mid project, stay at it, although it seems you'll never get there, dont give up and you will!!! Gav |

|

|
| The Following 19 Users Say Thank You to gavT5 For This Useful Post: |
|
Sep 4th, 2011, 19:33
|
#2 |
|
daniel

Last Online: Mar 31st, 2018 18:19
Join Date: Jan 2011
Location: peacehaven
|
so just a question how much would that cost for a respray
by the way u have done a great job in it 
__________________
v40 t4 auto 
|
|
|
|
|
Sep 4th, 2011, 20:24
|
#3 |
|
Member
Last Online: Oct 2nd, 2019 01:52
Join Date: Feb 2011
Location: essex
|
luckily enough as my guvnor is understanding i only had to pay for paint and materials as i did it all myself which is why it took so long, im too much of perfectionist lol. as i get paint and mats at cost, total was 400quid. ive used top grade glasurit epoxy, two pack primer, pearl base and tvr pearl laquer. if id put it through my bodyshop as customer paying cash it woulve cost approx £5000. £1k mats and £4k labour. i put over 80hrs in her normally £50 ph
|
|
|
|
|
Sep 5th, 2011, 00:55
|
#5 |
|
Premier Member

|
Wow Gav, she looks truely amazing, i know you are a perfectionist and it shows as well.
Gary.
__________________
V70 P2 facelift D5 6sp manual E4 Sport SE Ocean Race Blue pearl (2005) 97k, standard. |
|
|
|
|
Sep 5th, 2011, 12:53
|
#6 |
|
Aged Volvo Lover

Last Online: Sep 16th, 2021 10:19
Join Date: Jan 2011
Location: A place in mendip-land famous for its cheese - and its gorge
|
Wow!
What a difference. I remember when you first made the posting of the 'before' and (quietly) thought... 'No way, Pedro'. But you've proved me well wrong. I look forward to seeing the final job.
__________________
Our children don't inherit the world from us. We are borrowing it from them. |
|
|
|
|
Sep 10th, 2011, 08:34
|
#7 |
|
Senior Member

Last Online: May 16th, 2022 12:04
Join Date: Dec 2004
Location: Wangavegas
|
OMG....that looks so gorgeous. I love that colour.
All the work and effort that has gone into the car is clear to see in the fantastic results that you have achieved. Seeing your pic's makes me a tad jealous, as I have a car covered in parking and rugby ball dents, swirls, scratches and the clear coat lifting on the bonnet. I want to get my car looking pristine again, and so, not knowing much about car painting and preparation, I was wondering if you could answer a few questions that I have? Once you had identified all the dents on the body, did you panel beat them out with a hammer and dolly and then apply filler, or just fill and sand back? Is the epoxy a binding agent and filler/primer? What exactly is the pearl twist, the tinted clear coat and the pearl tvr laquer? What is a mat? Sorry for all the questions, but I find all of this a tad confusing and slightly mind boggling. Anyway, keep up the great work and I will be very keen to see the next batch of pic's of your progress. |
|
|
|
|
Sep 10th, 2011, 11:00
|
#8 |
|
Premier Member

Last Online: Jul 4th, 2022 16:48
Join Date: Feb 2007
Location: belfast
|
great work that is such a nice colour when fresh,,,,,
__________________
1995 black 854 t5r man, |
|
|
|
| The Following User Says Thank You to martybelfastt5 For This Useful Post: |
|
Sep 10th, 2011, 16:51
|
#9 | |
|
Member
Last Online: Oct 2nd, 2019 01:52
Join Date: Feb 2011
Location: essex
|
Quote:
epoxy is a non build etch primer. ie has not enough body in it to do the final shaping with. my job at work is classic car restoration so on a old e-type or similar, there will be huge propensity for the car to rust. epoxy is applied as a "wet on wet" primer in that you lay a coat on the area you want rustproofed (typically areas that get stonechipped) and before it dries totally you go over the top with your high build two pack sanding primer volvo 421 dark olive is a two stage pearl. when you put down the base coat, it has a pearl tinter in it naturally. for a different look, my car has a pearl base as normal, a fine laquer mist sprayed over the top from a tvr tamora (twinkly laquer if you like) then the gloss final clear coat can be tinted. i added mercedes 197 obsidian black into my laquer at 4:1 so the laquer has a smokey navy tint rather that being just clear. makes a subtle twist on a already nice colour. it will stand out in a crowd at shows etc. mats is just short for materials lol as in - paint and mats - paint and materials regards gav |
|
|
|
|
| The Following User Says Thank You to gavT5 For This Useful Post: |
|
Sep 10th, 2011, 17:18
|
#10 |
|
Member
Last Online: Oct 2nd, 2019 01:52
Join Date: Feb 2011
Location: essex
|
these were the custom lights i have made for my car. the headlight glass and indicators looked "too white" for my taste but i dont like any of the aftermarket parts i have seen to date. the rear lights also werent to my taste so set about making my own. you start by using a water based degreaser and a trizact pad ( a 3000 grade polishing disc/pad) and lightly rub this over the surface to give a key up.
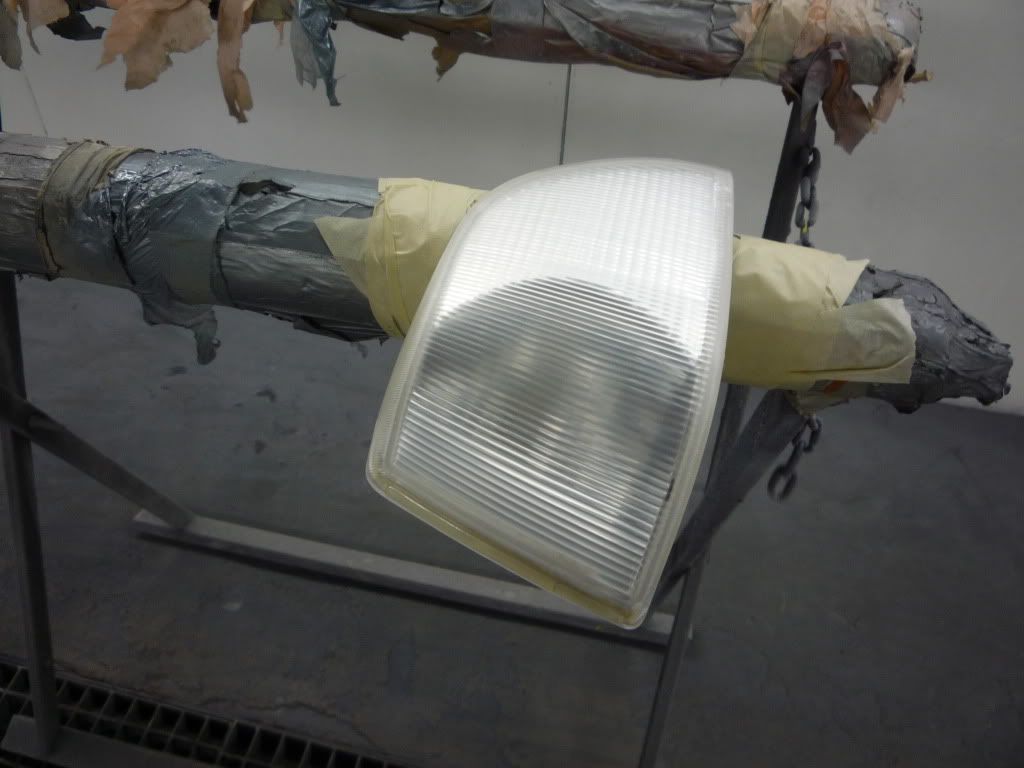 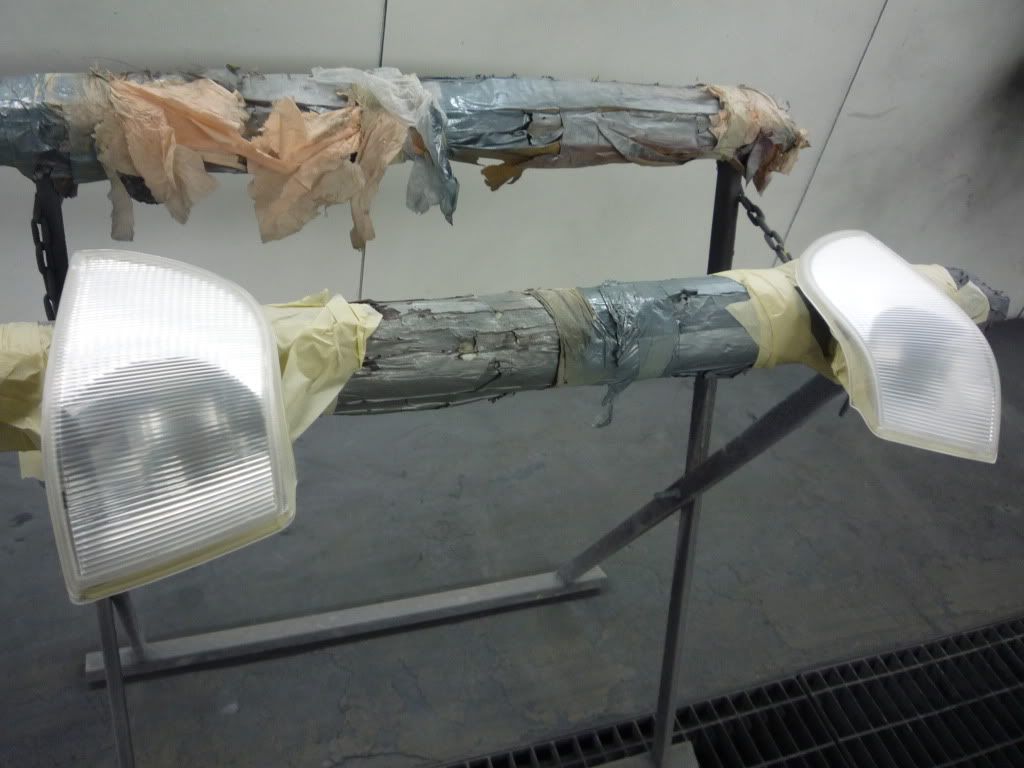 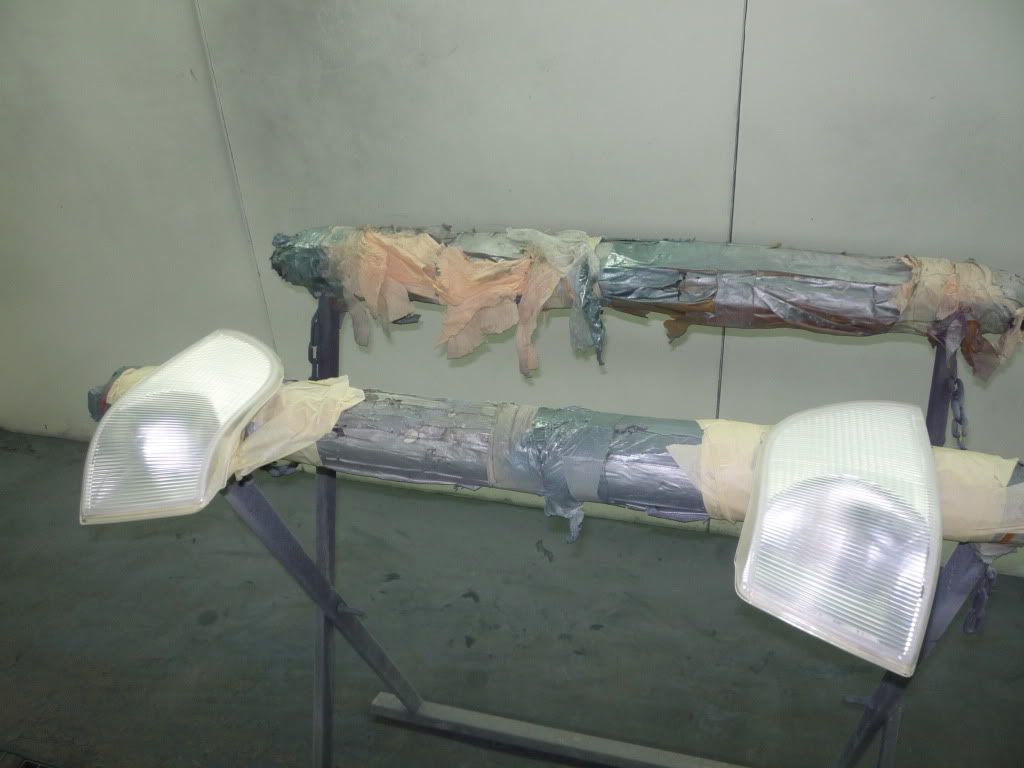 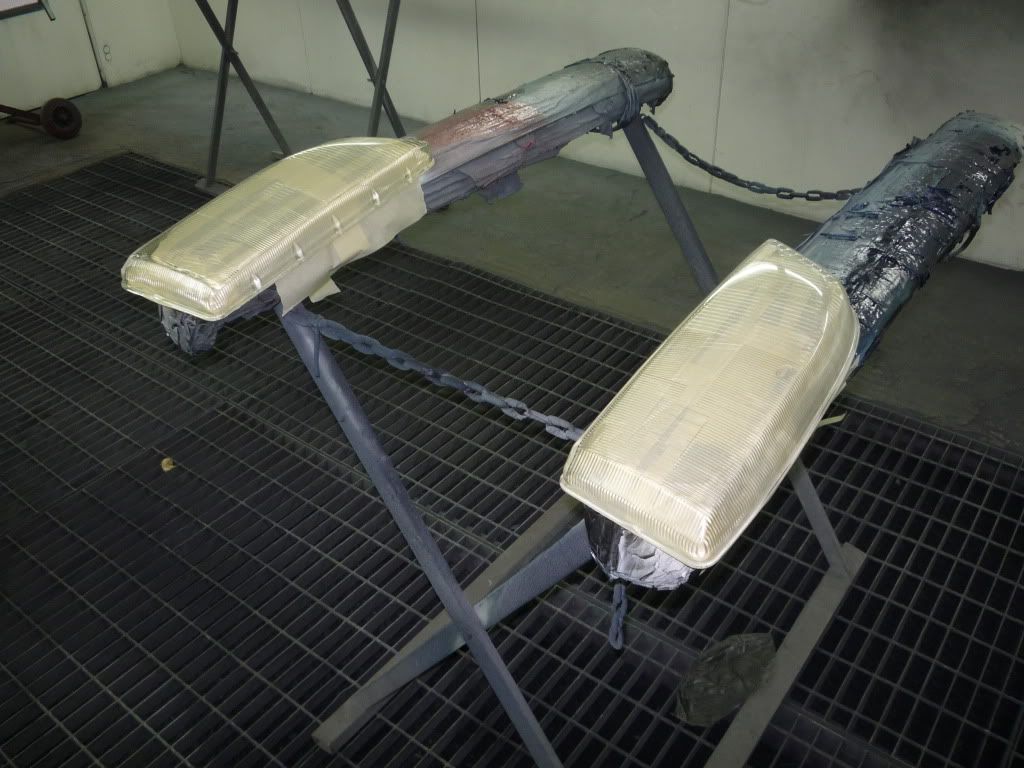 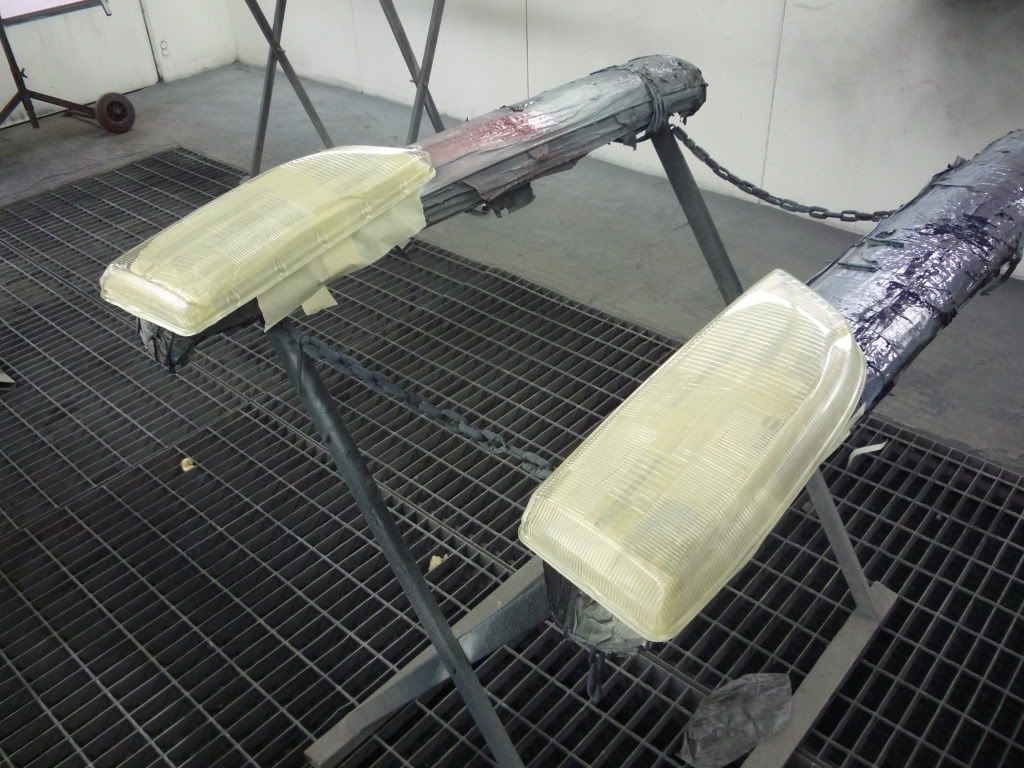 i also did this with the rears and then masked out the "clear" sections and papered over the rest of the lights. 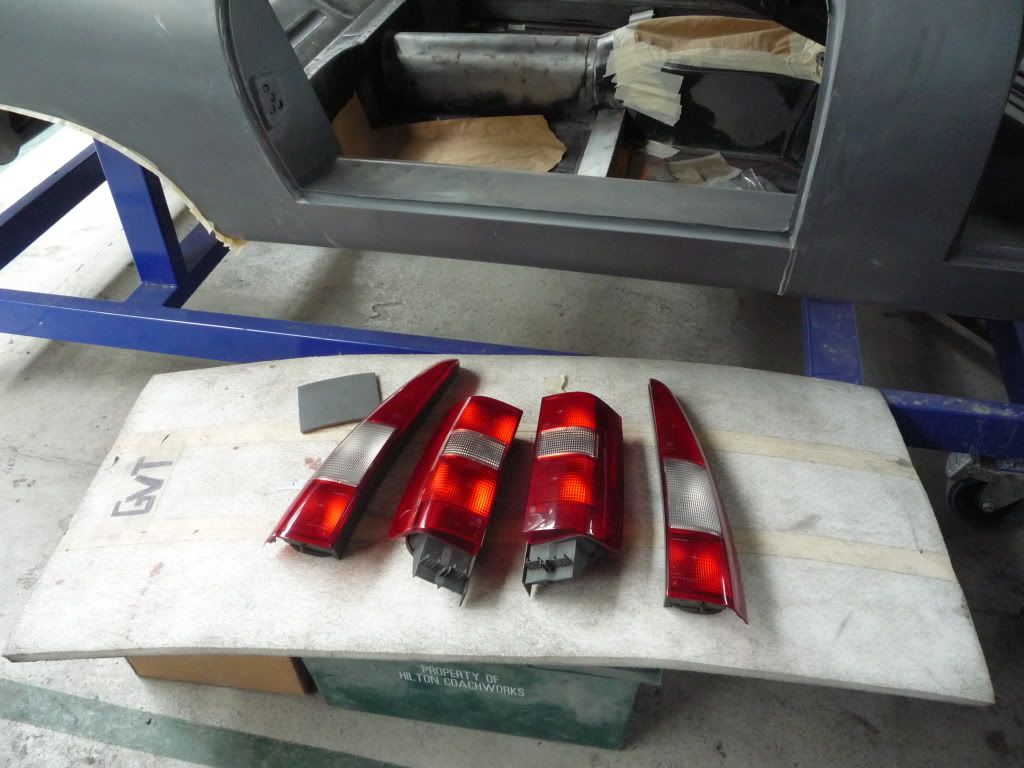 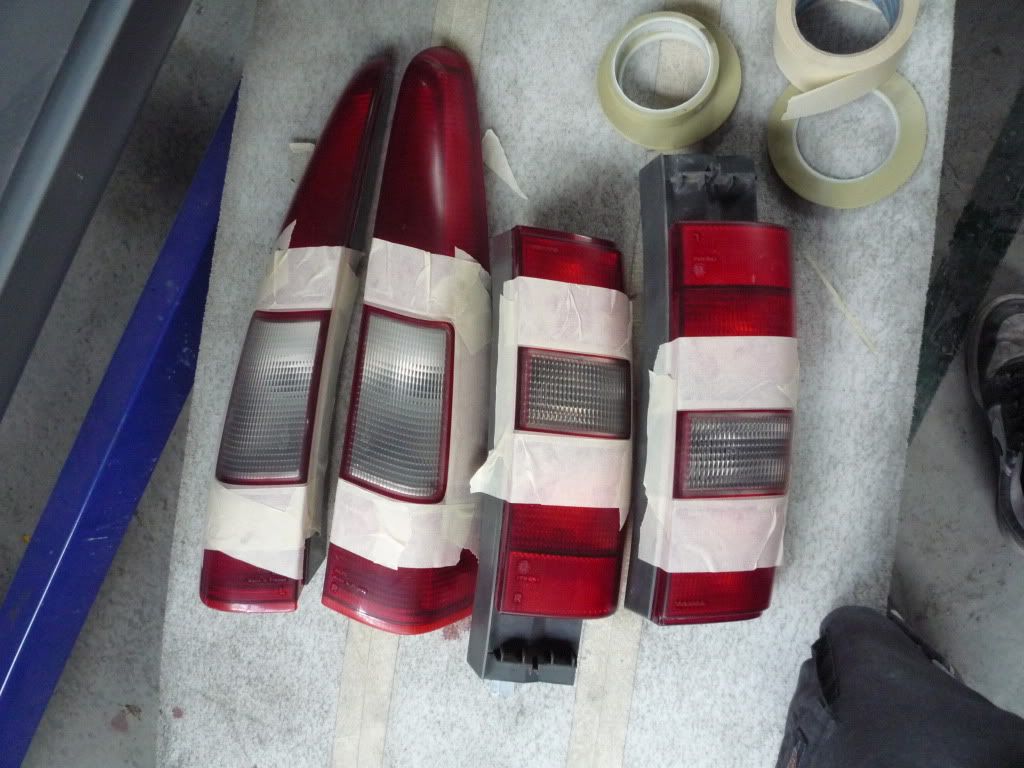 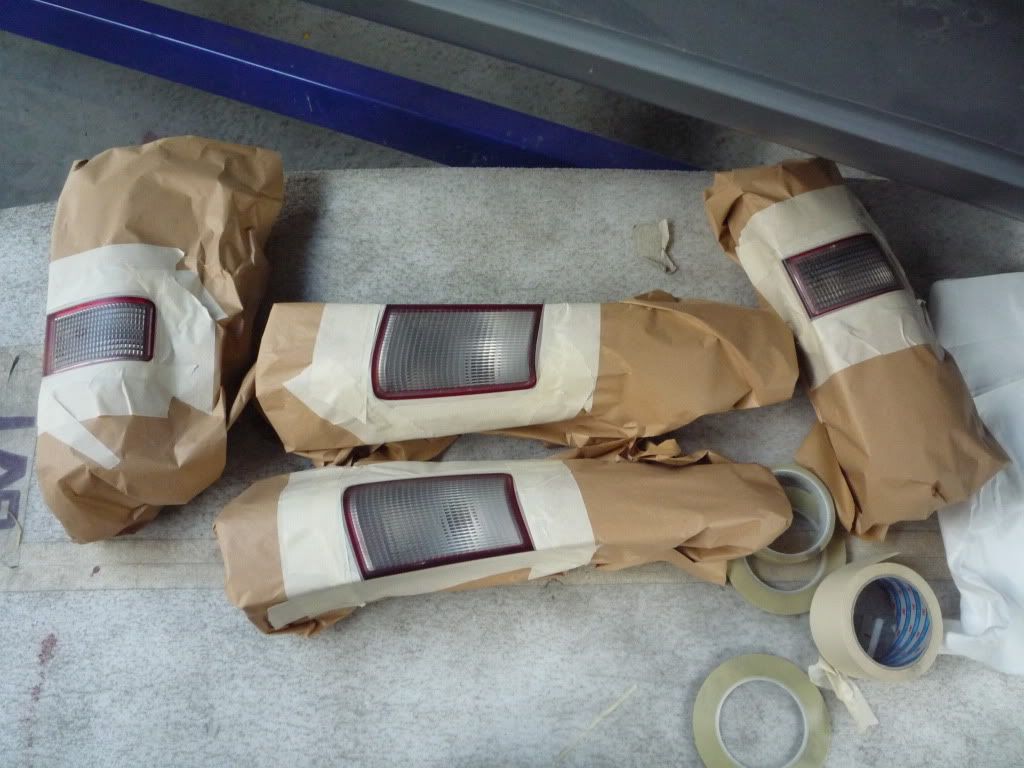 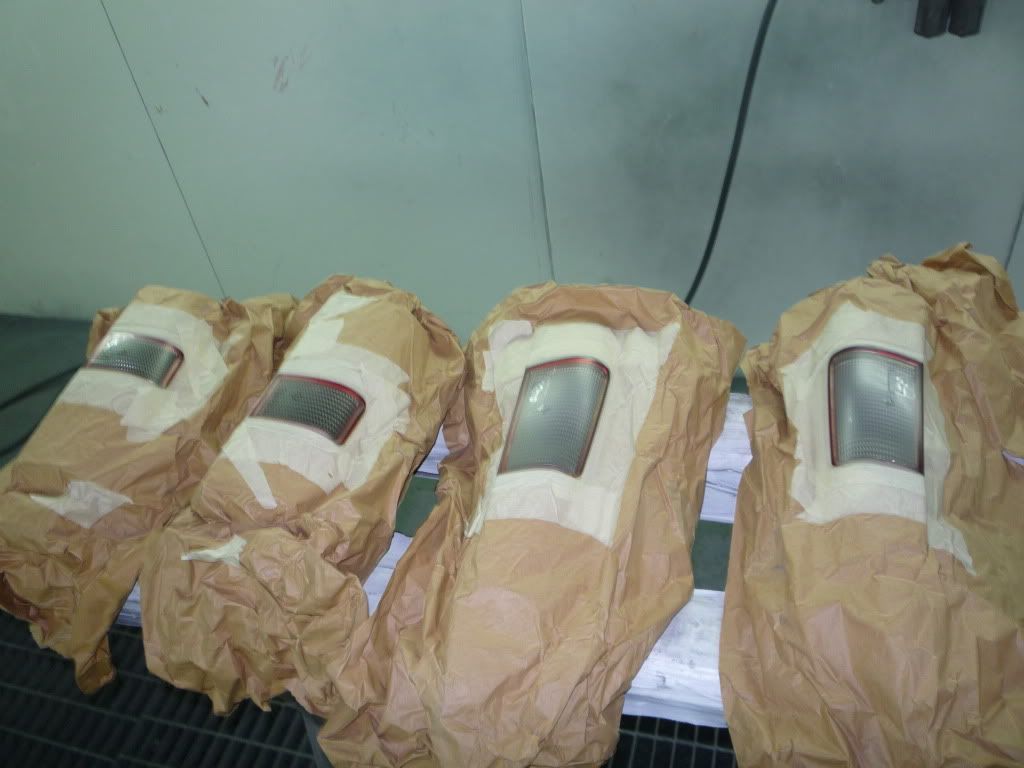 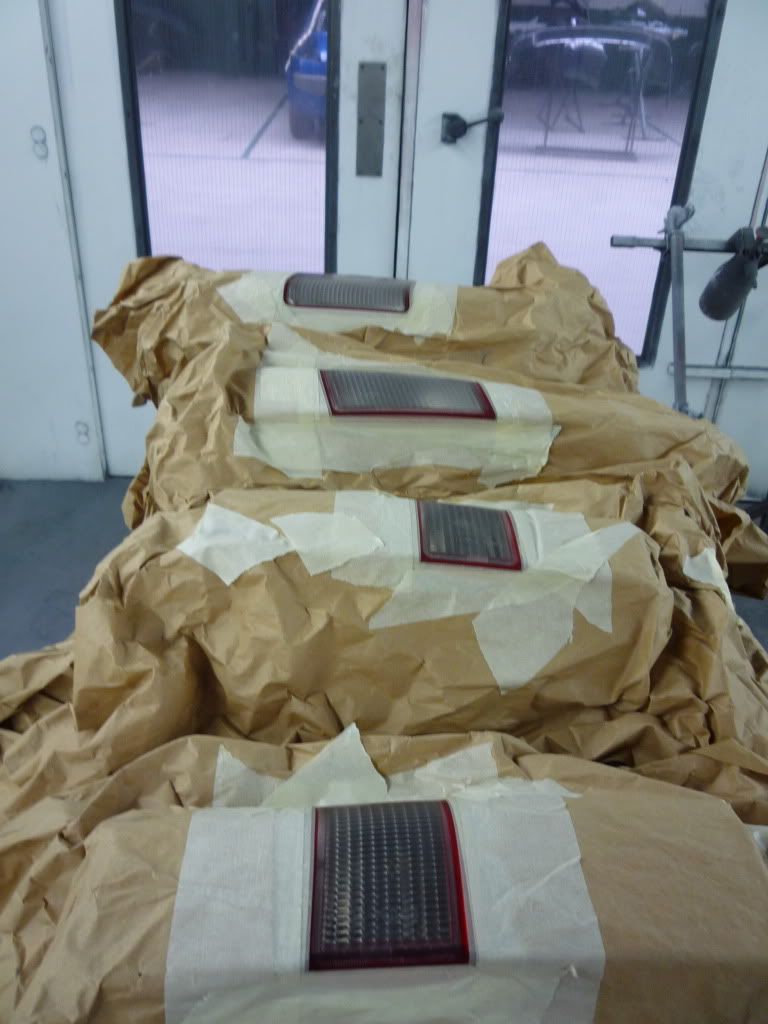 then you mix laquer with black base coat, i used bmw sapphire black 2008, at a rate of 50% before you add the hardener ( you can mix anything up to 50% to get the tint level you want. you can tint two pack laquer any colour you wish) lay two coats over the desired tinted areas 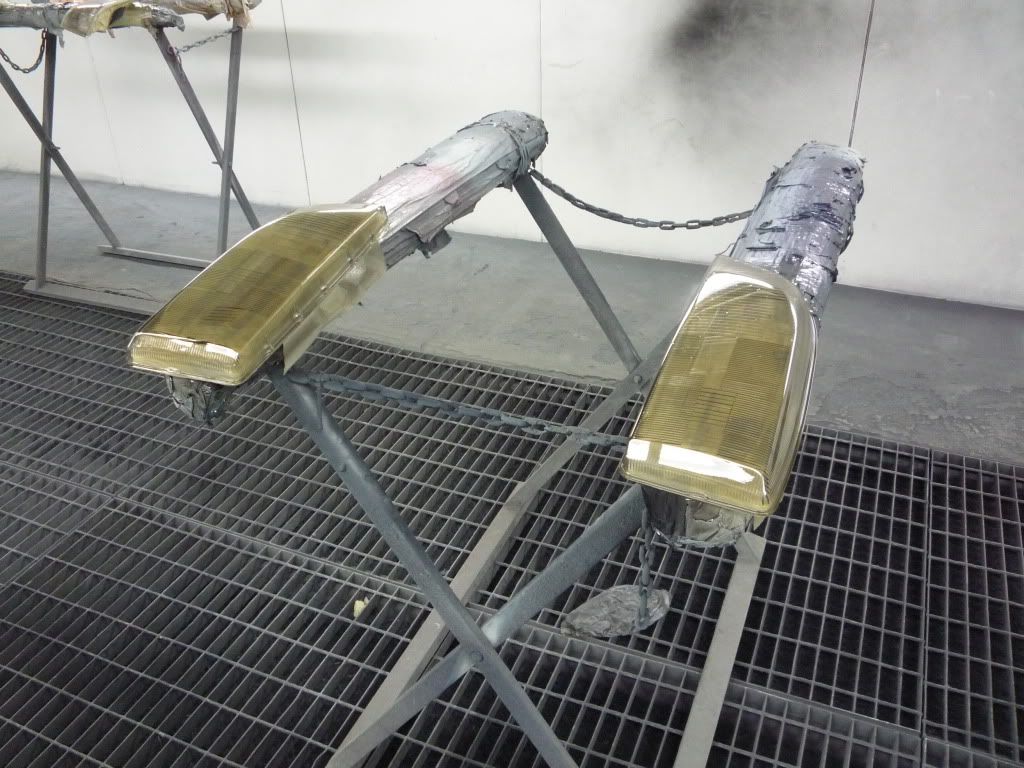 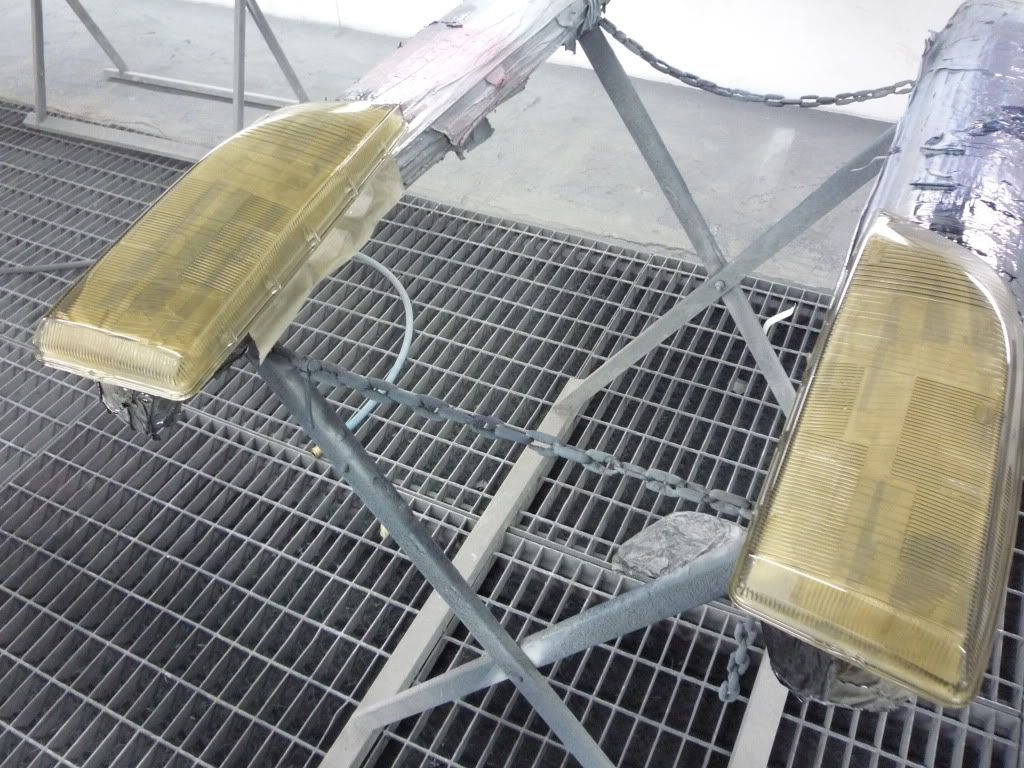  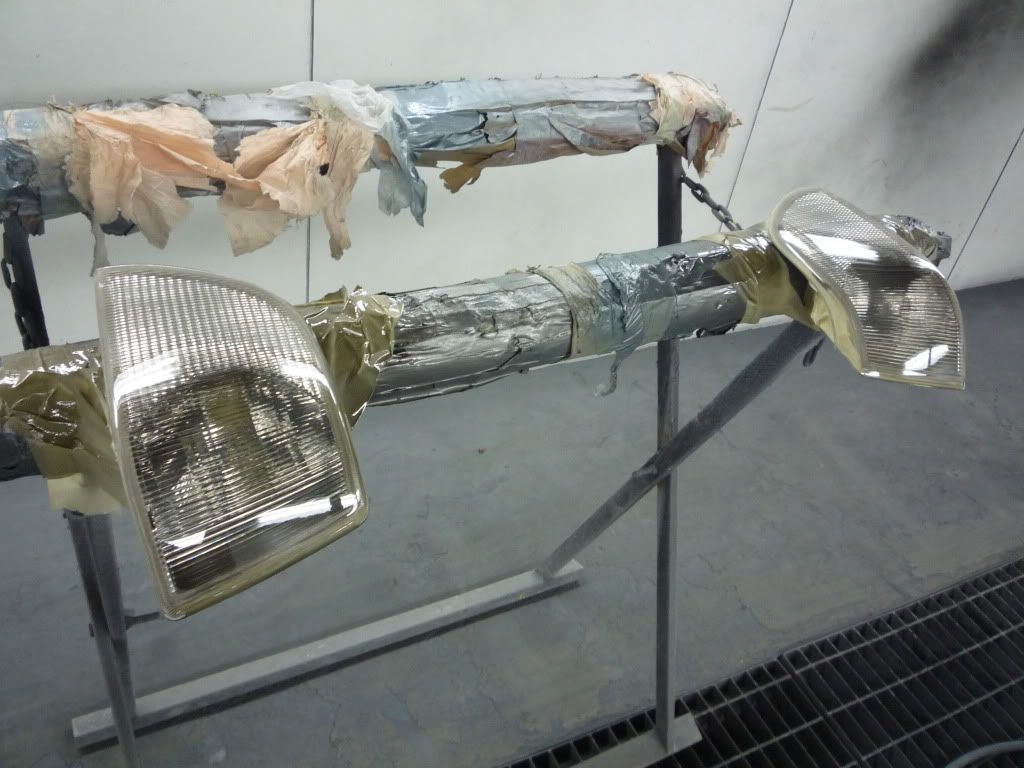 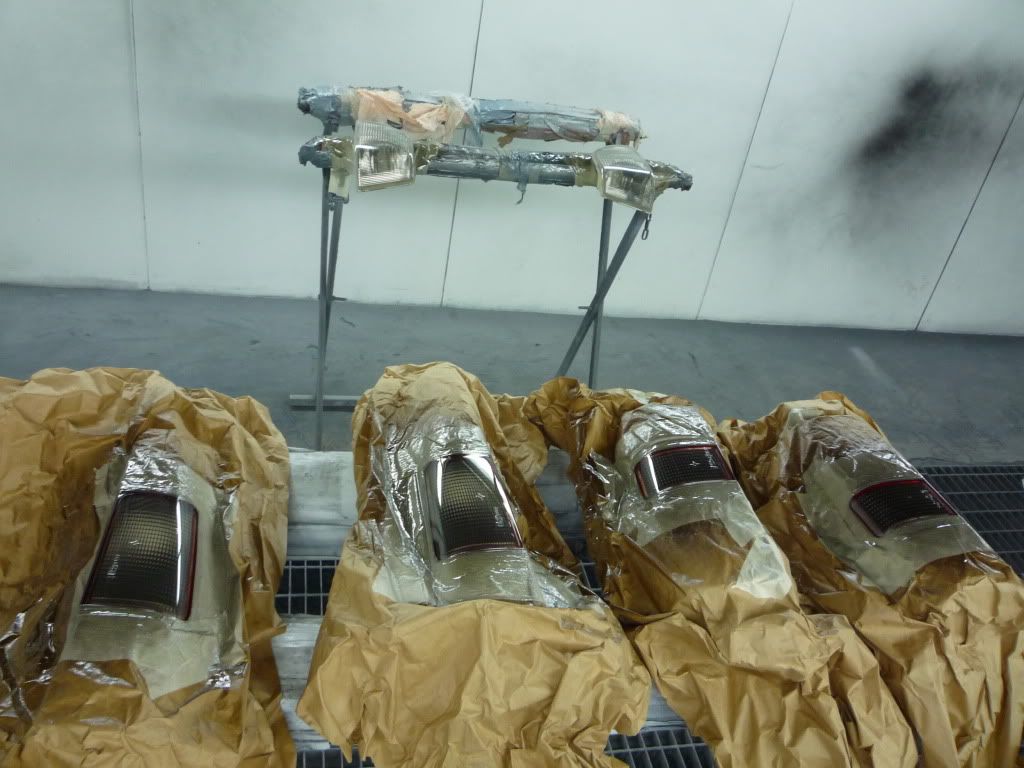 you then wait for that to flash off (partially dry but still soft) and spray over some clear laquer. in the case of rear lights care fully remove all surrounding masking from the lights but do not for christs sake touch the grey wet laquer. then as the unsprayed parts were already trizactd you spray over the top with clear coat. 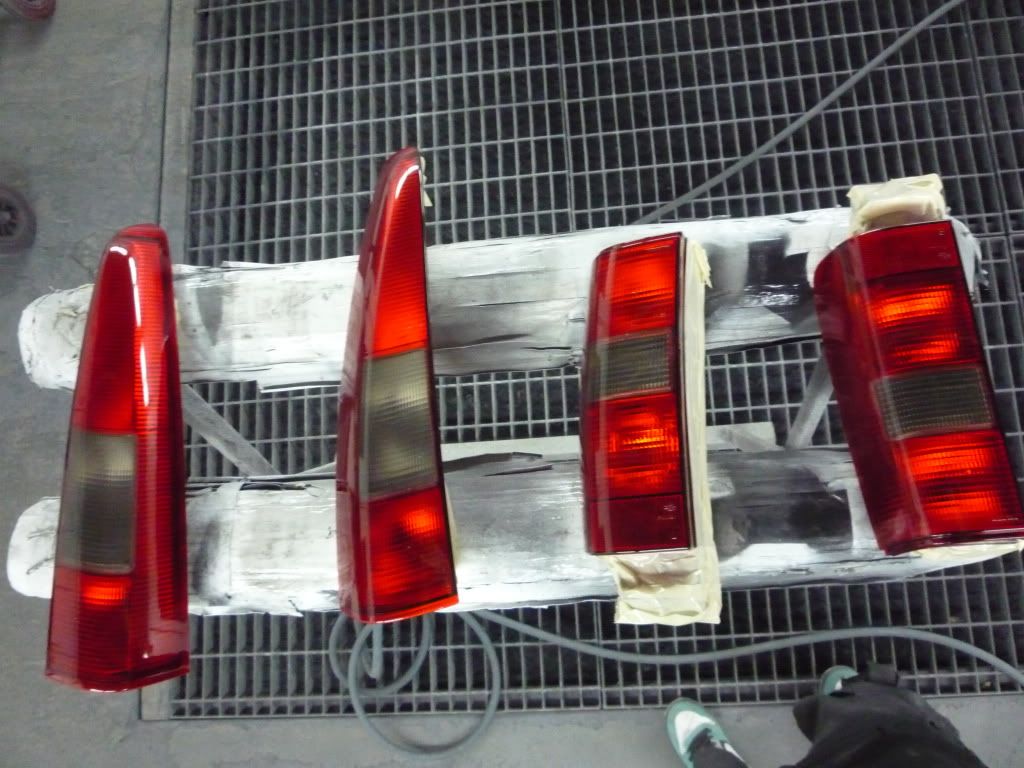 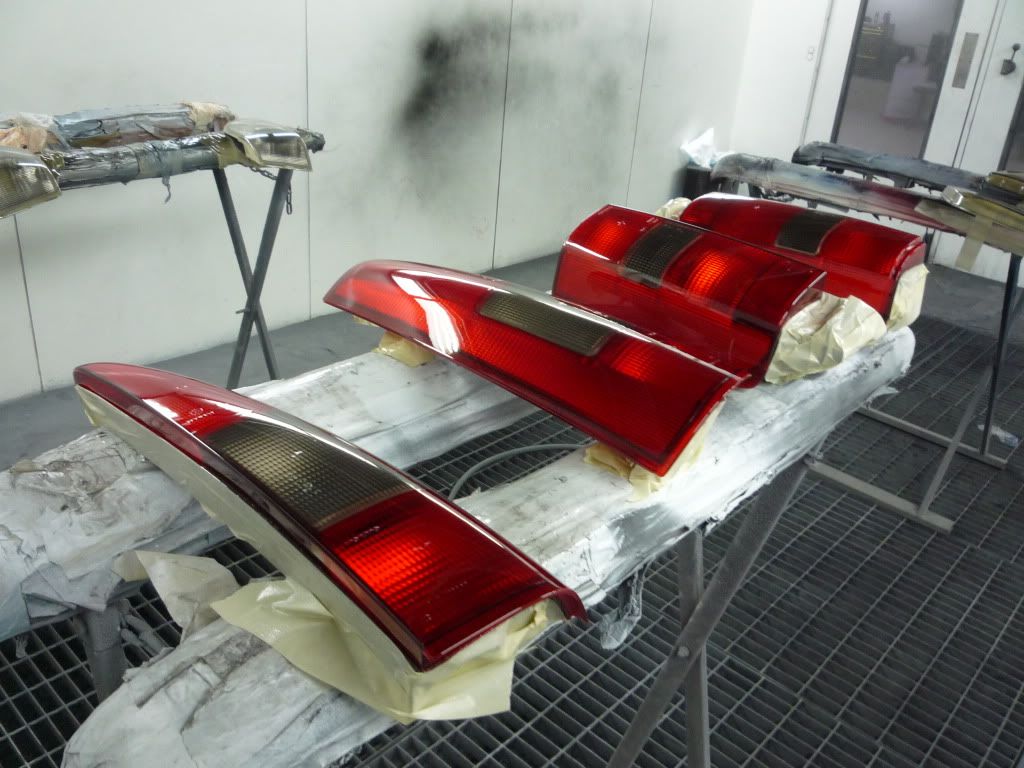 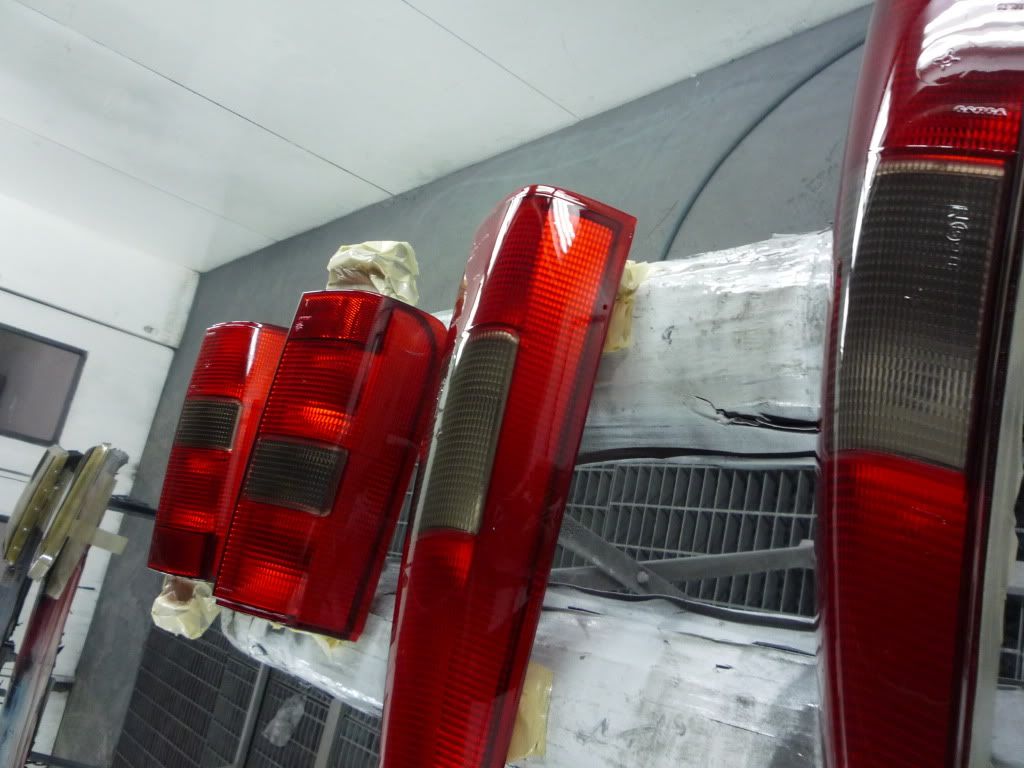 bake in the oven at 60'c then "voila". simple, cheap, effective, different. the headlights are being re-assembled with brighter beams (hid) and will have a look much like the new audi tt etc, grey tinted headlights. also as the lights only need to pass a brightness test when on, they are 100% legal. more project updates to follow with custom splitter salvaged from the farbio scrap parts bin, re-worked rear spoiler and custom gauge pods. |
|
|
|
|
| Tags |
| bum warmer, project, rebuild, respray, restoration |
| Currently Active Users Viewing This Thread: 1 (0 members and 1 guests) | |
|
|


 Hybrid Mode
