One often neglected area of maintenance is the engine electrics. The life of these items depends on the quality of the equipment, its age and the use the car is put to. For example an lpg car's engine electrics will have a shorter life as the fuel is dry and higher voltages are rquired to produce a spark. The leads if of good quality should last up to 60,000 or three years. Plugs should last about 20,000 miles whilst cap and rotor should last 20-40,000 miles but it can be as little as few thousand if poor quality.
This "how to" covers the normal service of the engine electrics. The first part deals with:
Changing your plugs:
For this you will need the following:
A plug socket which contains a rubber cushion:

You will also need a ratchet handle, an extension (2 are useful one about 2" - 50mm and one 4-6" 100-150mm and a set of plugs. Different people have different opinions as to what make to use. I personally find three makes are good namely Volvo, Bosch and NGK. I am sure others will have other preferences.

The other thing you will need is a set of feeler gauges.
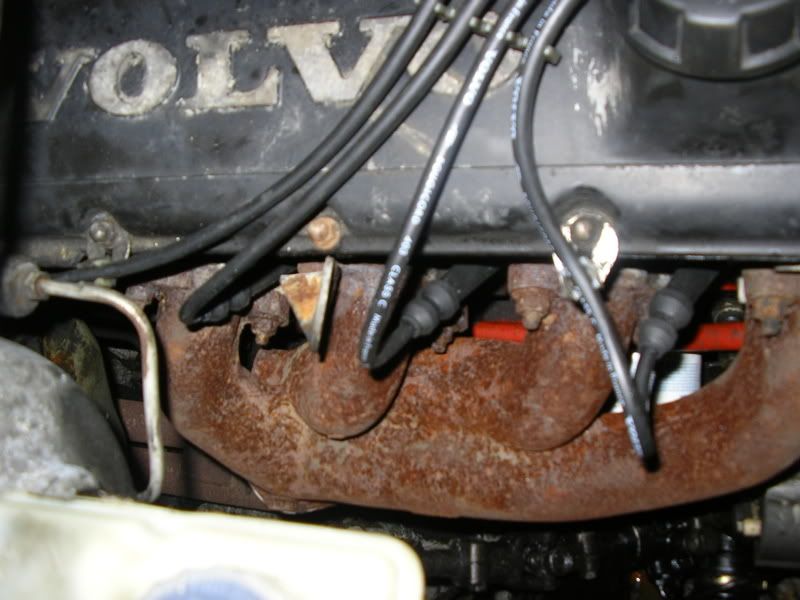
Replacement of plugs can be in any order but I tend to start with no 1 at the front of the engine. First the lead needs taking off the plug. Only pull on the rubber with a slight twisting motion - do not pull the lead itself or you may find the end coming off the lead.

Next fit the socket onto the plug ensuring it is properly on, then the extension (the longer one fits ok here) and finally the ratchet.

This can then be slackened with the ratchet:

As soon as its is loosened you will probably find it easier to take the ratchet off and spin the plug out using the extension bar:


The gap on the electrodes of the plug need to be checked against that specified for your engine using the feeler gauges. Select the feeler gauge(s) to make up the required size. These should just fit between the electrodes to clear with just a little resistance. The electrodes can been adjusted by tapping very gently to close or using a suitable blade to open them a little. Often they will be ok out of the box or packet.
Next put the plug into the socket with the extension on it and it can then be spun in by hand most of the way. This way you should not be able to cross thread it.

Then tighten up using the ratchet but avoid over tightening. For those not sure there should be a torque figure in your manual and you can torque it in - experience will help to know how much too tighten.

It is now time to refit the lead carefully pushing it onto the plug by the rubber. Make sure it is firmly on.

Repeat the process for cylinder no 2.
On cylinder no 3 a shorter extension is needed. You can do it without if you don't have one.

Next comes the one that often doesn't get changed as it is hard to do. The secret is to remove the lead and then put the socket onto the plug and then put the ratchet onto the socket - there is only a small amount of movement for the ratchet. Once loosened the ratchet can come off and the socket used to spin the plug out.

Again to fit the new plug place it in the socket and spin it in - look at the angle of the other plugs to help get the socket at the correct angle to spin it in. Tighten it with the ratchet once hand tight.
At this stage it is a good idea to start the engine and make sure there is no misfire. For the less confident you can do this after each plug. The only downside is the exhaust manifold is likely to get hot with risk of burning yourself on it.
The next job is replacing cap and rotor:
For this you will need a distributor cap, rotor arm and set of leads. First with regards leads I prefer the Volvo ones as they are all the correct lengths and excellent quality. When ordering these they comes as a set of four and the king (coil) lead is a separate part as the coil position varies on different years. If you do not want to pay for Volvo ones use a good make such as Bosch. With regards cap and rotor I have had problems with caps not fitting well, premature failure of the centre carbon brush (last one 400 miles) I have bitten the bullet and started paying the extra for Volvo ones. With regards rotors there are two types. The later cars are fitted with a rev limiter rotor - these can fail with the rev limit dropping lower than it should be at which can make it dangerous to drive. Unless you regularly red-line the engine they are not worth fitting. I always use the one for the earlier cars which are cheaper and more reliable. When ordering these order for a 75-83 car. Again with these I have now gone to using Volvo ones as well.
Having replaced the plugs the next area for attention is replacement of the distributor cap, rotor and leads
.
The cap is easily removed by unclipping the two clips. It is best to do the back one first as it is slightly harder to get at. If they are tight a screwdriver can be used to loosen it.
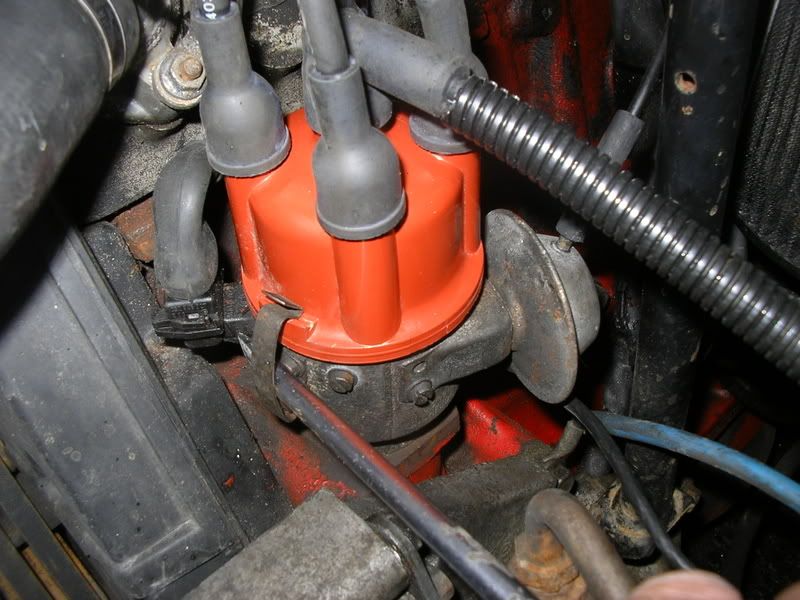
The cap can then be lifted to one side
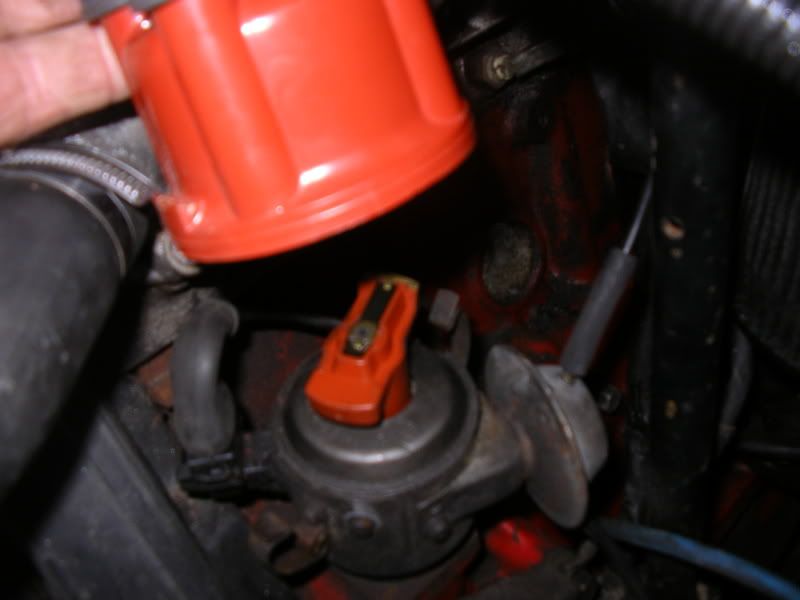
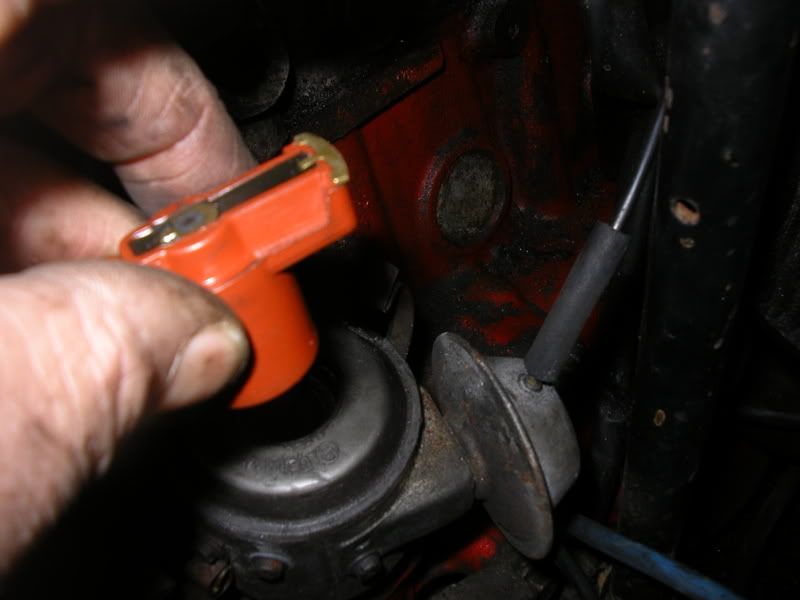
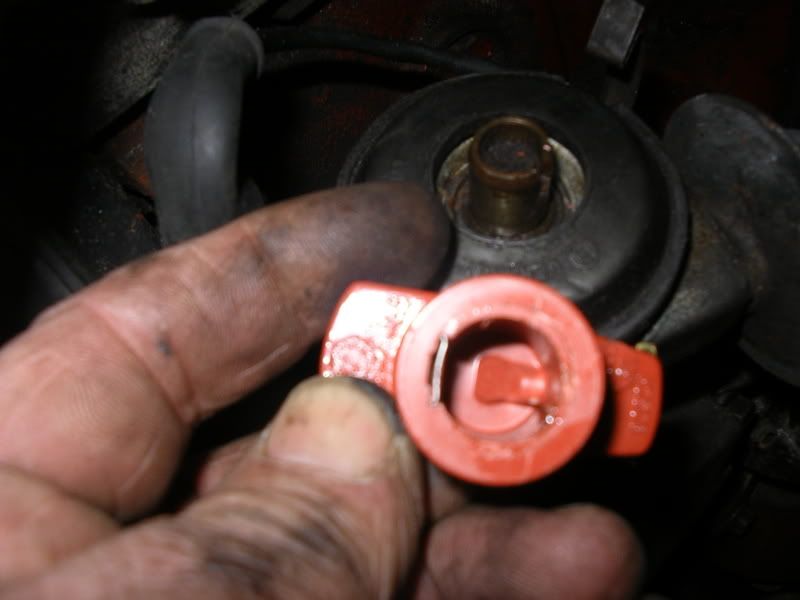
Next pull the rotor arm up to pull it off - if it is very tight try wobbling it at the same time - in severe cases it may have to be broken away.
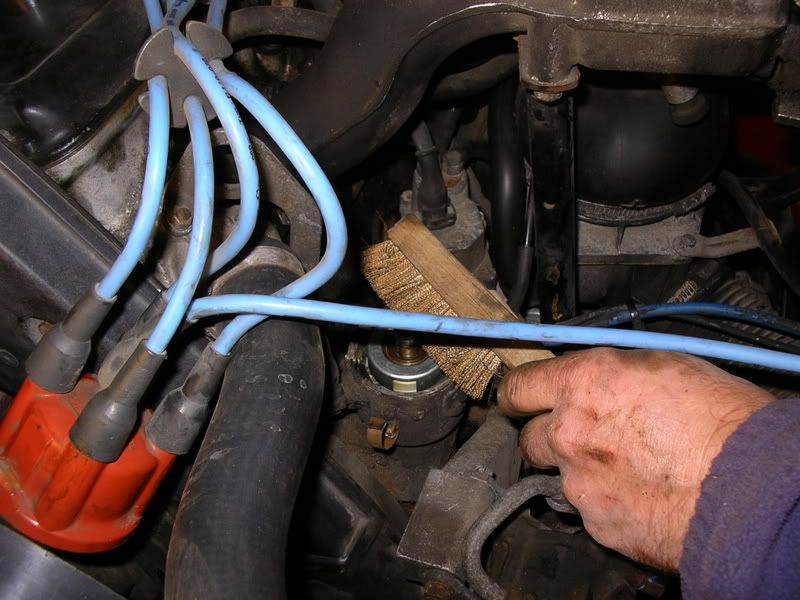
If the old rotor is difficult to get off the shaft may need cleaning - I use a brass brush
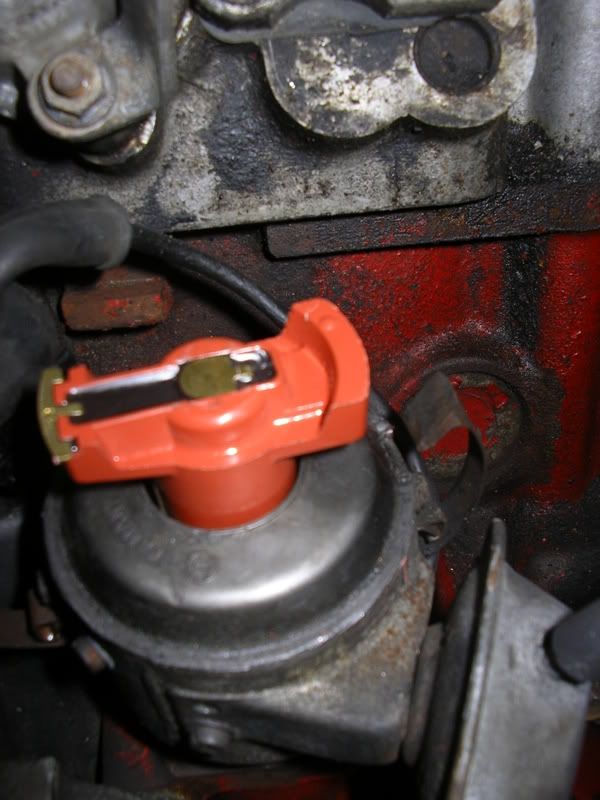
Next check the plastic cover is correctly positioned - on the outside edge at the back of the distributor base there is a cut out which should line up with the matching piece in the plastic cover. It is then a good idea to put a couple of drops of oil on the felt pad on the distributor before placing the rotor making sure the notches of the arm line up with those on the shaft
The rotor arm should go on easily - if not the shaft is not clean - do not force it on.
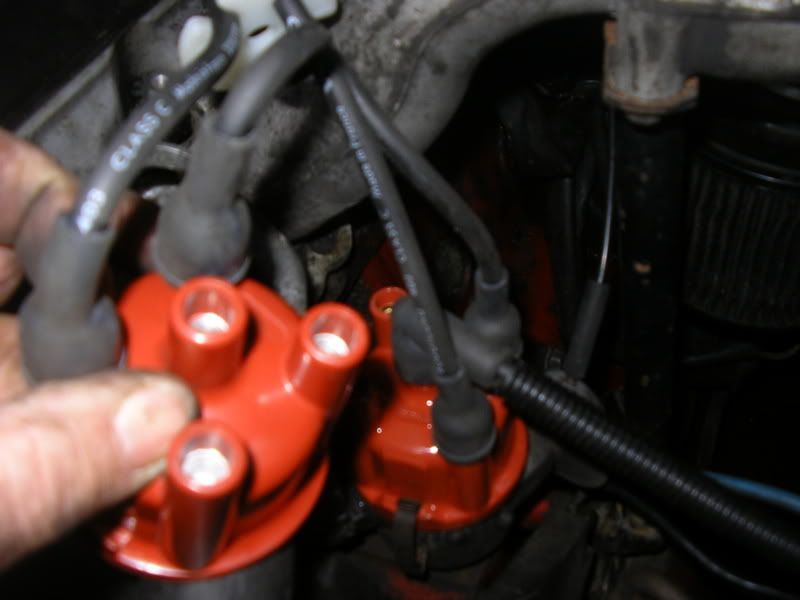
Now then next stage is to fit your new cap. If you turn it so the inside is facing you will see there is a long lug in line with clipping points.
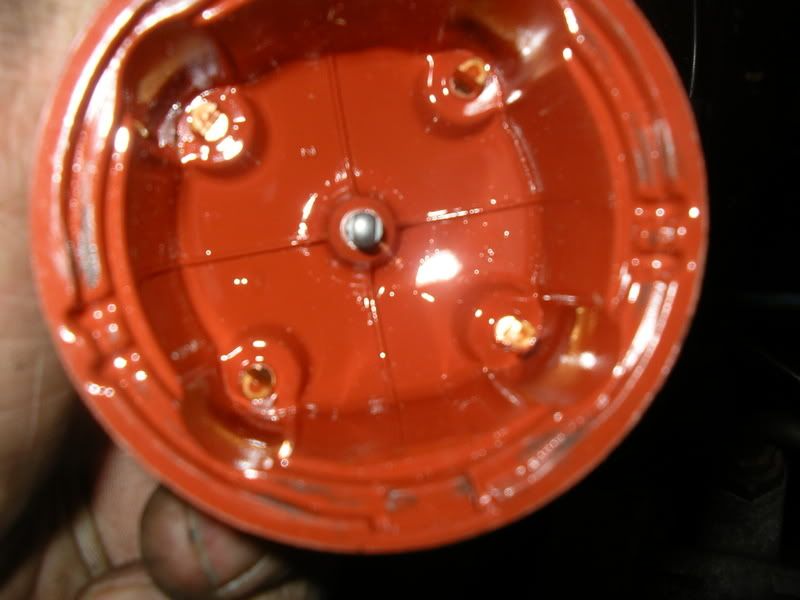
This fits into the notch at the back of distributor which the plastic cover has been aligned on.
Carefully place the cap on making sure the plastic cover doesn't move inside. It should now clip fairly easily. It is best to clip the back one first. If the second clip is very tight do not force it. Remove cap and check everything is in position and try clipping again.
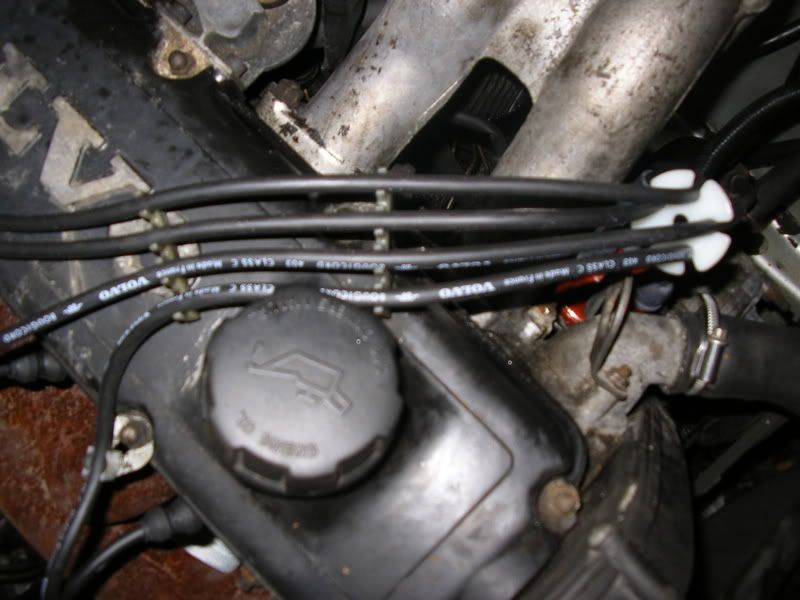
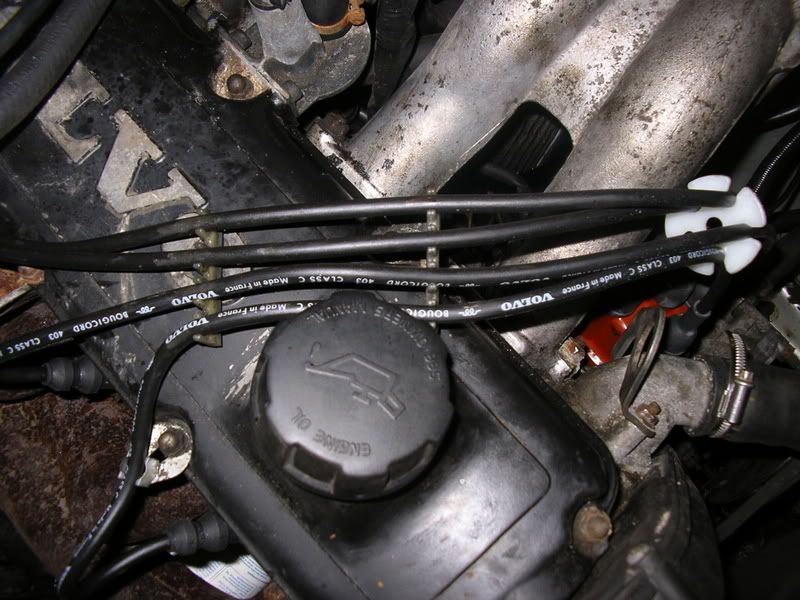
The leads can now be transferred one at a time, or if new leads are being fitted they can be replaced one at a time.
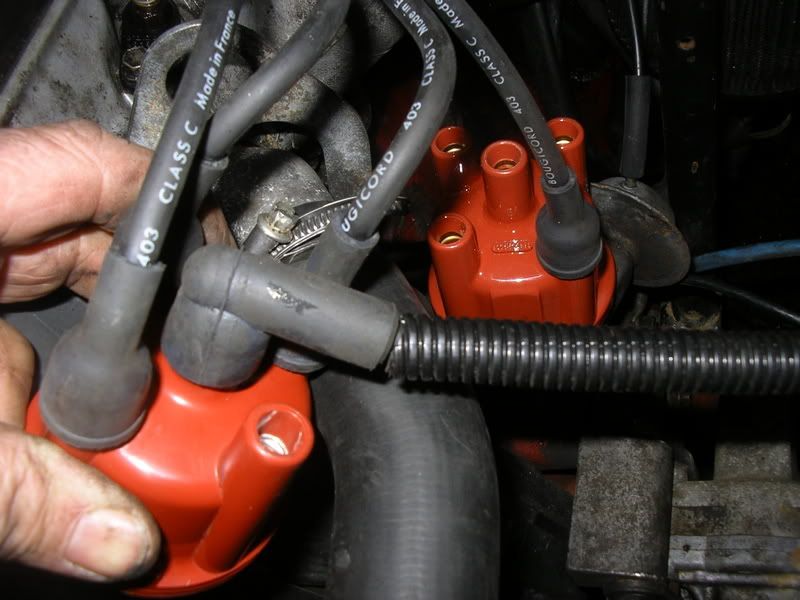
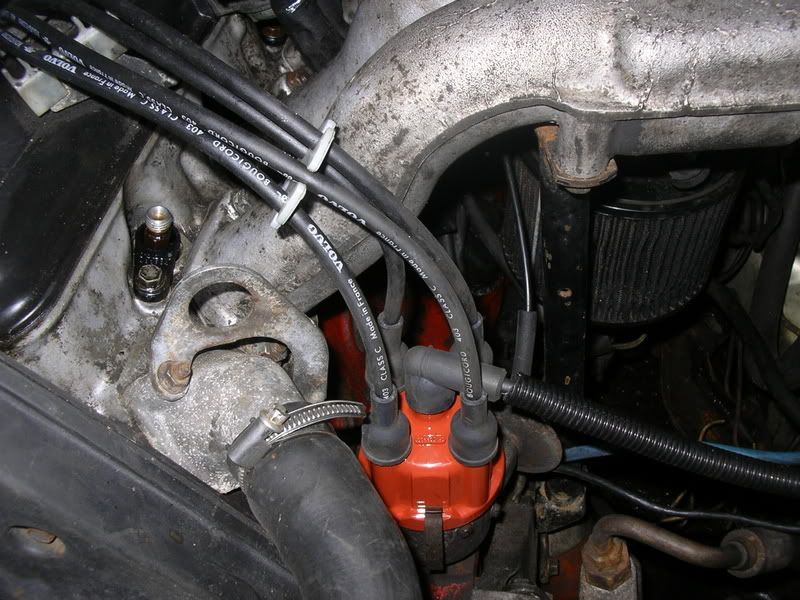
The leads should all be correctly clipped so that they cannot touch either each other or any part of the engine
Mike