Some of the body trim pieces are suppose to make it back this next week, so I needed to get the Air Cleaner Assembly wrapped up, so I can get my painter started on that. Just a quick catch up on the the Bumper and Trim plating process that I have going on now, because I havent really touched base on what I have decided to change there. I did not send all the trim out for actual Brushed Chroming as I had intended, and that was really due to the shear cost, and the fact that the plater said the bumpers may not come out perfect. I was quoted over 8k for the plating by the time shipping kicked in, and that was with no guaruntee that I would have some perfect pieces, so there was no way I could possibly justify the cost there. I have a very qualified painter that does alot of custom motorcycle work, and he said that he has done a Brushed Aluminun or Brushed Stainlees look in a painted process, so that is the way I am going here. It will actually be a better match to the appearance of my Brushed Aluminum Wheels, and the parts will be perfect, because he can use glazes and primers to block all the imperfections out. These will be done in a Satin/Flat Clear, so all the parts will have the same overall glow of the wheels, and that will also keep all my trim/bumpers uniform in appearance. I will be posting pics of this process, and it is much more economical than the plating, especially if I ever needed future repairs. I have seen sample/test pieces, and they look great, so I think this will be a much better approach.
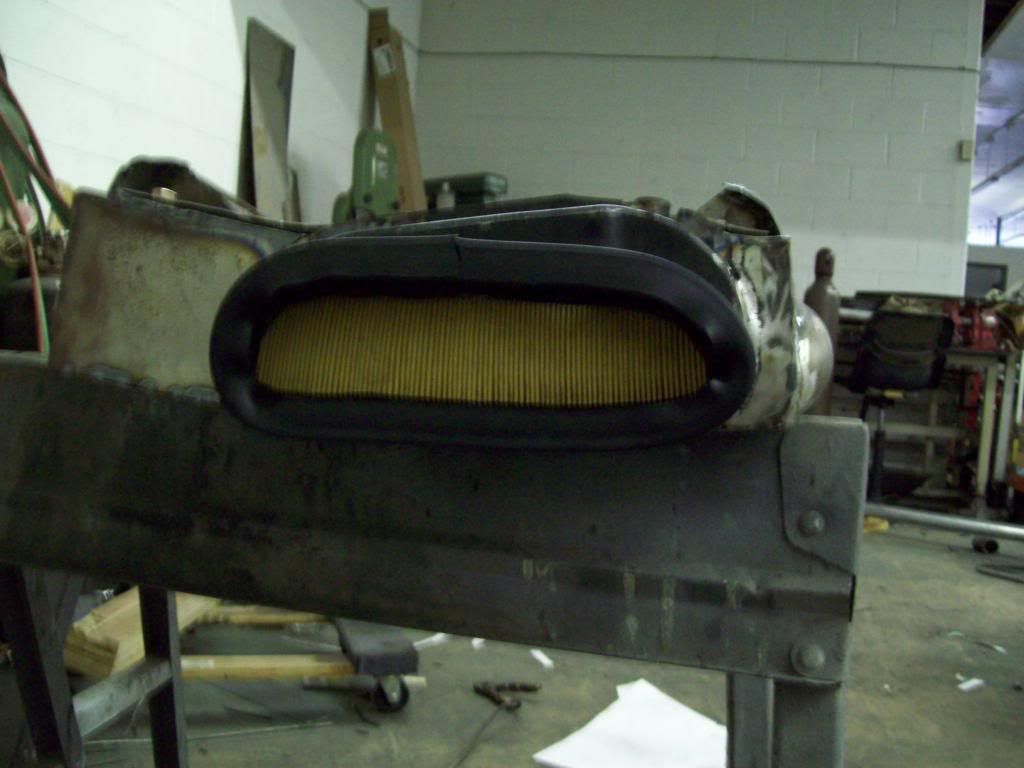
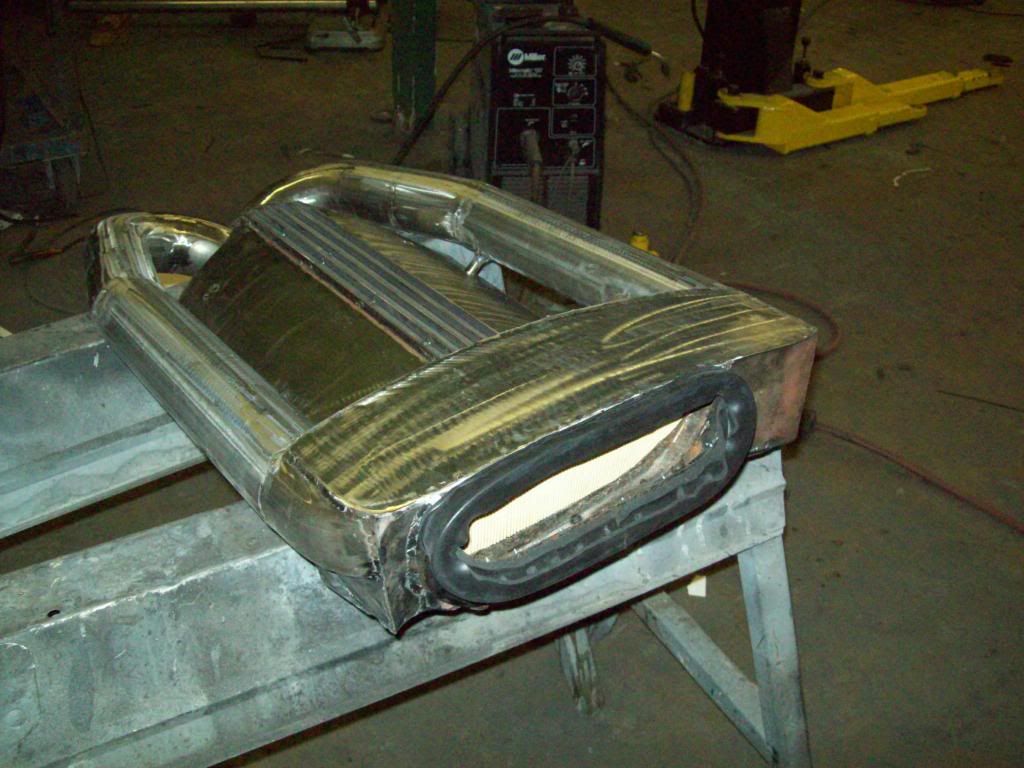
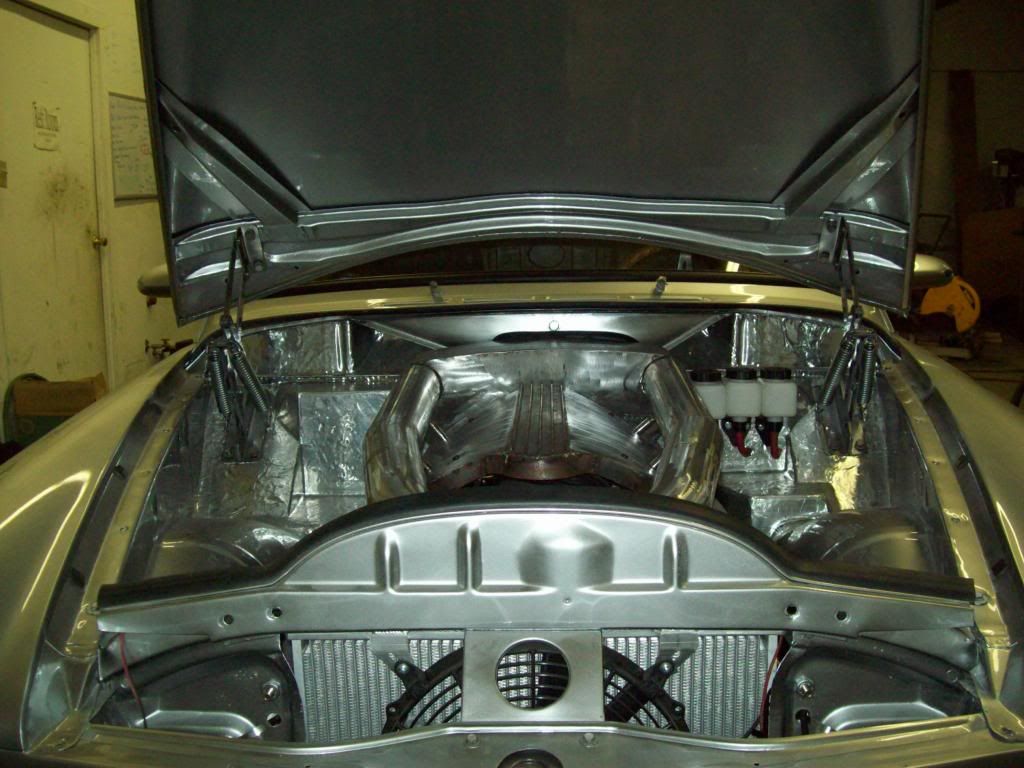
Here are some pictures of how my Air Intake System work, and in these pics, you will see the filter position and how it basically works.. I would do some more finish grinding and welding on it, but my painter likes to do that himself, so I will leave it for him..
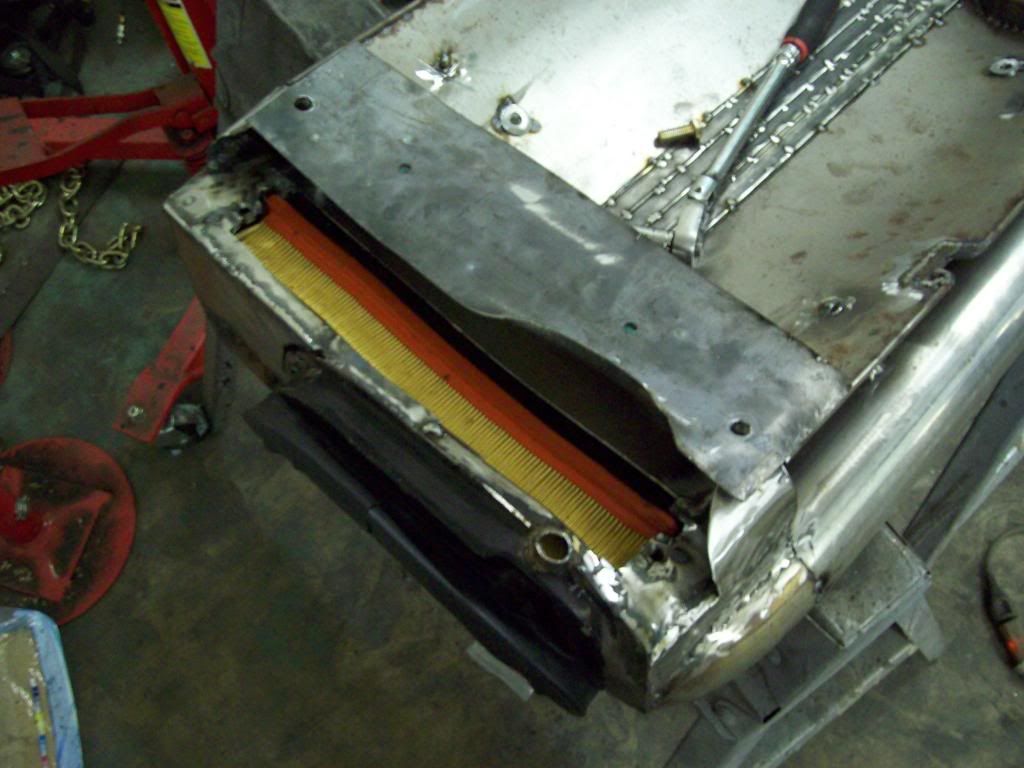
Here is how the Seal and Drain system will work, and it is pretty basic, because I used the Original Amazon Heater ring for my seal/drain.. I will be adding a tube and one way baffle for the draining, and it should work just fine.. I will be making the actual drain hole larger, so it will be more than capable of draining the water sump before over flow. The seal is a weatherstrip profile that I have found on another car, but I had to do some removal and triming to remove some of the bulk, and you can see that I have just a bit more finish trimming to make it look nice. I still have to drill the holes for the Mass Air Flow Sensor at the front, and the Intake Air Temp sensor in the rear box somewhere, but they will be hidden on the lower unseen parts of this setup.
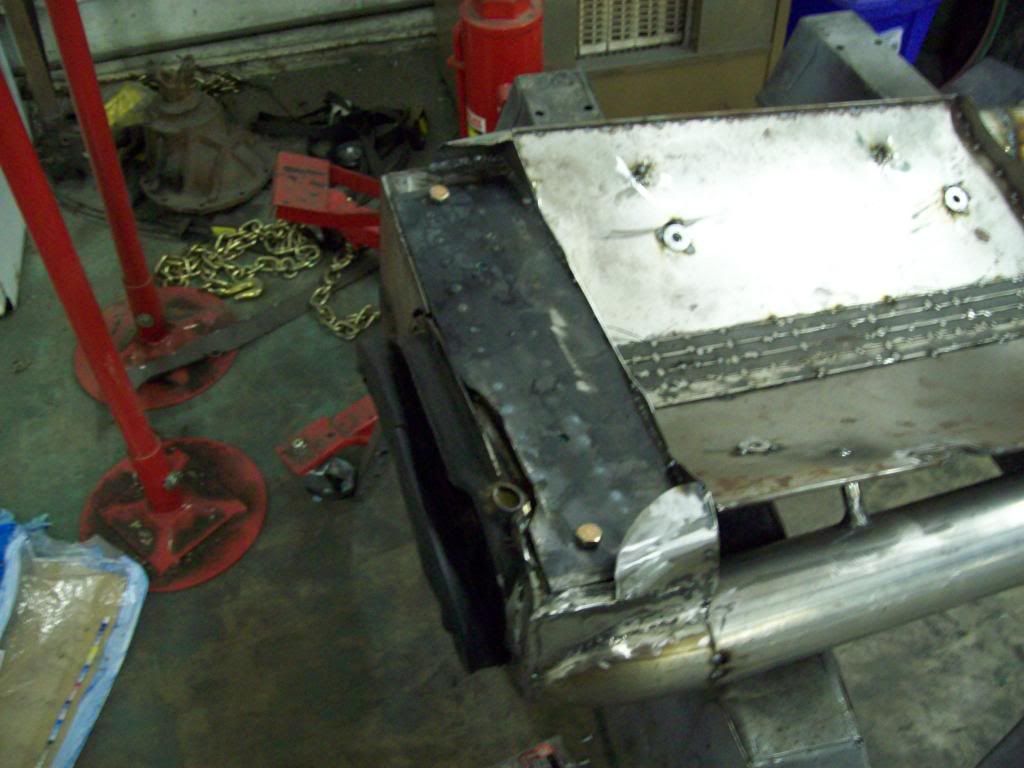
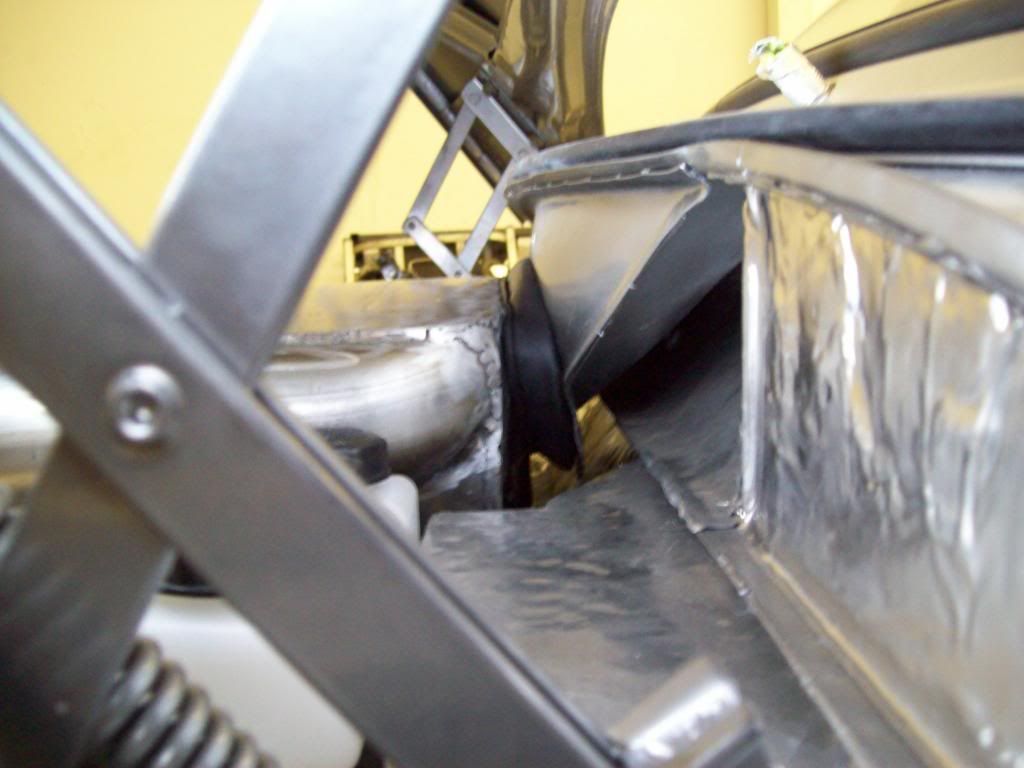
 Here is how the gasket seals on the original Cowl Vent/Heater Supply fixture, and it is only solid mounted and sealed to the Inake, so it will have the ability to move around on the body during engine torque. I am pretty sure that it will be best to use some sort of grease or lubricant on the seal to body position, and I will have to do a bit of experimenting with that if it is necessary.
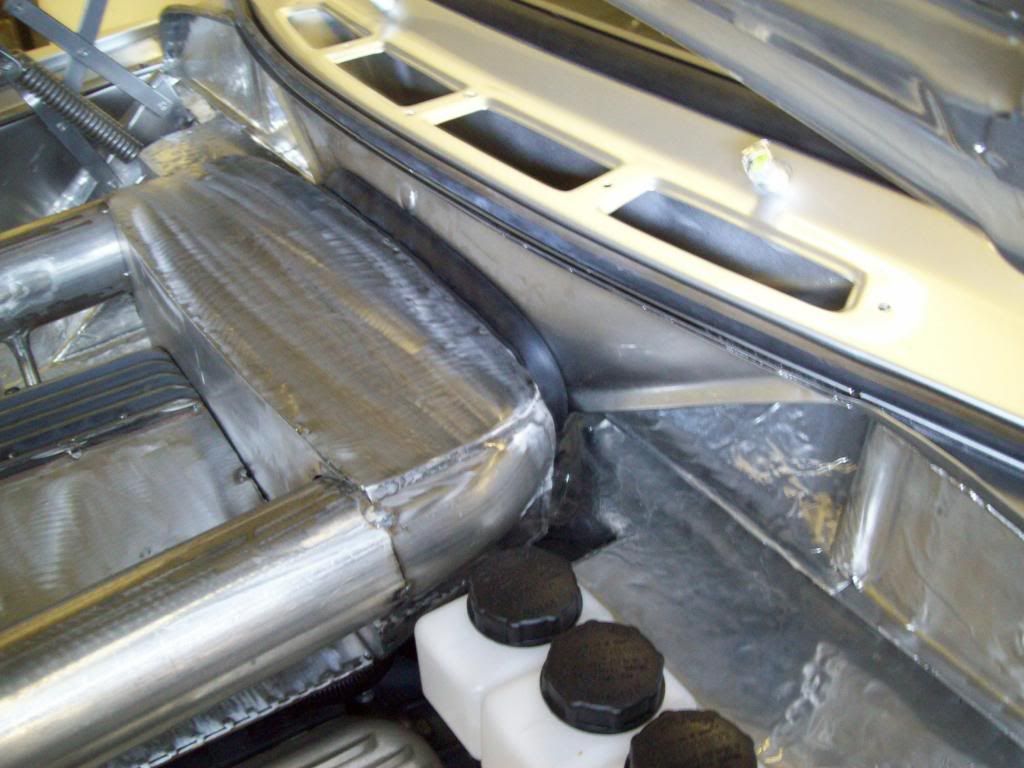
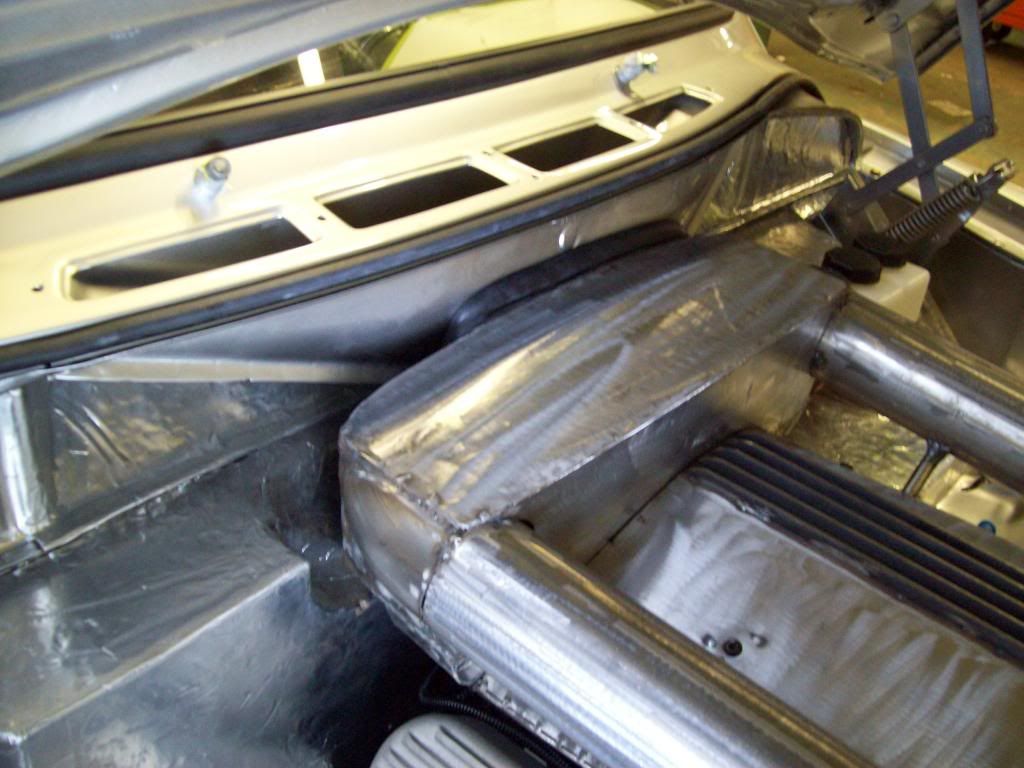
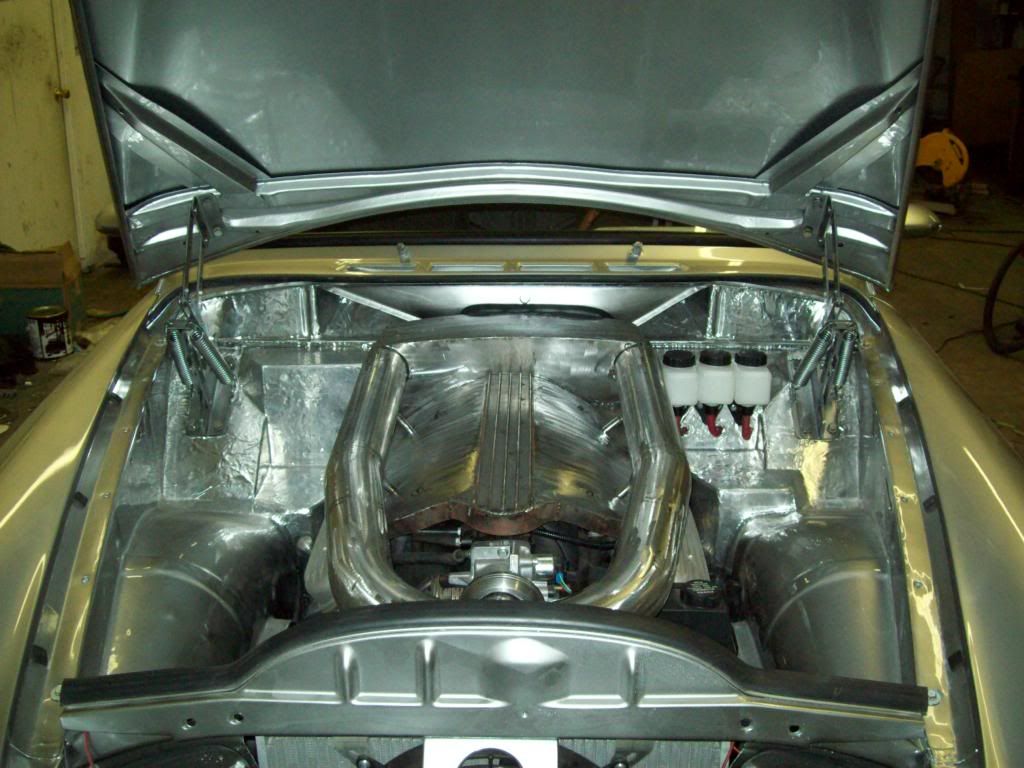
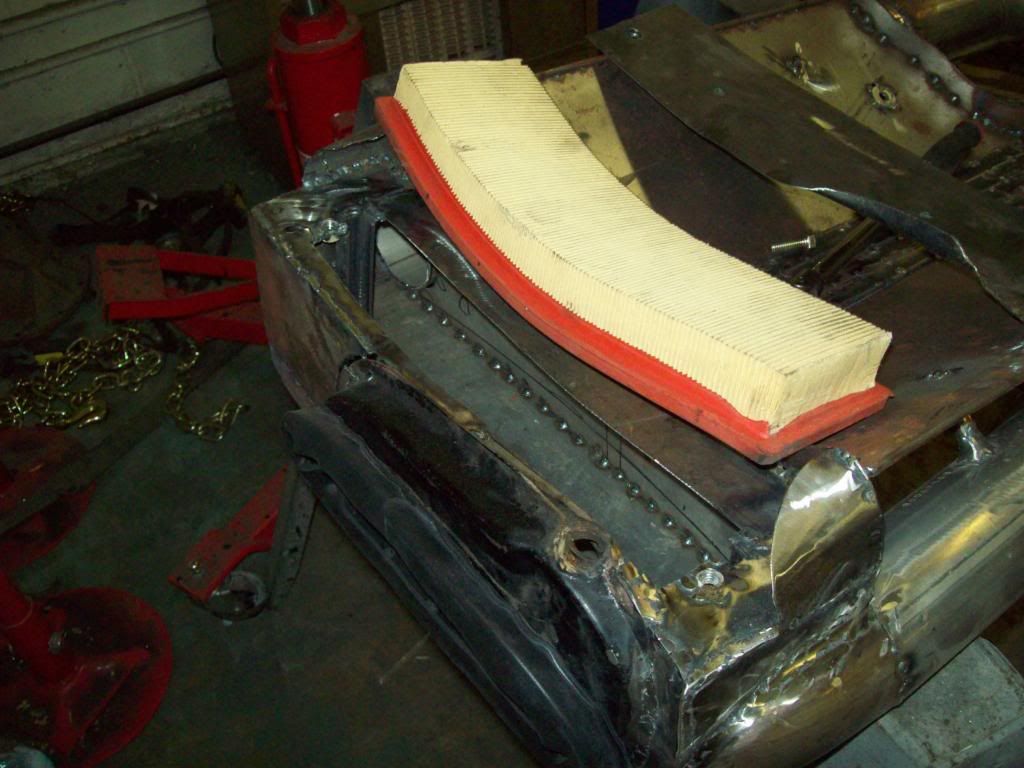
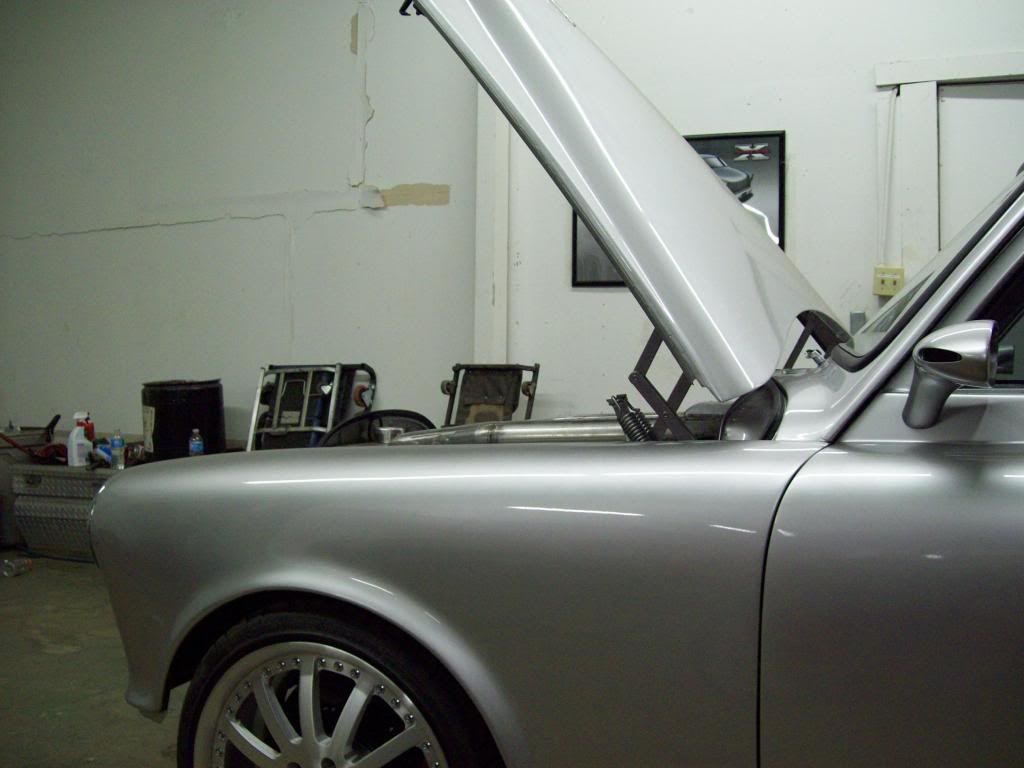
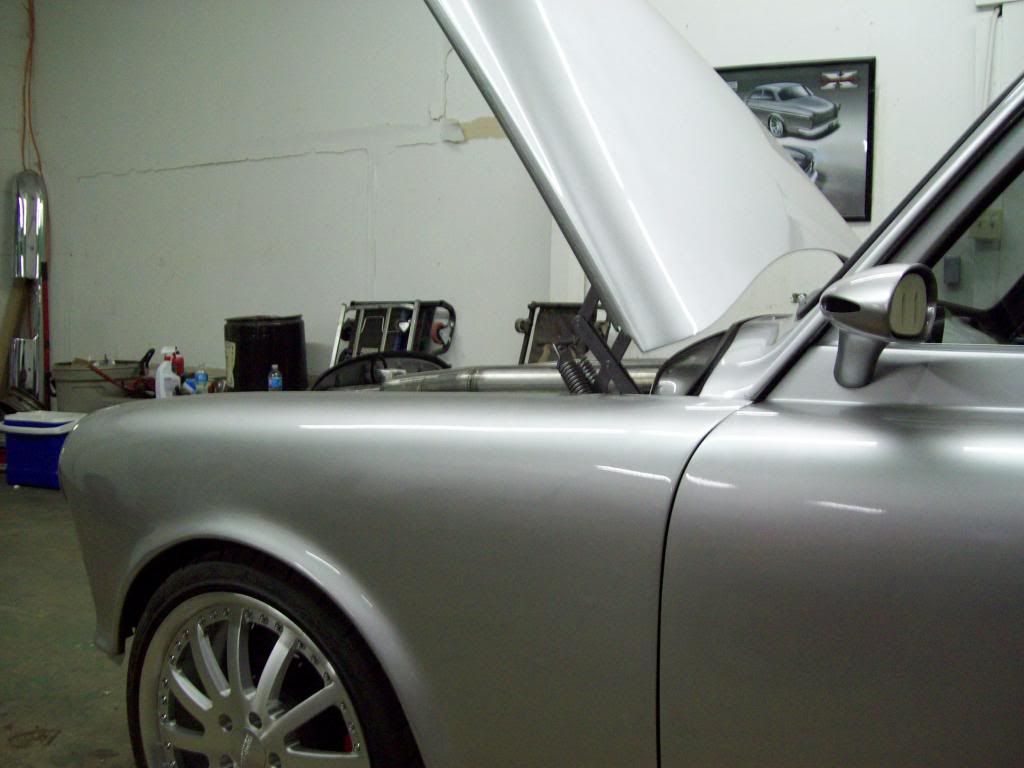
 I tried to make sure that my intake tubes and filter box wouldnt interrupt the fender contours while the hood is open, because I dont really care of mismatched contours and angles, so this is how it all lays out compared to fender tops. With the filter box, I actually kept the curvature and contour of the cowl sheet metal, so it isnt just a rectangular box stuffed in the hole.. I think features like that really make things look like they are in place, rather than just some items you fabbed or pull off the shelf, especially when you can nothing sticks out as out of place as you walk up.
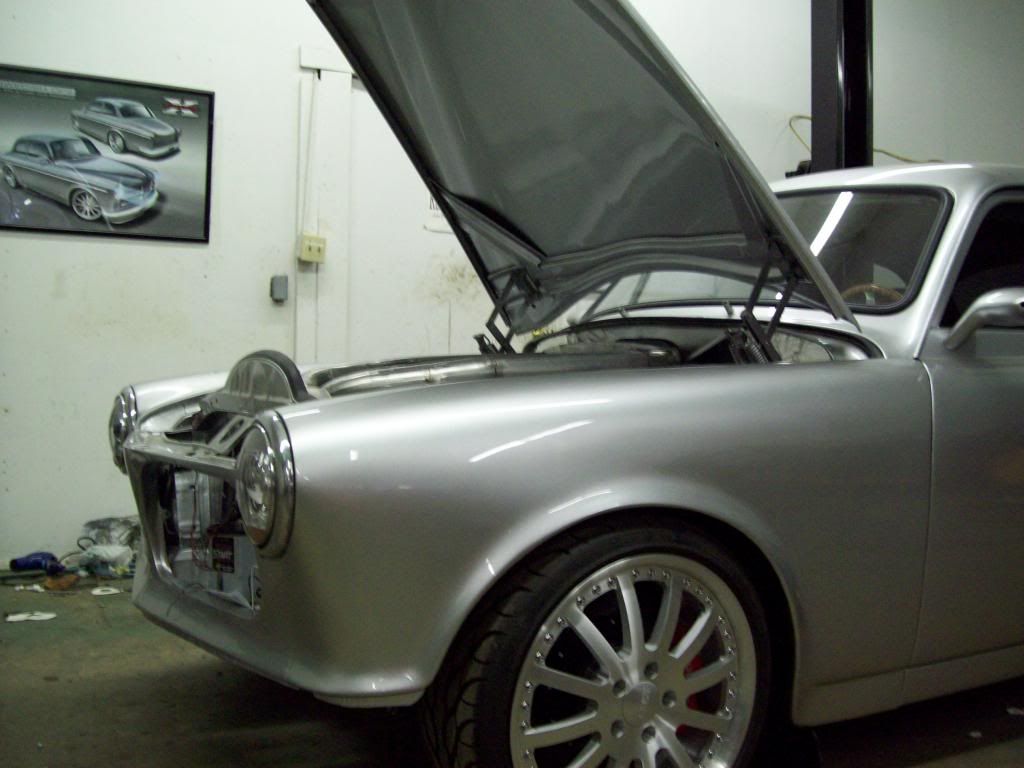
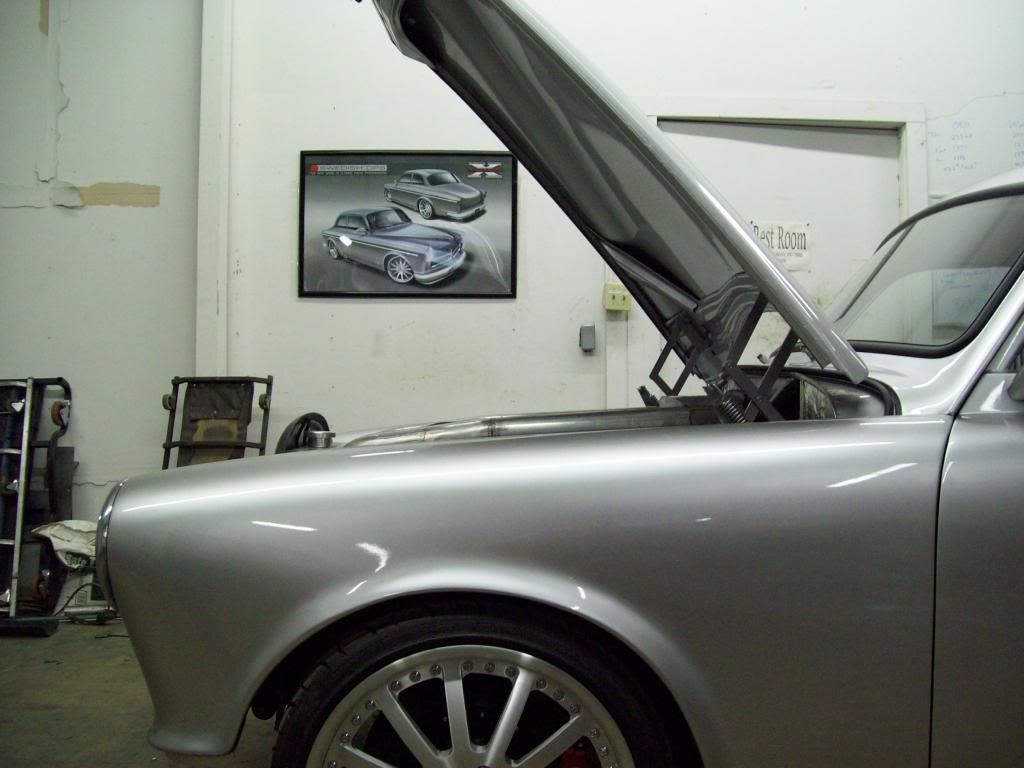
 I am not absolutely sure on how I am going to paint the Intake and Valve Covers yet, but they will be in the same metal theme as the rest of the car, so the Tubes will more than likely be a Brushed Aluminum, while the box and center section will be body colors. I was debating on painting the Valve Covers body color, and then doing something with fin patterns of the valve covers and center intake, but how I need to do it hasnt hit me yet.